
If your kitchen sink is leaking, draining slowly, or emitting bad smells, the problem may be with the pipes beneath. Learning how to install pipes under the kitchen sink can help you fix these issues and keep your kitchen working properly.
This is a job many homeowners can handle with basic tools and a little patience. The key is to work carefully, measure correctly, and test for leaks before you finish. When the pipes are installed correctly, you get smoother drainage, fewer odors, and a lower risk of water damage.
Understanding Kitchen Sink Plumbing Basics
How Kitchen Sink Pipes Work
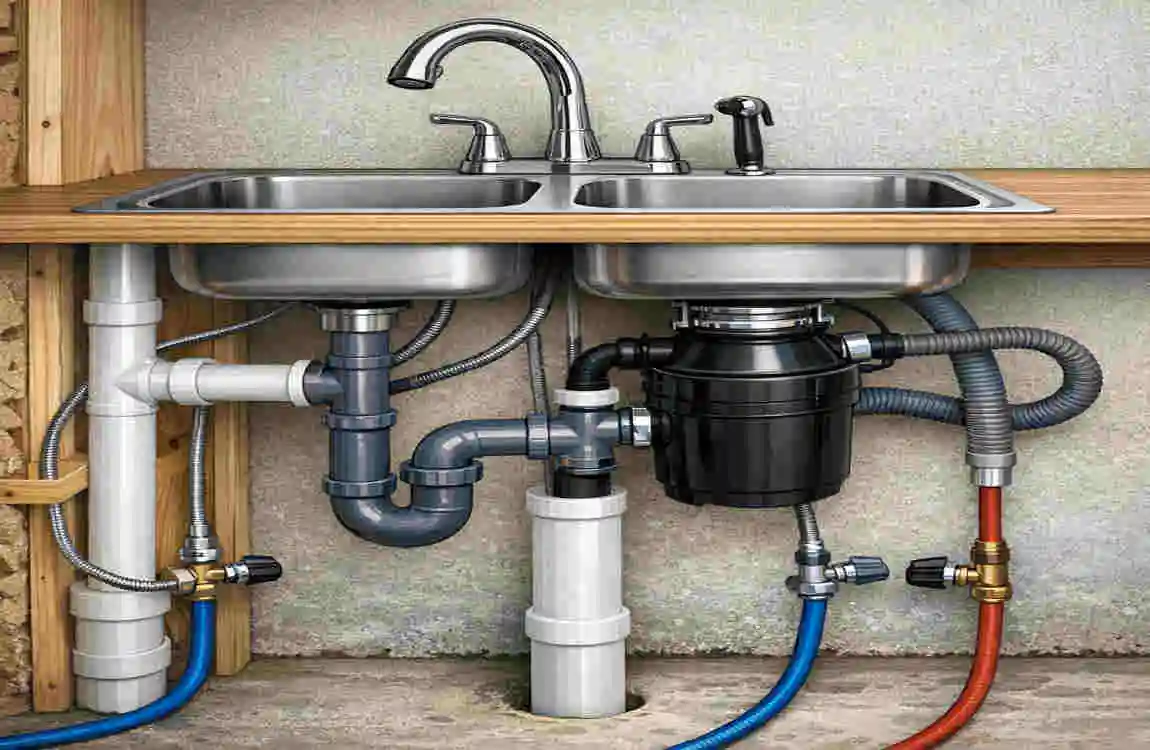
The plumbing under a kitchen sink has a few main parts, each with a job.
The tailpiece connects directly to the sink drain. The P-trap is the curved pipe below it, and its main job is to hold a small amount of water so that sewer gases do not come back into the room. The drain pipe carries water from the sink to the wall outlet. The water supply lines bring hot and cold water to the faucet.
When all these parts fit together correctly, water flows out easily and stays sealed where it should.
Different Types of Pipes Used Under Kitchen Sinks
You may see a few different pipe materials during a kitchen sink plumbing installation:
- PVC pipes – common, lightweight, and easy to work with
- ABS pipes – similar to PVC, often used in drains
- Stainless steel pipes – durable and resistant to corrosion
- Copper supply pipes – strong and long-lasting
- Flexible PEX lines – easy to install for water supply
For most DIY jobs, PVC or ABS is used for the drain, while flexible lines are often used for supplying water.
Common Reasons to Install New Sink Pipes
People usually replace kitchen sink pipes for a few simple reasons:
- Kitchen remodeling
- Old or damaged pipes
- Leaks under the sink
- Slow drainage problems
- Better plumbing layout
If your current pipes are cracked, rusty, or poorly fitted, replacing them can solve several problems at once.
Tools and Materials Needed for Kitchen Sink Pipe Installation
Essential Tools
Before you start, gather the basic tools so you do not have to stop midway.
- Adjustable wrench
- Pipe wrench
- Screwdriver
- Bucket
- Plumber’s tape
- Measuring tape
- Pipe cutter
- Safety gloves
Plumbing Materials
You will also need the right parts for the job.
- Drain pipes
- P-trap kit
- Compression nuts
- Rubber washers
- PVC cement, if needed
- Plumber’s putty
- New supply lines
A complete kit makes the job easier and helps avoid mismatched parts.
Preparing Before Installing Pipes Under Kitchen Sink
Turn Off Water Supply
First, shut off the water supply under the sink. Look for the hot and cold shut-off valves and fully close them.
This step helps prevent spills and water damage while you work.
Remove Old Plumbing Pipes
Place a bucket below the pipes before disconnecting anything.
Then:
- Loosen the pipe connections
- Remove the old P-trap
- Take off the drain pipes
- Clean the connection points
Cleaning the area helps the new pipes seal better.
Check Sink and Drain Measurements
Before installing anything, measure the drain opening and compare it with the new pipes.
Make sure the pipe sizes match and that the parts line up with the wall drain. Good measurements now can save time later.
Step-by-Step Guide: How to Install Pipes Under Kitchen Sink
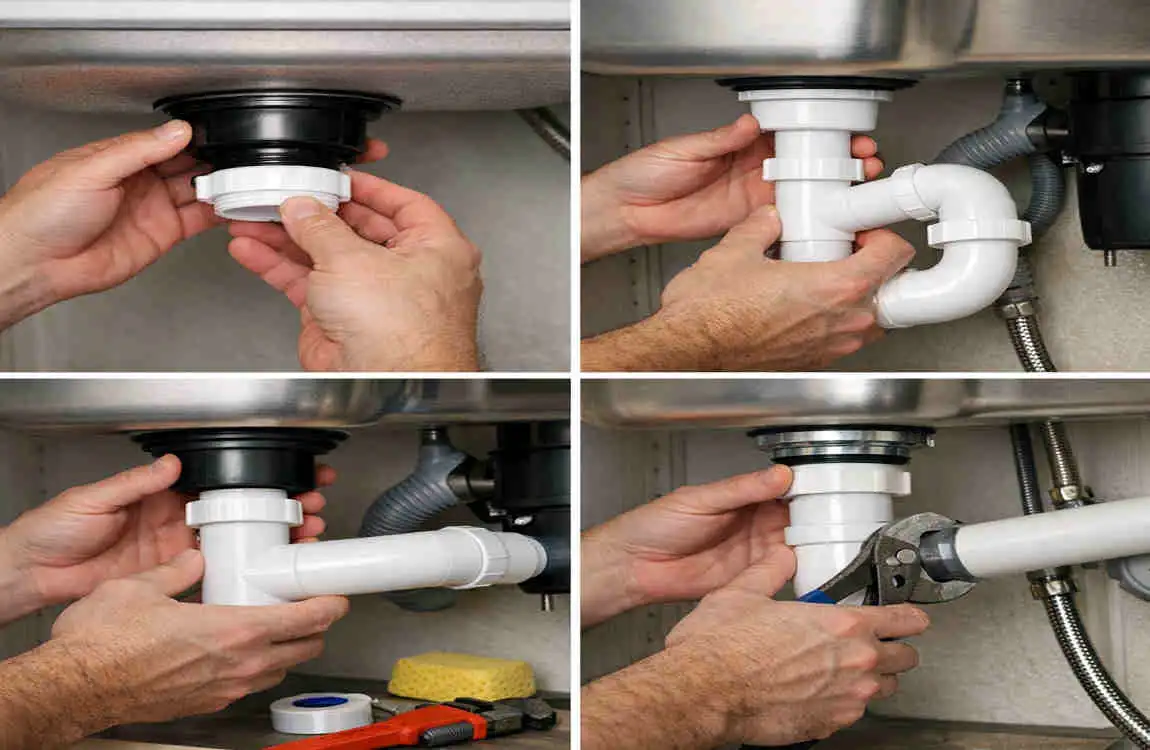
Install the Sink Tailpiece
Start by connecting the tailpiece to the bottom of the sink drain.
Place the rubber washer in the right spot, then tighten the connection gently. Do not overtighten, because that can damage the fitting.
Attach the P-Trap
Now install the P-trap under the kitchen sink. This curved piece is important because it traps water and blocks sewer gases.
Connect the trap section between the tailpiece and the wall drain pipe. Make sure the parts fit without forcing them.
Connect the Drain Pipe to Wall Outlet
Next, connect the drain pipe to the wall outlet. The pipe should fit straight and allow water to flow smoothly.
If the pipe is too long, trim it carefully. Maintain a slight downward slope so water can drain properly.
Install Water Supply Lines
Connect the hot and cold water lines to the faucet and shut-off valves.
Use plumber’s tape on threaded connections if needed. Tighten the fittings securely, but again, do not force them too hard.
Check for Leaks
Turn the water back on slowly. Then run the sink for a few minutes and check every joint.
Look closely around the P-trap, supply lines, and drain connections. If you see moisture, tighten the fitting slightly and test again.
Common Mistakes When Installing Kitchen Sink Pipes
Incorrect P-Trap Installation
If the P-trap is placed incorrectly, water may not drain well. It can also cause sewer odors to return to the kitchen.
Loose Pipe Connections
Loose fittings are one of the most common causes of leaks. Always check every joint carefully.
Using the Wrong Pipe Size
Pipes that are too small or too large will not connect correctly. Matching the correct diameter is very important.
Over-Tightening Connections
Too much force can crack fittings or damage washers. A snug fit is enough in most cases.
Tips for a Successful Kitchen Sink Plumbing Installation
Keep Pipes Properly Aligned
Try to avoid sharp bends or awkward angles. Smooth alignment helps water move freely.
Use Quality Plumbing Materials
Better pipes and fittings usually last longer and seal more reliably. Cheap parts can save money at first, but they often lead to more repairs later.
Test Before Completing Installation
Always test for leaks before you close the cabinet or put tools away. A few extra minutes of checking can prevent a bigger mess later.
How Much Does It Cost to Install Pipes Under a Kitchen Sink?
Item Average Cost
DIY pipe replacement $50–$200
New P-trap kit $10–$50
Supply lines $10–$40 each
Professional plumber $150–$500
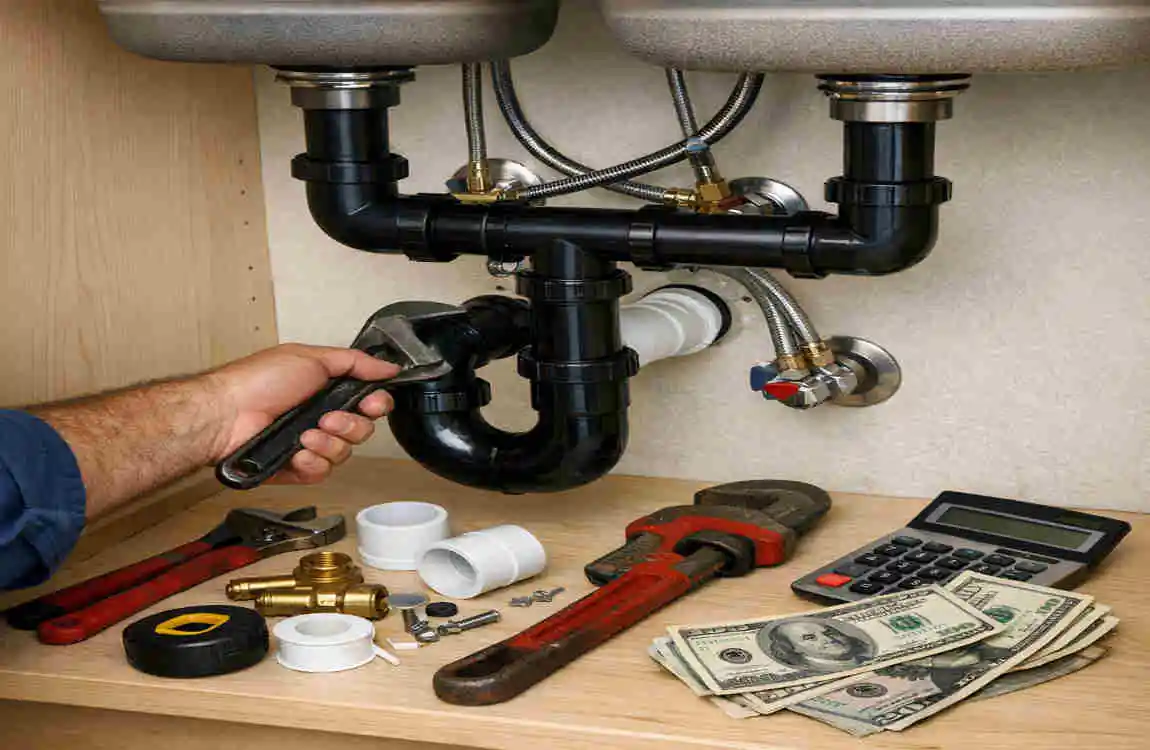
The total cost depends on the pipe type, labor, kitchen layout, and the condition of your current plumbing. If the setup is simple, a DIY repair can be very affordable. If the pipes are damaged or the layout is tricky, a plumber may be worth the extra cost.
When Should You Hire a Professional Plumber?
Some jobs are better left to a professional.
You should call a plumber if you have:
- Major leaks
- Damaged drain lines
- Hidden plumbing problems
- A sink that needs to be moved
- Local code requirements you are not sure about
If the repair involves more than a basic pipe replacement, professional help can save time and reduce risk.
Maintenance Tips for Kitchen Sink Pipes
Prevent Clogs
Avoid pouring grease, oil, or food scraps down the drain. These can build up and block the pipe.
Inspect Pipes Regularly
Check under the sink every so often for moisture, rust, or loose joints. Catching a small issue early can prevent a bigger repair.
Clean the P-Trap
If the sink drains slowly, the P-trap may need cleaning. Remove it carefully, clear out debris, and reinstall it firmly.
Benefits of Properly Installed Kitchen Sink Pipes
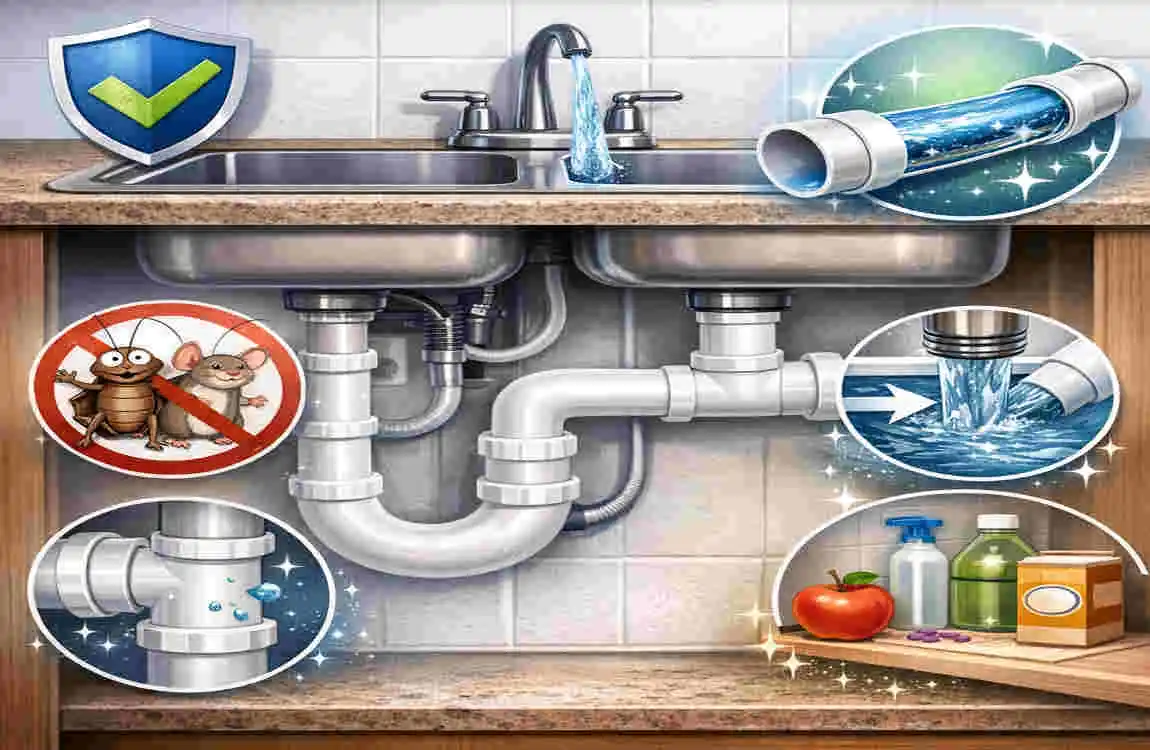
When the pipes are installed correctly, you get several benefits:
- Prevents water leaks
- Improves drainage
- Reduces plumbing repairs
- Prevents unpleasant odors
- Extends plumbing lifespan
A good installation makes your kitchen work better and gives you peace of mind.
FAQ
Can I install pipes under a kitchen sink myself?
Yes, many homeowners can do this with the right tools and clear instructions.
What size pipe is used under a kitchen sink?
Most kitchen sink drain pipes are 1½ inches in diameter.
How long does it take to install kitchen sink pipes?
A basic DIY job usually takes about 1 to 3 hours.
Do I need plumber’s tape for kitchen sink pipes?
Yes, plumber’s tape is often used on threaded water supply connections to help prevent leaks.
Why is my kitchen sink pipe leaking after installation?
The most common reasons are loose fittings, damaged washers, wrong alignment, or overtightening.
Should the P-trap be directly under the kitchen sink?
It should be installed correctly between the sink drain and the wall outlet to work properly.
| Task | Key Details | |
|---|---|---|
| Turn Off Water Supply | Shut off the hot and cold water valves before starting the installation. | |
| Prepare Tools & Materials | Gather PVC pipes, P-trap, connectors, plumber’s tape, wrench, and bucket. | |
| Install Sink Drain Tailpiece | Attach the tailpiece to the sink strainer and tighten it securely. | |
| Connect the P-Trap | Install the curved P-trap pipe to prevent sewer gases from entering your kitchen. | |
| Attach Drain Pipes | Connect the drain pipe from the P-trap to the wall outlet using proper fittings. | |
| Install Water Supply Lines | Connect hot and cold water lines to the faucet using flexible supply tubes. |
