
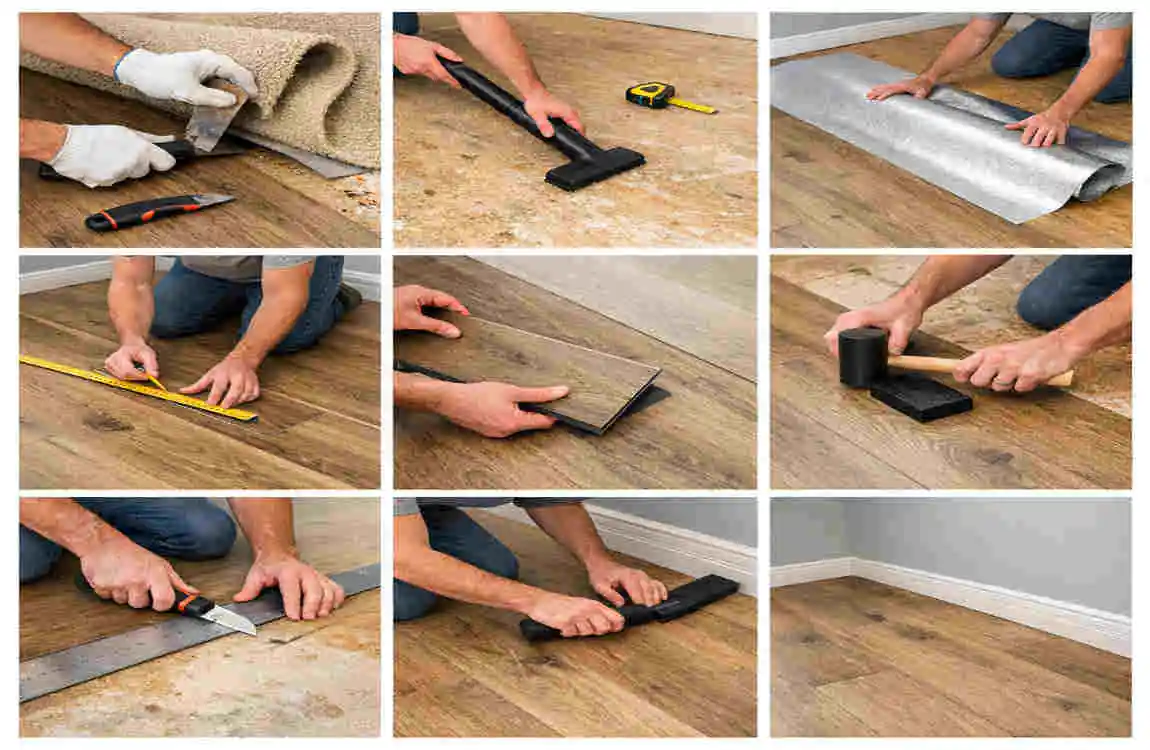
If you are planning a floor upgrade, how to install LifeProof vinyl flooring is a very useful skill to learn. This flooring is popular because it looks good, holds up well, and is made for DIY-friendly installation.
LifeProof vinyl flooring is a waterproof, durable, click-lock flooring option that works well in many rooms. Homeowners like it because it saves money, looks modern, and does not need heavy maintenance.
What Is LifeProof Vinyl Flooring?

Key Features
LifeProof vinyl flooring is made to handle daily use with less trouble than many other floors. It has a few standout features:
- Waterproof construction
- Scratch and stain resistance
- Click-lock installation system
That means it can work well in busy homes where spills, pets, and foot traffic are common.
Common Uses
You can install LifeProof vinyl flooring in many parts of the home, such as:
- Living rooms
- Bedrooms
- Kitchens
- Basements
- Bathrooms
It is a flexible choice, especially if you want a floor that looks polished but is still easy to live with.
Benefits of Installing LifeProof Vinyl Flooring
Durable and Long-Lasting
One big reason people choose this floor is durability. It can handle daily wear better than many softer flooring types.
Easy DIY Installation
The click-lock system makes it easier for homeowners to install on their own. You do not need glue for most projects, which keeps the process cleaner and simpler.
Low Maintenance
After installation, the floor is easy to care for. A quick sweep and occasional mop are usually enough.
Comfortable Underfoot
Compared with tile or stone, LifeProof vinyl feels softer and warmer under your feet. That makes it more comfortable for everyday use.
Budget-Friendly Flooring Option
It gives you a stylish look without the high price of hardwood or natural stone. That makes it a smart choice for many budgets.
Tools and Materials You’ll Need
ToolPurpose
Tape Measure Measure room dimensions
Utility Knife Cut planks
Rubber Mallet Lock planks together
Tapping Block Protect plank edges
Spacers Maintain expansion gap
Pull Bar Install last row
Pencil Mark cutting lines
Straight Edge Make accurate cuts
Safety Glasses Eye protection
Before you start, make sure everything is ready. Having the right tools nearby saves time and helps the job go smoothly.
Prepare the Subfloor Before Installation
Remove Existing Flooring
Take out old carpet, loose vinyl, damaged laminate, or anything else on the floor if needed. A clean base helps the new floor sit properly.
Clean the Surface
Sweep, vacuum, and remove dust or debris. Even small bits of dirt can affect how the planks fit.
Level Uneven Areas
If the floor has dips or bumps, fix them first. A flat surface is important for a strong installation.
Check Moisture Levels
This matters especially in basements or bathrooms. Too much moisture can cause future problems.
Acclimate Flooring Planks
Let the planks sit in the room before installation so they can adjust to the room’s temperature. This helps reduce movement later.
Measure and Plan the Layout
Measure the Room
Measure the length and width of the room carefully. This tells you how many planks you need.
Calculate Flooring Needed
Always buy a little extra for cuts and mistakes. A few extra boxes can save you stress later.
Plan Staggered Seams
Do not line up the plank ends in a straight line. Staggering the seams gives the floor a more natural look and adds strength.
Decide Installation Direction
Most people install planks along the longest wall or toward the main light source. That often looks best in the finished room.
How to Install LifeProof Vinyl Flooring Step-by-Step
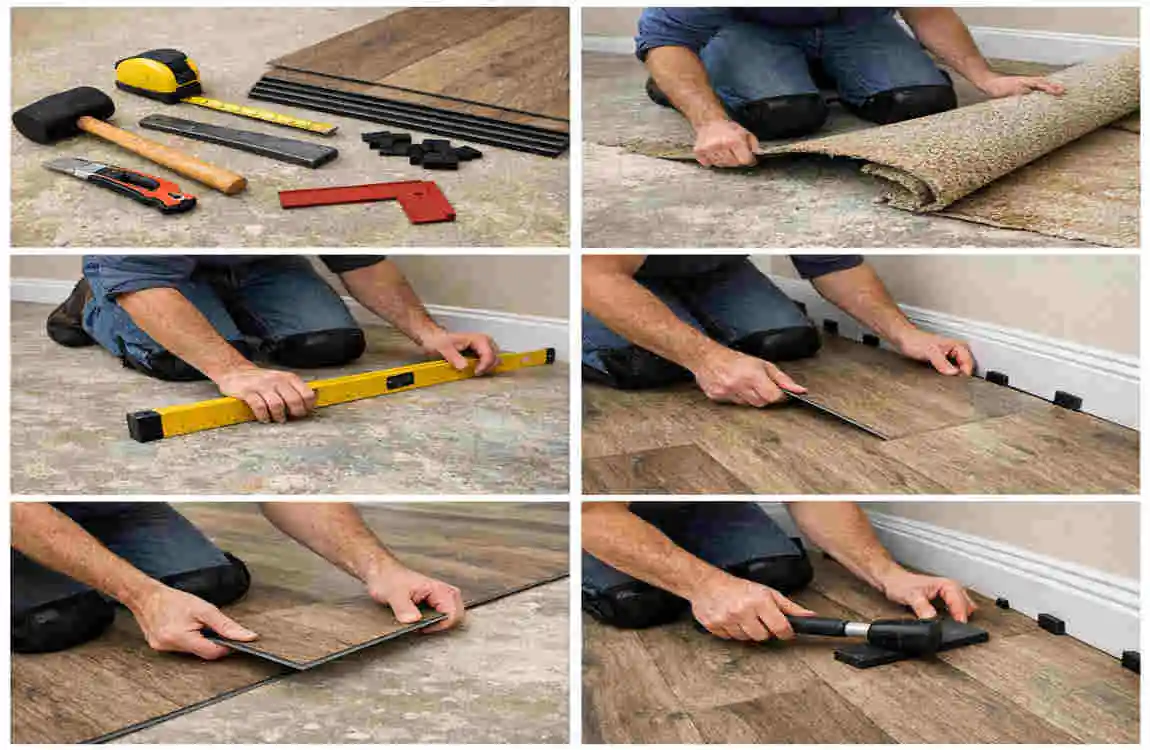
Install Spacers Along Walls
Place spacers between the wall and the first row of planks. This creates the expansion gap the floor needs.
Lay the First Row
Start in one corner and lay the first row straight. This row is very important because it sets the direction for the whole floor.
Lock the Click System
Angle the plank and press it into the next one until it clicks. Be gentle, but make sure the fit is snug.
Step 4: Cut End Pieces
Use a utility knife and straight edge to cut the last plank in the row. Measure carefully before cutting.
Stagger Each Row
Start the next row with a different plank length. This keeps the seams spread out and gives the floor a better look.
Continue Across the Room
Keep locking the planks row by row. Work slowly so the joints stay tight and even.
Installing Around Doors and Obstacles
Door Frames
You may need to trim the door frame slightly so the plank slides under it neatly. This gives the floor a cleaner finish.
Heating Vents
Measure carefully and cut the plank to fit around the vent opening. Leave enough space for a proper fit.
Pipes
For pipes, mark the spot, drill or cut a small hole, and then make the cut large enough to fit around the pipe.
Cabinets
If the flooring goes under cabinets, plan before starting. In many cases, it is easier to install the floor around fixed cabinet spaces.
Common Installation Mistakes to Avoid
- Skipping floor preparation
- Forgetting expansion gaps
- Not staggering joints
- Forcing planks together
- Installing over uneven surfaces
- Using damaged planks
These mistakes can cause gaps, lifting, or an uneven finish. A little care goes a long way here.
Maintenance Tips After Installation
Daily Cleaning
Sweep or vacuum regularly to keep dust and dirt off the floor.
Protect Against Scratches
Use felt pads under furniture and avoid dragging heavy items.
Clean Spills Quickly
Even though the flooring is waterproof, it is still smart to wipe up spills fast.
Use Furniture Pads
Chair legs and table legs can cause wear over time. Pads help protect the surface.
Avoid Harsh Chemicals
Use gentle cleaners made for vinyl flooring. Strong chemicals can damage the finish.
Pros and Cons of LifeProof Vinyl Flooring
ProsCons
Waterproof Difficult to repair individual planks
Easy installation Requires level subfloor
Scratch resistant May fade in direct sunlight
Pet friendly Premium styles cost more
Low maintenance Not refinishable
This table shows why many homeowners like it, but also what to think about before buying.
Is LifeProof Vinyl Flooring Worth Installing Yourself?
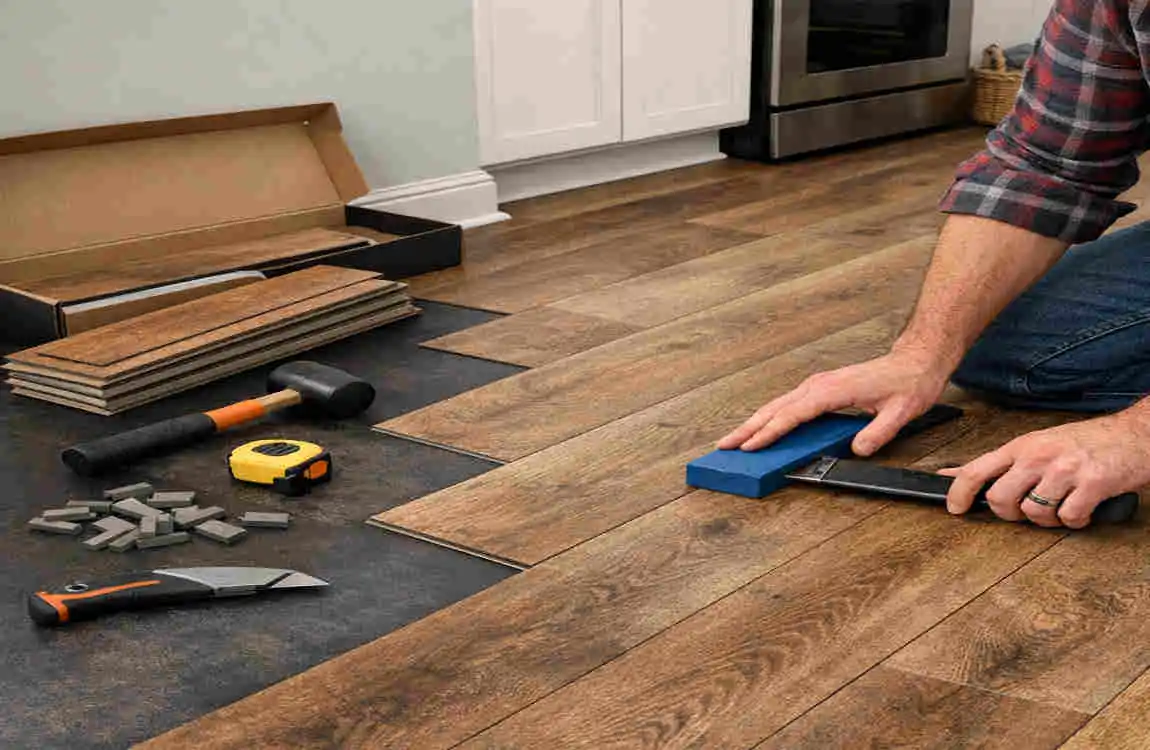
For many people, the answer is yes.
You can save money by doing the work yourself, and the click-lock design makes the process easier than many other flooring types. A small room is often manageable for beginners.
Still, if the subfloor is damaged, the room is large, or there are many tricky cuts, a professional may be the better choice. If you want a smooth result and less stress, hiring help can be worth it.
FAQ
How difficult is it to install LifeProof vinyl flooring?
Most homeowners can handle it with basic tools because of the click-lock system.
Do I need underlayment for LifeProof vinyl flooring?
Many products already include it, but you should always check the product details.
Can LifeProof vinyl flooring be installed over tile?
Yes, as long as the tile is clean, stable, and level.
How long does it take to install LifeProof vinyl flooring?
A typical room may take one day, depending on size and experience.
Can I install LifeProof vinyl flooring in a bathroom?
Yes. It is waterproof and works well in bathrooms, kitchens, laundry rooms, and basements.
Do I leave an expansion gap?
Yes, usually about 1/4 inch, but follow the product instructions.
Can damaged planks be replaced?
Yes, individual planks can often be replaced, depending on their location.
| Step | What to Do | Helpful Tip |
|---|---|---|
| Gather Tools | Prepare a tape measure, utility knife, spacers, rubber mallet, tapping block, pull bar, and straightedge. | Having everything ready speeds up installation. |
| Acclimate Flooring | Leave the LifeProof vinyl planks in the room for at least 24–48 hours. | This helps the flooring adjust to room temperature. |
| Prepare the Subfloor | Clean, dry, and level the subfloor by removing dirt, nails, and debris. | A smooth surface prevents gaps and uneven planks. |
| Measure the Room | Measure the room and plan the plank layout before starting. | Avoid ending with very narrow planks along walls. |
| Install the First Row | Place spacers against the wall and lock the first row of planks together. | Leave about a 1/4-inch expansion gap around the edges. |
| Continue Installing | Click each new plank into place and stagger end joints for a natural look. | Use a tapping block and mallet for a snug fit. |
| Cut Planks | Trim planks with a utility knife and straightedge to fit corners or edges. | Measure twice before cutting for accuracy. |
| Finish the Last Row | Cut the final row to width and secure it using a pull bar if needed. | Keep the expansion gap along the wall. |
| Install Trim & Baseboards | Remove spacers and reinstall baseboards or add transition strips. | Do not nail trim through the flooring. |
| Clean & Enjoy | Sweep or vacuum the floor and wipe with a damp microfiber mop. | Avoid harsh cleaners to protect the finish. |
