
Flooring replacement is one of the most impactful home improvement projects you can undertake. Whether you’re upgrading your style, addressing wear and tear, or increasing your home’s value, new flooring can transform your space. But while the results are exciting, the process itself often raises questions—chiefly, “How long does it take to change flooring?”
Understanding the timeline is essential for effective planning. Knowing what to expect ensures you can minimize disruptions, prepare adequately, and make informed decisions.
Factors Affecting Flooring Replacement Time
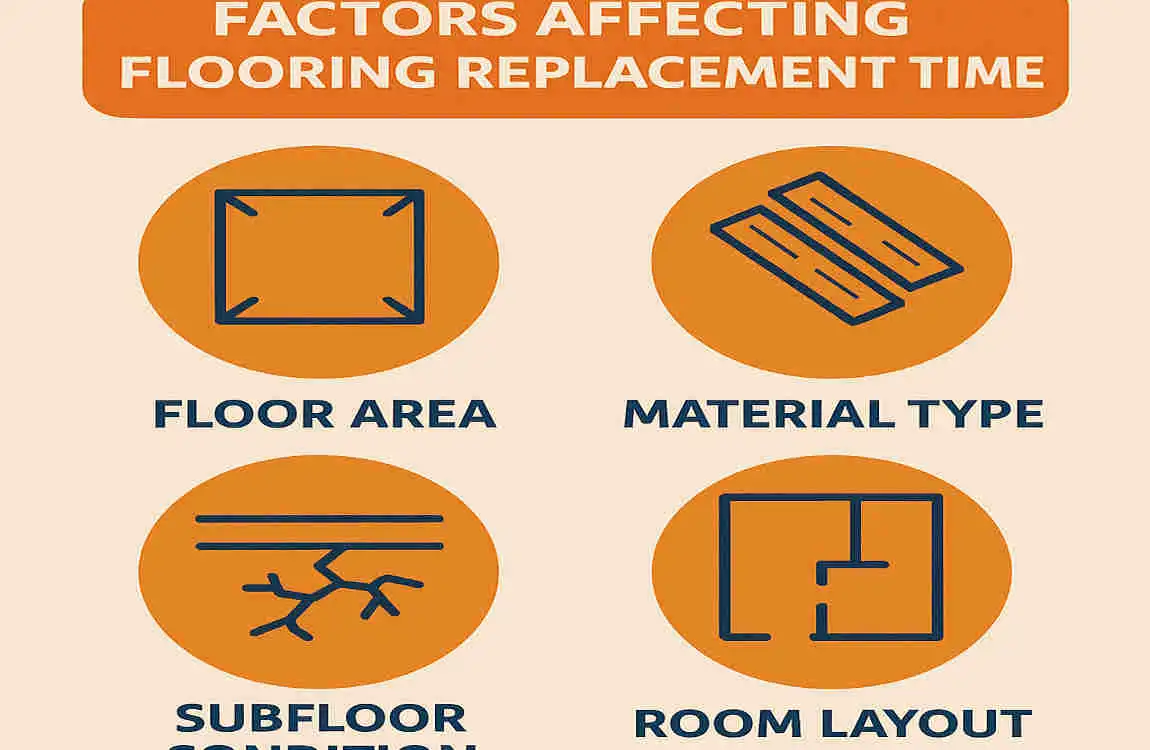
The time it takes to replace flooring doesn’t follow a one-size-fits-all formula. Several variables can speed up or slow down the process, so it’s essential to consider these elements before you start.
Type of Flooring Material
Different flooring materials require varying levels of effort to install. For instance:
- Carpet is one of the quickest materials to install, but it requires additional time for cutting and fitting around edges.
- Tile flooring, on the other hand, takes longer due to the need for precise placement, grouting, and setting.
- Hardwood flooring may require sanding and finishing, which can extend the timeline.
Size of the Room
It’s simple math: larger rooms take longer to complete. A 200-square-foot bedroom will naturally require less time than a 1,000-square-foot living area. Additionally, irregularly shaped spaces or layouts with alcoves and nooks can increase installation time due to the need for custom cuts.
Removal of Old Flooring
The condition and type of your existing flooring can also impact the timeline. For example:
- Old carpet is relatively easy to remove and dispose of.
- Tile or glued-down flooring, however, can be labor-intensive to strip, requiring specialized tools and additional time to address the subfloor.
Subfloor Condition
Once the old flooring is removed, the subfloor must be inspected. If repairs, leveling, or moisture barriers are needed, this can add to the timeline. Subfloor preparation is crucial for basements and bathrooms, where moisture issues are common.
Complexity of Design or Pattern
If you’re opting for a simple, straightforward installation, the process will be quicker. However, intricate designs such as herringbone, chevron, or custom tile patterns require more time and expertise to execute correctly.
Contractor Experience and Crew Size
Hiring an experienced flooring contractor with a larger crew can significantly speed up the process. A skilled team knows how to work efficiently while maintaining high-quality results. Always research reviews and credentials before selecting a contractor.
General Timeline Estimates by Flooring Type
The type of flooring material you choose plays a significant role in determining how long your project will take. Here’s a breakdown of average timelines for popular flooring types:
Flooring Type: Typical Installation Time
Carpet 1–2 days
Luxury Vinyl Plank (LVP) 1–3 days
Laminate Flooring 1–3 days
Tile 3–5 days
Hardwood (Prefinished) 3–5 days
Hardwood (Unfinished) 5–7 days
Each material has its own unique requirements. For example, tile flooring involves additional time for grouting and curing, while hardwood floors may need sanding, staining, and sealing.
Room-by-Room Timeline Breakdown
Not all rooms are created equal when it comes to flooring replacement. Factors like size, moisture considerations, and usage heavily influence the time required for each space.
Kitchen (2–4 Days)
The kitchen is a high-traffic area that often requires durable and water-resistant flooring. Challenges include moving heavy appliances and working around cabinetry. Tile and LVP are common choices, but the installation process can take a few days due to the need for precision.
Living Room (1–3 Days)
Living rooms are typically straightforward spaces for flooring installation. The timeline depends on the flooring type and room size. Carpet, laminate, or LVP can usually be completed in 1–2 days, while hardwood or tile may take longer.
Bedrooms (1–2 Days)
Bedroom flooring is one of the quickest to install. These spaces are usually smaller, and materials like carpet or laminate can be installed efficiently. Bedrooms also tend to have fewer obstacles, making the process faster.
Bathrooms (2–4 Days)
Bathrooms are more complex due to moisture concerns. Tile is a popular choice, but it requires proper water barriers and grouting, which can extend the timeline. Subfloor preparation is also critical in this area to prevent long-term water damage.
Basements (3–5 Days)
Basements often require additional preparation due to the risk of moisture and uneven subfloors. Installing a moisture barrier and leveling the surface can add extra time. LVP, tile, and epoxy flooring are common choices for basements.
Whole-House Projects (1–3 Weeks)
Replacing flooring throughout your entire home is a significant undertaking. The timeline depends on the size of your home and the flooring materials you choose. Work is often done in phases to maintain livability, which can extend the project over several weeks.
Step-by-Step Timeline for Flooring Replacement
Breaking down the process day by day helps clarify what to expect during a flooring replacement project. Here’s a general timeline:
Day 1: Preparation
- Cover and protect furniture, walls, and adjacent areas.
- Remove baseboards and trim.
- Ensure the workspace is clean and ready for removal.
Days 2–3: Removal of Old Flooring
- Pull up old carpet, tile, or other materials.
- Inspect and repair the subfloor as needed.
- Dispose of waste materials.
Days 4–6: Installation
- Lay the new flooring, starting from one corner and working methodically.
- For tile or hardwood, ensure proper alignment and spacing.
- Allow adhesives, grout, or finishes to set.
Final Days: Finishing Touches
- Install baseboards, trims, and transitions.
- Conduct a thorough cleanup.
- Inspect the finished flooring for quality and consistency.
Tips for Minimizing Flooring Replacement Time
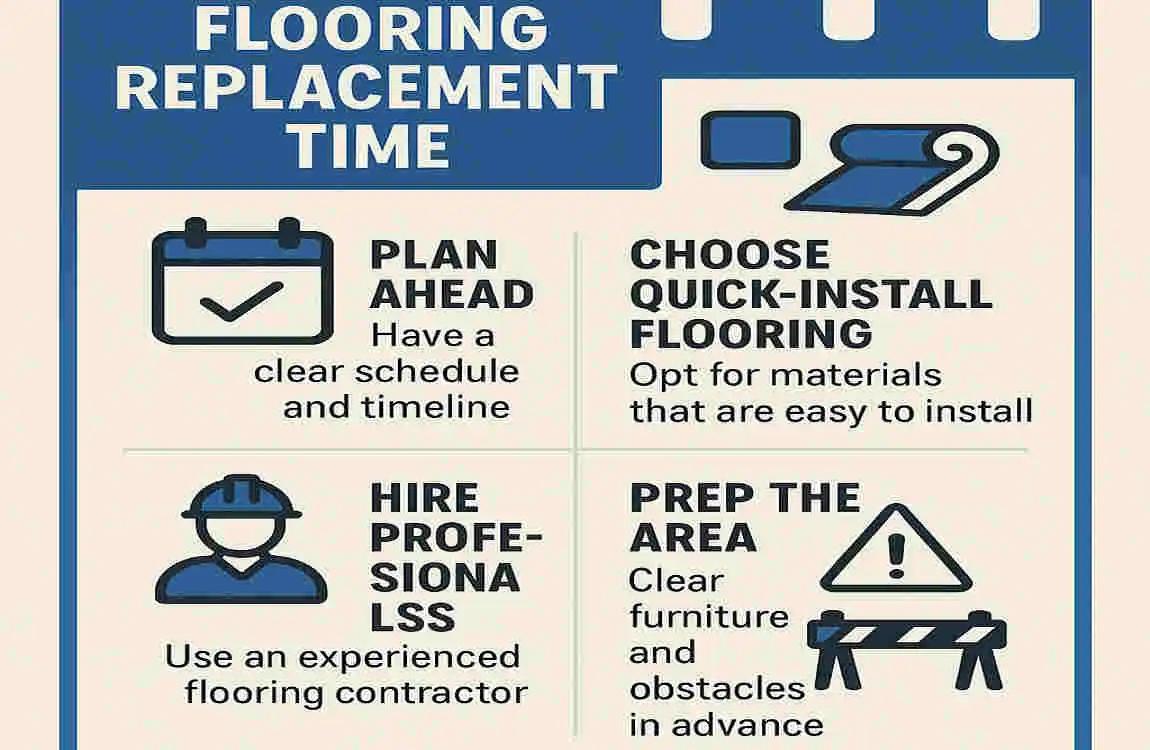
Here are some practical ways to ensure your flooring project stays on schedule:
Hire Reliable Contractors
Research and hire experienced professionals who can work efficiently and deliver quality results.
Prepare Your Home in Advance
Clear the work area of furniture and belongings to save time on the first day.
Choose the Right Flooring
Opt for materials that fit your timeline. For example, prefinished hardwood or LVP can save significant time compared to unfinished wood or custom tile.
Communicate Clearly
Discuss expectations and timelines with your contractor to avoid misunderstandings.
What to Expect During the Flooring Replacement Process
Flooring replacement can be disruptive, but understanding what’s involved can help you prepare.
Disruptions
Expect some noise, dust, and limited access to certain areas of your home during the project. Consider alternative arrangements if major regions, such as kitchens or bedrooms, are affected.
Safety
Keep children and pets away from work areas to avoid accidents. Communicate with contractors about safety protocols.