
Repairing old wood window frames in your house can be a rewarding and straightforward DIY project. With a few easy steps, you can restore the beauty and functionality of worn-out frames, protecting your home from drafts and further window damage.
Understanding Old Wood Window Frames
First things first, let’s talk about what causes wood window frames to deteriorate over time. Exposure to the elements, particularly moisture and sunlight, can take a toll on even the sturdiest of woods. Some common types used in window frames include pine, oak, and mahogany. Each has its own unique characteristics, but all are susceptible to rot, cracks, and peeling paint if not properly maintained.
So, how do you know if your window frame needs some TLC? Keep an eye out for these telltale signs:
- Soft, spongy spots in the wood
- Visible water damage or discoloration
- Flaking or bubbling paint
- Drafts or leaks around the frame
If you spot any of these issues, it’s time to roll up your sleeves and get to work!
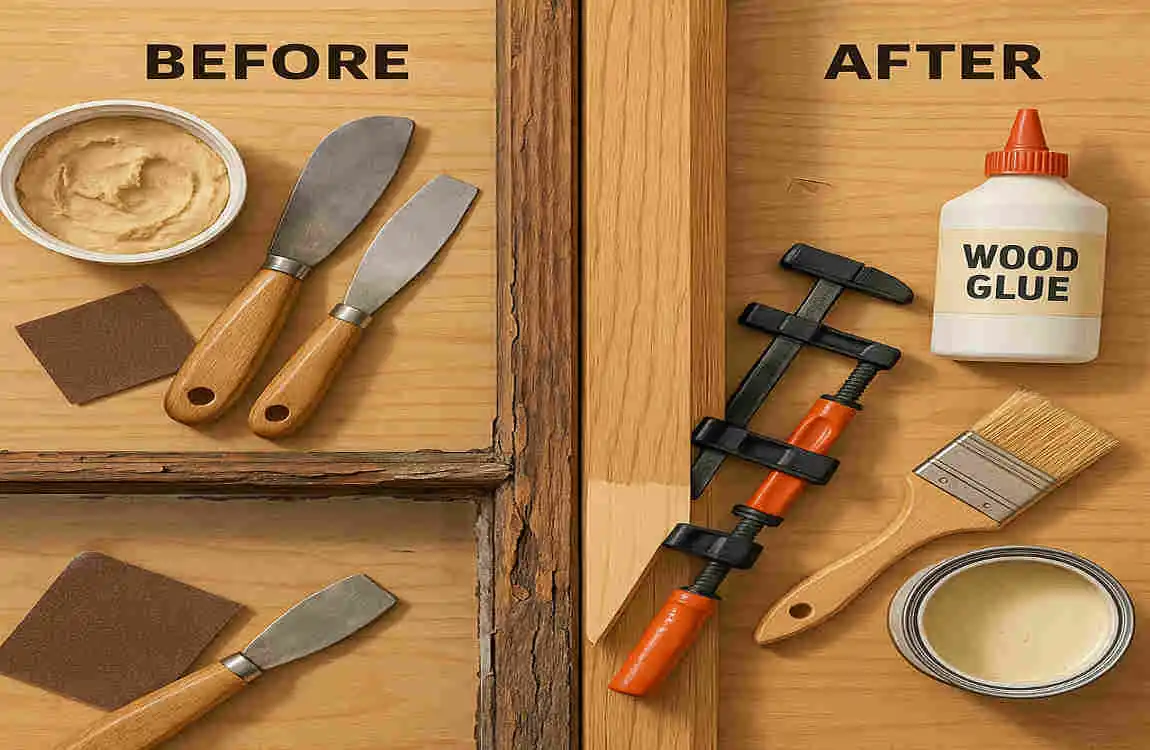
Tools and Materials Needed for Repair
Before you begin your wood window frame repair project, gather these essential tools and materials:
- Putty knife
- Sandpaper (various grits)
- Wood filler (exterior grade)
- Paintbrush
- Scraper
- Wood hardener
- Primer
- Paint (exterior grade)
- Wood preservative
- Gloves, a dust mask, and safety glasses
Having everything on hand will make the process go much more smoothly. Now, let’s get started on repairing rotted window frames!
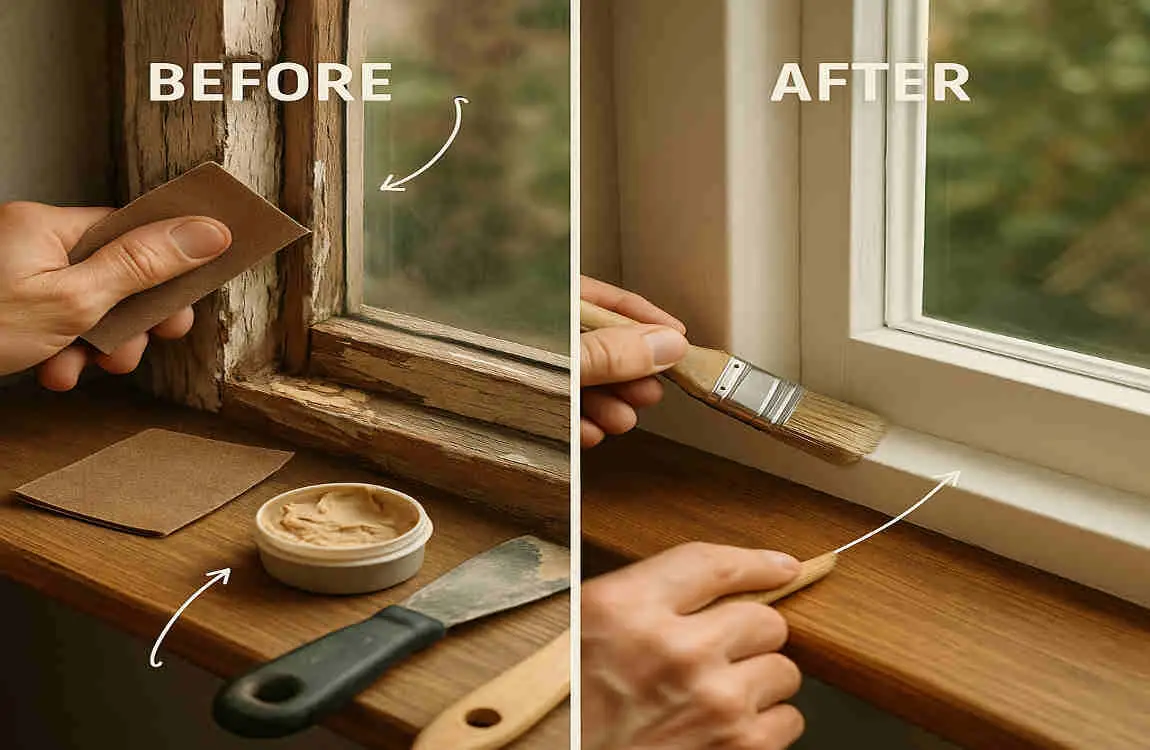
Step-by-Step Guide on How to Repair an Old Wood Window Frame
Inspection and Preparation
Begin by thoroughly inspecting the window frame for any damaged areas. Look closely for signs of rot, cracks, or peeling paint. Make note of the extent of the damage so you can plan your repair accordingly.
Next, use a scraper or putty knife to remove any loose paint and old caulk around the frame. This will help the new filler and paint adhere properly. Then, give the frame a good cleaning to remove dirt, dust, and debris. A stiff-bristled brush or compressed air can help reach into those hard-to-reach areas.
Removing Rot and Damaged Wood
Now it’s time to address those rotted areas. Using a sharp chisel or utility knife, carefully cut out the damaged wood until you reach solid, healthy wood. Be sure to wear gloves and safety glasses during this step to protect yourself from any flying debris.
To avoid causing further damage, work slowly and methodically. Cut parallel to the grain of the wood, and try to remove only the necessary material. Once you’ve removed all the rotted wood, dispose of the scraps properly.
Treating Wood with Wood Hardener
Before filling in the voids left by the removed wood, it’s essential to treat the area with a wood hardener. This product penetrates the wood fibers, reinforcing and stabilizing them. Essentially, it creates a solid base for the filler to adhere to.
To apply wood hardener, brush it onto the affected areas using a paintbrush or sponge applicator. Be sure to follow the manufacturer’s instructions for drying times before moving on to the next step.
Filling Gaps and Holes
With the wood properly prepped, you can now fill in those gaps and holes. For old window frames, it’s best to use an exterior-grade wood filler. This type of filler is designed to withstand the elements and maintain its shape over time.
Using a putty knife, apply the filler to the damaged areas and press it firmly into place. Overfill the holes slightly, as the filler will shrink slightly as it dries. Once the filler is in place, use the putty knife to smooth it out and create an even surface.
Allow the filler to dry completely according to the product instructions. Then, use sandpaper to gently sand the filled areas until they are flush with the surrounding wood. Start with a coarser grit (60-80) and work your way up to a finer grit (120-150) for a smooth finish.
Priming and Painting the Repaired Frame
With the repairs complete, it’s time to protect your hard work with a coat of primer and paint. Priming is crucial, as it helps the paint adhere better and last longer. Look for an exterior-grade primer specifically designed for wood.
Apply the primer evenly over the entire window frame using a paintbrush or roller. Pay extra attention to the repaired areas, ensuring they are fully covered. Allow the primer to dry completely before proceeding to the painting stage.
When choosing paint for your window frame, opt for an exterior-grade product that offers good coverage and durability. A semi-gloss or gloss finish is often recommended for trim work, such as window frames, as it’s easier to clean and maintains its shine longer.
Using a high-quality paintbrush or small roller, apply the paint in thin, even coats. Work in the direction of the wood grain for a smoother finish. Apply at least two coats, allowing each to dry thoroughly before adding the next.
Preventive Maintenance Tips for Wood Window Frames
Now that your old wood window frame is looking good as new, it’s essential to keep up with regular maintenance to prevent future damage. Here are some tips:
- Clean the frames regularly with a soft brush or cloth to remove dirt and debris
- Inspect the frames annually for signs of wear, damage, or rot
- Apply a fresh coat of paint or sealant every few years to protect the wood
- Use weatherstripping and caulk to seal any gaps and improve insulation
- Repair any damage promptly to prevent it from worsening
By following these simple steps, you can extend the life of your wood window frames and keep them looking beautiful for years to come.
When to Call a Professional
While DIY enthusiasts can tackle many old window frame maintenance tasks, there are some instances where it’s best to call in a professional. If the damage to your window frame is extensive, such as large areas of rot or structural issues, it may be beyond the scope of a simple repair.
In such cases, a professional carpenter or window specialist can assess the damage and recommend the most suitable course of action. They may be able to perform more complex repairs or, if necessary, replace the entire window frame.
Cost is another consideration when deciding whether to DIY or hire a pro. For minor repairs, tackling the project yourself can save you money. However, for larger jobs or if you’re unsure of your abilities, it may be more cost-effective in the long run to bring in an expert.
Benefits of Repairing Your Old Wood Window Frame Yourself
While hiring a professional has its advantages, there are also many benefits to repairing rotted window frames yourself:
- Cost savings: DIY repairs are often much cheaper than hiring a contractor
- Increased home value: Well-maintained windows boost your home’s curb appeal and overall value
- Environmental impact: Restoring old windows keeps them out of landfills and preserves historic character
- Personal satisfaction: There’s a sense of pride that comes with completing a project with your own two hands
So, if you’re feeling up to the challenge, DIY window frame restoration can be a rewarding experience on many levels.