
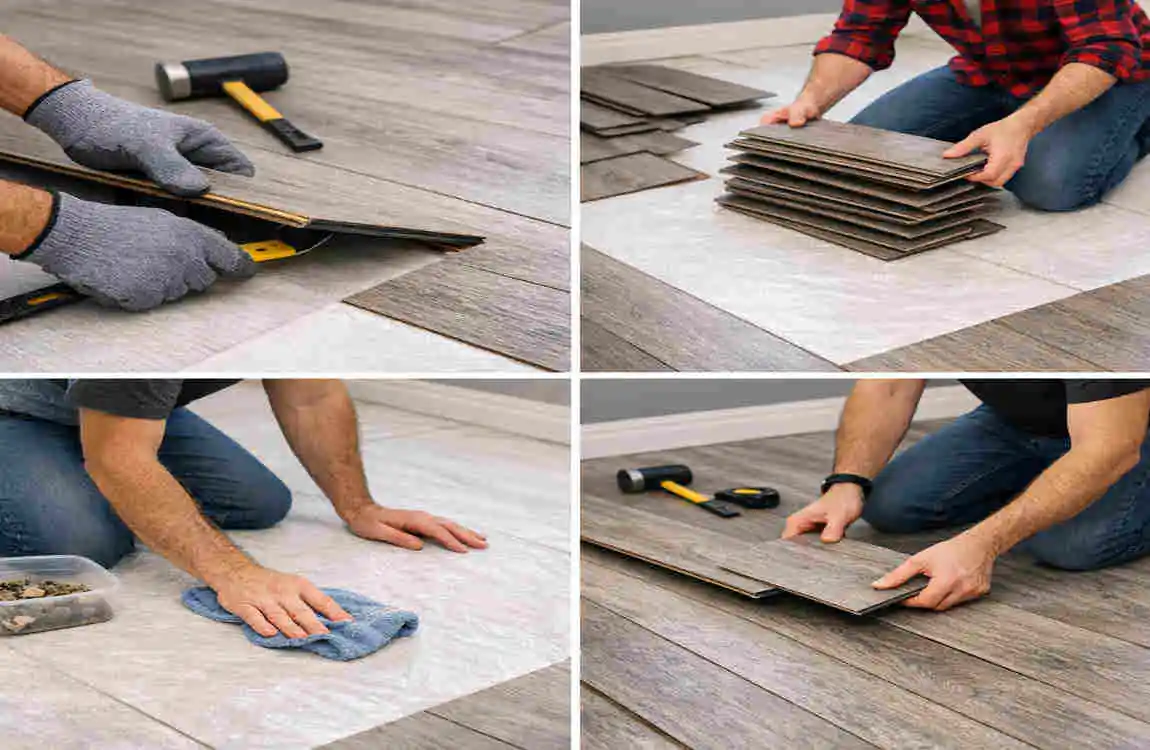
Vinyl plank flooring is popular because it looks good, feels modern, and is easy to care for. But many homeowners still ask one important question: can vinyl plank flooring be removed and reinstalled?
The short answer is yes, in many cases. It depends on the type of vinyl plank, how it was installed, and whether the planks are still in good condition. This is useful when you are remodelling, replacing a damaged plank, moving to a new home, or updating a room without buying all-new flooring.
Can Vinyl Plank Flooring Be Removed and Reinstalled?
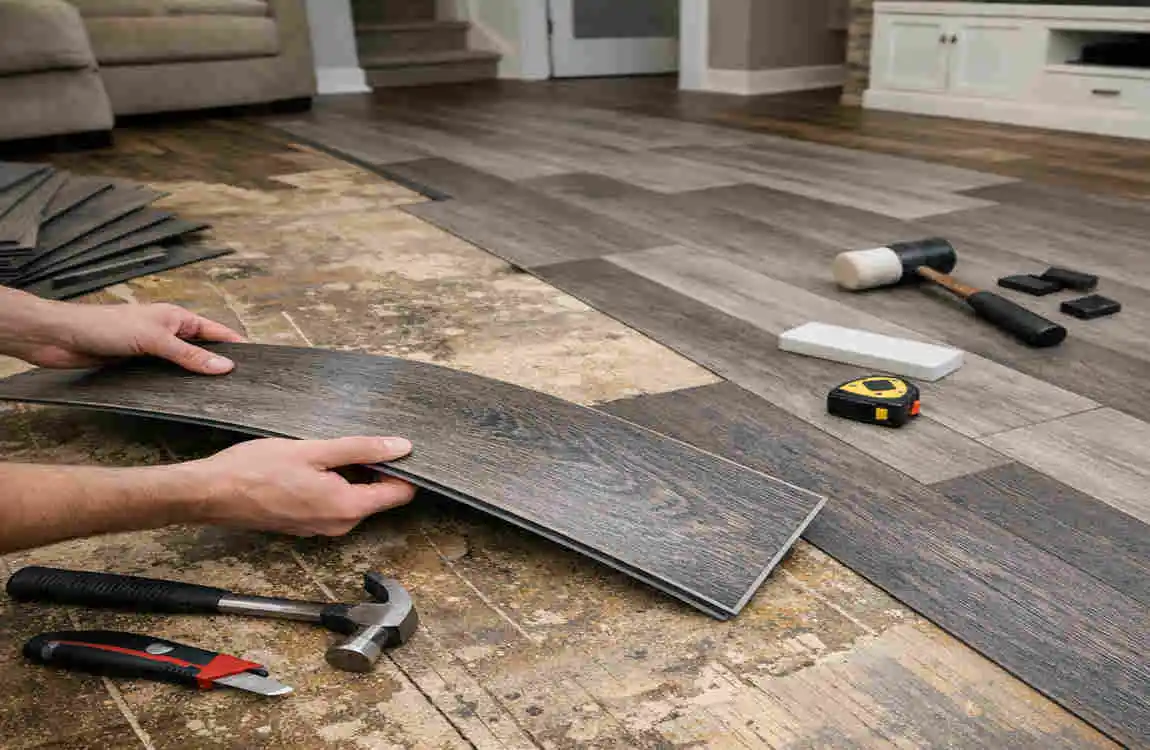
The Short Answer
Yes, vinyl plank flooring can often be removed and reinstalled. But not all vinyl flooring is the same. Some types come apart easily and can be reused, while others may be damaged during removal.
The main thing to remember is this: the better the flooring was installed and maintained, the better the chance it can be reused.
Factors That Determine Reusability
A few things decide whether reinstallation is possible:
- Click-lock vinyl plank flooring is the easiest to reuse
- Glue-down vinyl flooring is harder to remove without damage
- Loose-lay vinyl flooring is usually easier to lift and reset
- Age and wear can weaken the planks over time
If the locking edges are broken or the surface is badly worn, reinstallation may not be worth it.
Types of Vinyl Plank Flooring
Click-Lock Vinyl Planks
Click-lock planks are the best choice if you want flooring that can be removed and reused. The boards lock together without glue, which makes them easier to take apart carefully.
This type works well for homeowners who may move or remodel later.
Glue-Down Vinyl Planks
Glue-down flooring is much harder to reuse. The adhesive often sticks strongly to the plank and the subfloor, which can damage the material during removal.
If you remove glue-down planks, many of them may no longer be usable.
Loose-Lay Vinyl Flooring
Loose-lay vinyl is simple to lift because it is not fully bonded to the floor. This makes removal much easier, and in some cases, reinstallation is possible with little trouble.
Tools and Materials You’ll Need
Before you begin, gather everything you need, so the process goes smoothly.
ToolPurpose
Utility knife Cutting edges
Pry bar Lifting trim
Rubber mallet Reinstallation
Pull bar Locking planks
Spacers Expansion gap
Safety gloves Hand protection
You may also want:
- A marker or labels for organising planks
- A vacuum or broom for cleaning the subfloor
- A flat storage area for the boards
How to Remove Vinyl Plank Flooring
Remove Baseboards
Start by removing the baseboards or trim around the room. This gives you space to lift and move the flooring without damaging the edges.
Work slowly so you can reuse the trim later if needed.
Find the Starting Edge
Look for the edge of the flooring that was installed last. That is often the easiest place to begin removing the planks.
If the floor was installed with click-lock edges, starting from the right side helps protect the tabs.
Unlock Each Plank Carefully
Gently separate each plank. Do not force them apart, because that can break the locking system.
Take your time. Slow removal gives you the best chance of reusing the boards later.
Label Planks for Easy Reinstallation
If you plan to reuse the flooring in the same room, label each plank in order. This helps you remember the layout when it is time to reinstall.
A simple number on the back of each plank can save a lot of confusion later.
Store Flooring Properly
Store the planks flat in a dry area. Do not bend them or pile heavy items on top of them.
Good storage keeps the planks straight and ready for reuse.
Inspect the Flooring Before Reinstalling
Check Locking Edges
Look closely at the locking edges. These parts click together, so they need to stay in good shape.
If they are cracked or worn down, the planks may not lock properly again.
Look for Cracks or Chips
Inspect every plank for damage. Even small chips can affect how the floor looks and fits.
If a plank is badly damaged, replace it instead of trying to reuse it.
Inspect Moisture Damage
Water can warp vinyl or weaken the backing. If a plank has been exposed to moisture for too long, it may no longer fit correctly.
Clean Each Plank
Before reinstalling, wipe each plank clean. Dust and debris can interfere with the fit and create uneven seams.
Preparing the Subfloor
Remove Dirt and Debris
A clean subfloor is very important. Sweep or vacuum the area so there is nothing under the planks.
Repair Uneven Areas
If the floor has bumps, dents, or soft spots, fix them first. Vinyl planks need a smooth base to sit properly.
Check Moisture Levels
Too much moisture under the flooring can lead to future problems. Make sure the subfloor is dry before you reinstall.
Install Underlayment If Required
Some vinyl systems need underlayment, while others do not. Always check the product type and use what is recommended.
How to Reinstall Vinyl Plank Flooring
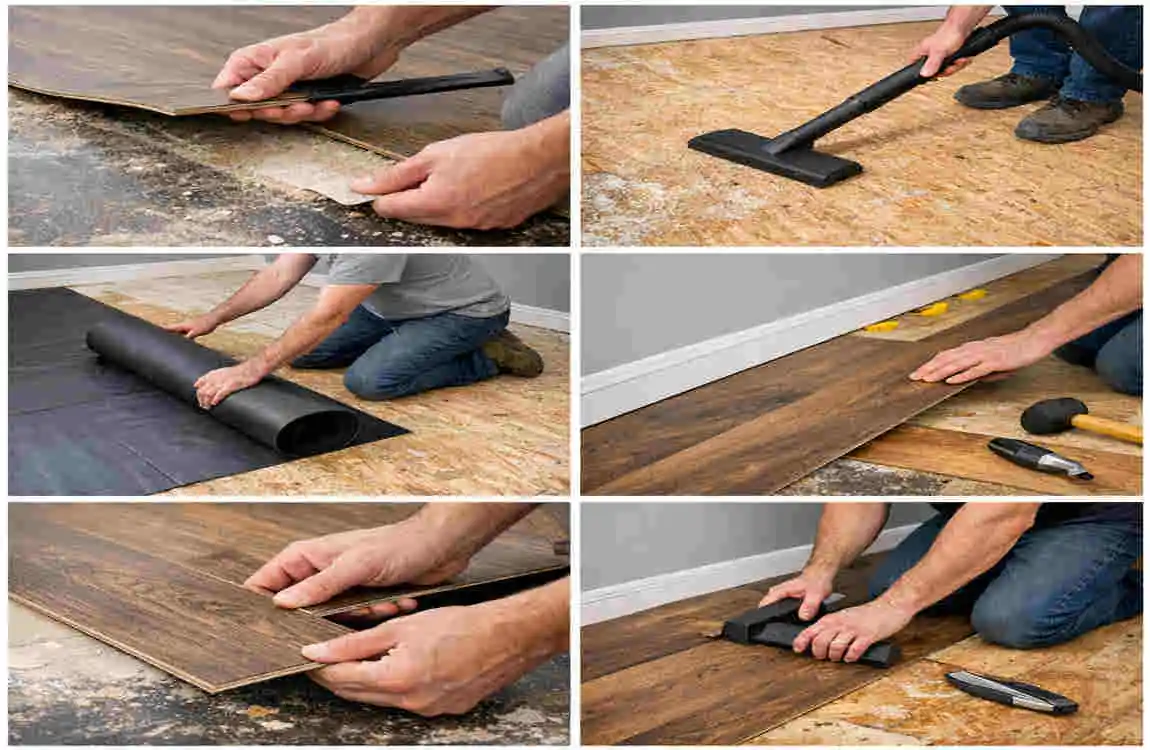
Plan the Layout
Before you begin, decide where the first row will go. A smart layout helps the floor look balanced and professional.
Try to avoid narrow end pieces if possible, since they can look awkward.
Start Along the Longest Wall
Starting along the longest wall usually gives the room a cleaner look. It also helps the rows stay straight.
Use spacers to leave the correct expansion gap around the edges.
Lock Planks Together
Connect each plank carefully. Press or tap them into place as needed, but do not force them.
If the planks do not fit easily, check the alignment before pushing harder.
Cut End Pieces
You will usually need to trim the last plank in each row. Measure carefully before cutting so the piece fits neatly.
A clean cut helps the final floor look better.
Reinstall Trim and Baseboards
After the flooring is in place, put the trim and baseboards back. This hides the edges and completes the job.
Common Mistakes to Avoid
Some mistakes can damage the flooring or make reinstallation harder.
- Forcing planks apart
- Damaging locking tabs
- Skipping subfloor preparation
- Ignoring expansion gaps
- Reinstalling damaged planks
If you avoid these problems, your chances of success increase significantly.
Pros and Cons of Reinstalling Vinyl Plank Flooring
ProsCons
Saves money Some planks may break
Eco-friendly Glue-down flooring is harder to reuse
Faster than buying new flooring Locking edges can wear out
Great for remodelling Requires careful handling
Reinstalling is a smart option when the planks are still in good shape. But if the floor is old or damaged, new flooring may be the better choice.
When You Should Replace Instead of Reinstall
Severe Water Damage
If the flooring has been soaked or warped by water, it may not lay flat again.
Broken Locking System
If the tabs are broken, the planks may not stay connected properly.
Warped Planks
Bent or twisted planks can leave gaps and uneven seams.
Heavy Surface Wear
If the top layer is badly scratched or faded, the flooring may not look good after reinstalling.
Maintenance Tips After Reinstallation
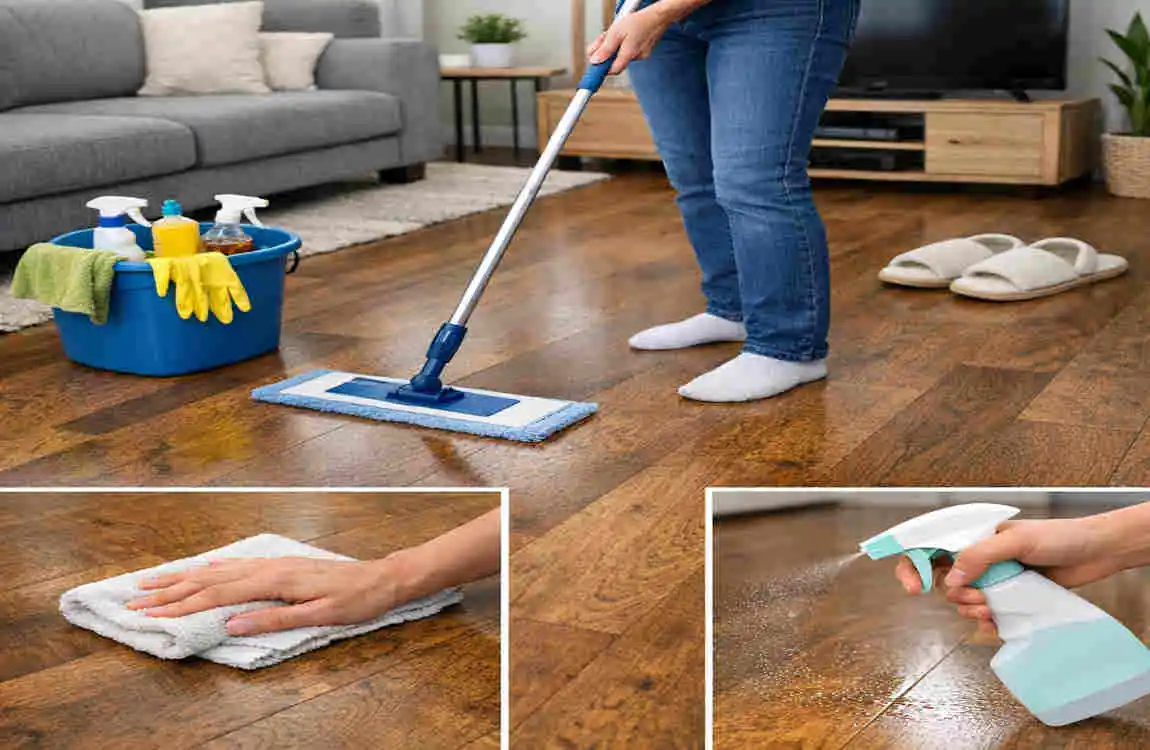
Once the flooring is back in place, simple care helps it last longer.
- Clean regularly
- Avoid excessive moisture
- Use furniture pads
- Sweep frequently
- Protect from heavy impacts
These habits help the planks stay in better shape after reuse.
Expert Tips for a Successful Reinstallation
A few simple habits can make the process much easier:
- Remove slowly and carefully
- Number each plank before removal
- Store the flooring flat in a dry space
- Replace damaged pieces right away
- Test-fit planks before final installation
These small steps can save time and prevent frustration later.
Frequently Asked Questions
Can vinyl plank flooring be removed and reinstalled without damage?
Yes, click-lock vinyl plank flooring can often be removed and reinstalled if handled carefully.
Can glue-down vinyl plank flooring be reused?
Usually not. The adhesive often damages the planks during removal.
How many times can vinyl plank flooring be reinstalled?
Most click-lock planks can be reused once or twice if the locking edges stay intact.
Do I need new underlayment when reinstalling vinyl plank flooring?
If the old underlayment is worn out or damaged, replacing it is a good idea.
Can I reinstall vinyl plank flooring in another room?
Yes, if the planks are still in good condition and the new floor is clean, level, and dry.
What is the biggest risk when removing vinyl plank flooring?
The biggest risk is usually breaking the locking tabs or damaging the edges of the plank.
Is it worth reinstalling old vinyl plank flooring?
If the planks are still in good shape, reinstalling can save money and reduce waste.
| Topic | Details |
|---|---|
| Project Name | Easy Guide to Removing and Reinstalling Vinyl Plank Flooring |
| Difficulty Level | Easy to Moderate |
| Estimated Time | 2–6 hours (depending on room size) |
| Best For | Floating/click-lock vinyl plank flooring |
| Can Flooring Be Reused? | Yes, if planks are removed carefully without damage. |
| Tools Needed | Pry bar, utility knife, rubber mallet, pull bar, tapping block, gloves, marker, and storage boxes. |
| First Step | Remove furniture and baseboards or quarter-round molding. |
| How to Remove | Start at the last installed row and gently unlock each plank without forcing it. |
| Label Planks | Number or stack planks in order for easier reinstallation. |
