
If you live in the beautiful Sunshine State, you already know our weather is uniquely wonderful. However, you also know that our intense climate can be absolutely brutal on your home’s exterior. Florida homeowners constantly face unique challenges. We battle relentless 90% humidity, blistering UV exposure, salty coastal breezes, and those infamous afternoon thunderstorms.
That is exactly why we created this ultimate DIY and professional guide. If you are wondering how to paint wood siding on a house in Florida, you are in the right place. We are going to walk you through every single step to ensure your home looks gorgeous and stays protected against the elements.
Why Paint Wood Siding in Florida?
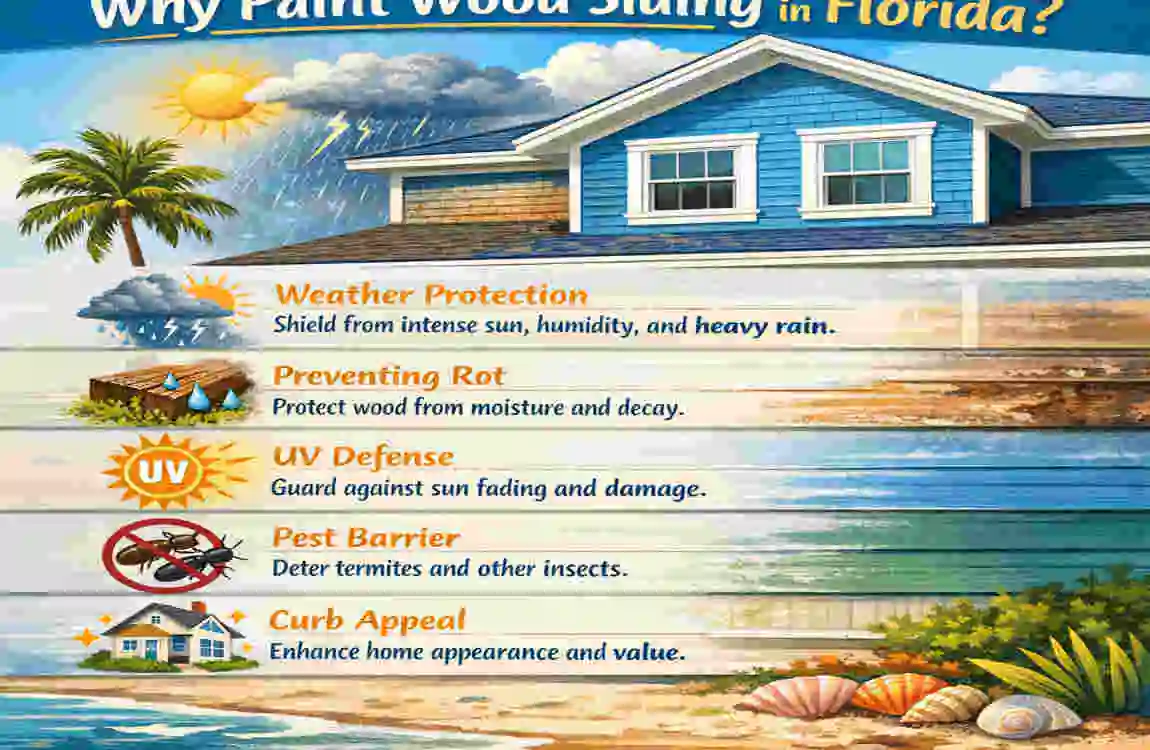
Living in Florida feels like a year-round vacation, but your home’s exterior works overtime. You might be wondering why keeping up with your exterior paint is so vital here compared to other states. The answer comes down to the extreme climate challenges we face.
First, we deal with humidity levels of 70% to 90%. Moisture is the natural enemy of natural timber. When wood absorbs moisture from the humid air, it swells. When the sun bakes it, the wood shrinks. This constant expansion and contraction causes cheap paint to crack and peel.
Furthermore, if you live anywhere near the coast, you have salt air to contend with. Salt is highly corrosive and eats away at protective coatings. Add in our frequent, heavy rains, and you have the perfect recipe for rampant mildew, mold growth, and eventual wood rot.
So, what are the benefits of staying on top of your paint job? A high-quality, properly applied coat of paint acts as a heavy-duty shield. It completely seals the timber, protecting it against moisture invasion and stopping rot in its tracks. When done correctly, a great paint job can extend your siding’s life by 10 to 15 years. It even cuts your energy costs by reflecting the harsh sun away from your living space!
When we compare the maintenance of wood to that of vinyl siding, timber actually requires more frequent attention. While vinyl can be washed, timber must be sealed. Due to the intense Florida sun and rain, statistics show that the average repaint cycle in our state is every 5 to 7 years.
If you want to master painting wood siding on a house in Florida, you have to embrace the fact that regular maintenance is your best defense against our wild weather.
Tools and Materials List
Before you climb up a ladder, you need to gather the right supplies. Using the wrong tools for our specific climate will result in a failed paint job. Here is exactly what you need to tackle this project successfully.
Category: Essential Items, Florida-Specific Notes
Tools: Pressure washer (2000 PSI), sturdy ladders, quality brushes/rollers, paint sprayer. Use low-water pressure models to avoid forcing excess water into the wood during humid conditions.
Prep Materials: Mildew cleaner, sandpaper (80 to 220 grit), exterior caulk. Choose bleach-based cleaners for stubborn Florida mold; use high-quality acrylic caulk to handle extreme expansion and contraction.
Paints & Primers 100% acrylic latex primer, Premium exterior paint (satin sheen). Opt for brands like Sherwin-Williams Duration or Behr Marquee for maximum UV and moisture resistance.
Safety Gear: Thick rubber gloves, safety goggles, protective masks Wear an N95 mask to protect your lungs from the mold spores that are incredibly common in Florida.
When planning your budget, expect to spend between $500 and $ 1,500 for a standard 2,000-square-foot home if you are doing the labor yourself. Remember, investing in Premium materials upfront saves you thousands of dollars in premature repairs later. When you research how to paint wood siding on a house in Florida, the pros will always tell you: never skimp on your supplies!
Step-by-Step Prep Guide
If there is one secret to a flawless, long-lasting exterior finish, it is the preparation. You cannot simply slap wet paint over dirty, rotting timber and expect it to hold up to a tropical storm. Proper wood siding prep, Florida style, requires patience and attention to detail. Let’s break it down.
Inspect and Repair
Your very first step is to walk around your entire home and conduct a thorough visual inspection. You are looking for any signs of trouble. Press firmly on the bottom edges of the boards, especially near the ground or near gutters. If the wood feels soft, spongy, or crumbles away, you have wood rot.
You must completely remove and replace any rotting or cracked boards before you even think about opening a paint can. Painting over rot is like putting a Band-Aid on a broken arm; it simply will not work.
Florida Tip: After our intense hurricane seasons, always probe your exterior for hidden termite damage. High winds and flying debris can create tiny openings for moisture and pests to enter. Seal every single crack you find.
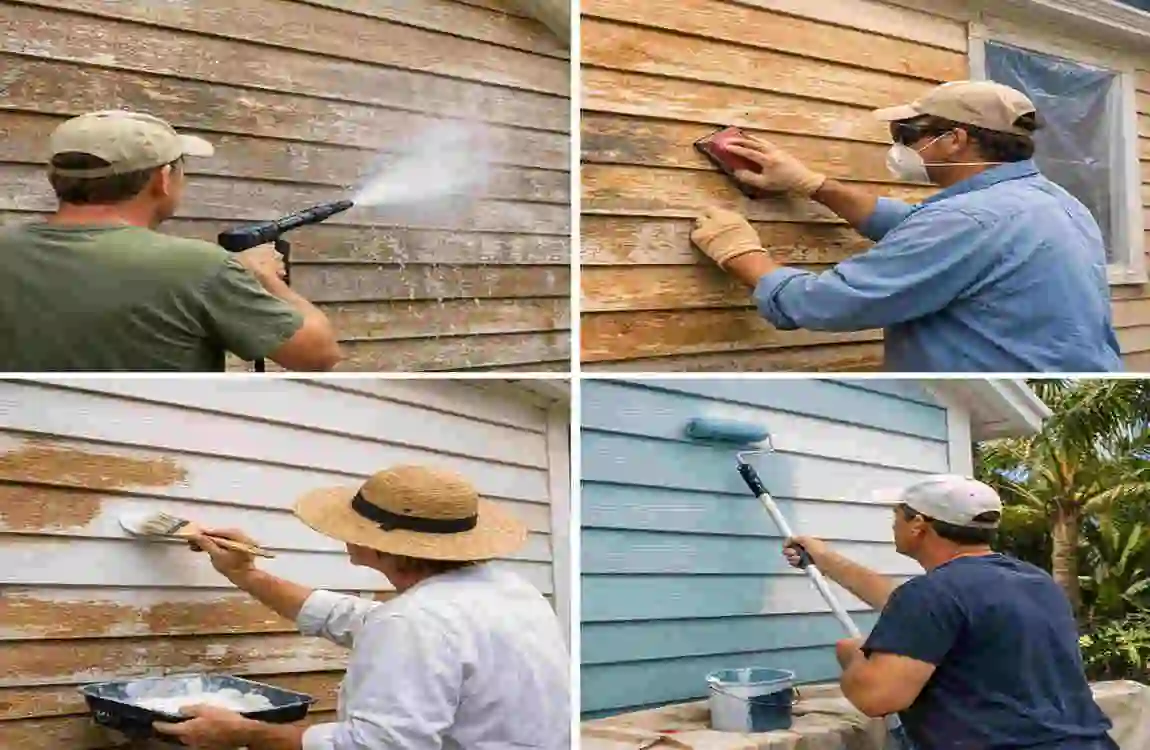
Clean Thoroughly
Next, you need to wash away years of grime, salt, and mildew. Start by applying a strong, bleach-based mildew remover to any green or black spots on your house. Let it sit for a few minutes to kill the spores down to their roots.
Then, use your power washer. You want to wash from the bottom up to prevent dirty water streaks from staining the dry wood below. Keep the pressure at around 2000 PSI. If you use too much pressure, you will actually gouge the soft timber and force excess water deep into the grain.
Once the house is clean, you must wait. This is a critical step in painting wood siding on a house in Florida. Because of our high humidity, you must let the timber dry for 2 to 7 days. If you paint over damp wood, the moisture will eventually try to escape, causing your brand-new paint to form massive bubbles and peel off. Use large industrial fans or wait for a sunny, breezy week to speed up the process. Once completely dry, take a scraper and gently remove any old, loose, or flaking paint.
Sand and Prime
Now that your surface is clean and dry, it is time to create the perfect bonding surface. Take your sandpaper (start with 80-grit and finish with 220-grit) and sand down any rough edges where old paint meets bare wood. You also need to lightly sand any highly glossy areas so the new coating has something to grip onto.
Next comes the primer. Do not skip this! Spot-prime bare timber areas with a high-quality oil-based exterior primer. Oil-based primers are excellent for sealing the wood’s natural tannins so they do not bleed through your final color.
For the ultimate protection in our climate, we highly recommend applying two full coats of primer to block moisture completely. This thorough preparation for Florida humidity ensures your expensive topcoat adheres perfectly, even during our wettest summer months.
Choosing the Best Paints for Florida
Walking down the paint aisle at your local hardware store can feel overwhelming. There are hundreds of cans, all promising different things. But when you are learning to paint wood siding on a house in Florida, you need a product formulated for extreme conditions.
Our top professional picks for the Sunshine State include Sherwin-Williams Duration and Behr Ultra Exterior. These specific formulas are heavily engineered to be incredibly flexible. This flexibility allows the paint film to stretch and shrink with the wood as the temperature changes, rather than snapping and cracking. They are also packed with mildewcides to fight off our constant mold threats.
Next, you have to choose your sheen, or the shininess of the finish. Always avoid flat or matte finishes for your exterior siding. Flat finishes are very porous and will hold onto dirt, pollen, and mildew like a magnet. Instead, choose a Satin sheen. Satin offers a beautiful, subtle glow that resists dirt and lets you hose off the exterior when it gets dusty.
When buying your supplies, calculate your coverage accurately. A Premium gallon usually covers about 350 to 400 square feet.
A crucial rule for Florida: avoid oil-based topcoats. While oil-based primers are great for bare spots, an oil-based topcoat dries extremely hard and rigid. In our humid environment, moisture can be trapped in the wood, causing it to crack quickly under intense UV rays. Always use a 100% acrylic latex topcoat because it breathes, allowing trapped moisture vapors to escape safely.
Finally, let’s talk colors. While dark navy blues and forest greens are trendy, they absorb a massive amount of heat from the sun. This bakes the siding and fades the color quickly. For the longest-lasting results, choose lighter shades like crisp whites, soft grays, or warm creams. These shades naturally reflect the sun’s heat, keeping your exterior cooler and your color vibrant for much longer.
Painting Techniques
You have prepped your surface and bought the perfect products. Now it is time to apply the color. Applying the coating correctly is the final piece of the puzzle when mastering how to paint wood siding on a house in Florida.
Best Timing
Timing is absolutely everything in our state. You should plan this major project for our dry season, which typically runs from November through April. You are looking for days when the temperature is comfortably between 50 and 85 degrees Fahrenheit.
Most importantly, you need the humidity to be below 60%. If the air is too wet, the coating will not dry and cure properly. And of course, always check the radar to dodge our famous, sudden afternoon thunderstorms!
Application Methods
For the best, most professional-looking coverage, you should use a combination of tools. Start by using a high-quality nylon/polyester brush to carefully “cut in” all the edges. This means painting around windows and doors, and under the roofline.
For the broad, flat faces of the timber, a commercial airless paint sprayer is your best friend. It applies an even, smooth layer very quickly. However, you cannot just spray and walk away.
You must employ a technique called back-brushing. As one person sprays the wet coating onto the house, a second person immediately follows behind with a wide brush or thick roller, physically pushing the wet liquid deep into the grain and grooves of the timber. This ensures maximum penetration and creates an unbreakable bond.
Always plan to apply two full coats. Apply your first layer, and then let it dry completely. You want to use a “wet-on-dry” method. In our climate, this usually means waiting 4 to 6 hours between coats. Rushing this process will ruin the finish.
Trim and Details
The details are what make your house look like a million bucks. Before you paint the trim, use your exterior acrylic caulk to fill every gap where the siding meets the windows, doors, and corner boards. This prevents driving rain from sneaking behind your walls.
Always paint your large exterior walls first. Once the walls are completely dry, move on to your trim and details. Use a high-quality angled brush and a Semi-Gloss sheen for your trim. The semi-gloss finish adds a beautiful contrast against the satin walls and provides extra durability for high-touch areas like door frames.
Pro vs. DIY
Should you tackle this yourself or hire a professional? Taking the DIY route saves you around 50% on the total project cost. However, it requires a massive time commitment, physical labor, and comfort with tall ladders.
Hiring professionals means the job gets done quickly and safely. Furthermore, local Florida pros understand the strict building codes and specific Homeowner Association (HOA) color rules that you must navigate. If you feel overwhelmed by the thought of painting wood siding on a house in Florida, calling a local expert is always a smart move.
Common Mistakes and Fixes
Even with the best intentions, things can go wrong. When dealing with Florida humidity painting, avoiding common pitfalls will save you massive headaches. Here are the most frequent mistakes homeowners make, and how you can fix them.
Mistake: Painting just before or right after a rainstorm. If you apply a fresh coat and it rains a few hours later, the water will wash the uncured finish right off your house. If you paint while the timber is still damp from yesterday’s storm, the trapped moisture will rise to the surface as the sun heats the house, creating huge, ugly bubbles that eventually pop and peel.
- The Fix: Always wait a full 48 hours after heavy rain before you resume your project. If you get caught in a surprise storm, wait for the wall to dry completely, sand down the ruined areas, and reapply.
Mistake: Skipping the primer to save time. Many people think primer is an unnecessary extra step. In our climate, skipping primer is a disaster waiting to happen. Bare timber acts like a sponge. If you apply an expensive topcoat directly to bare spots, the wood will suck the moisture out of the coating, leaving a weak, chalky film that offers no protection against rot.
- The Fix: Always, always spot-prime bare areas. If you already skipped it and your finish is failing, you must scrape the failing areas down to bare wood and start over properly.
Mistake: Choosing the wrong sheen. As we mentioned earlier, buying a flat exterior finish is a huge mistake. Flat finishes have a porous microscopic texture. In a humid environment, dirt, pollen, and mold spores settle into these tiny pores and refuse to let go. Within a year, your house will look incredibly dirty.
- The Fix: Stick to Satin for the main body and Semi-Gloss for the trim. If you accidentally used flat, you can wash the exterior thoroughly, let it dry, and apply a final coat of Satin directly over it.
When you know how to paint wood siding on a house in Florida correctly, you can easily avoid these costly and frustrating errors!
Maintenance Post-Painting
Congratulations! Your house looks absolutely stunning. But the work does not completely stop once the ladders are put away. To get that promised 10 to 15 years of life out of your hard work, you need to practice simple, routine maintenance.
Every spring, use your garden hose (not a high-pressure washer!) to give your exterior a gentle rinse. This washes away corrosive salt air, sticky pollen, and loose dirt before they have a chance to bake into the finish.
Once a year, walk around your property and inspect the surface carefully. Look for any new cracks in the caulk or minor chips from flying yard debris. Touch up these tiny spots immediately with leftover supplies to prevent moisture from getting behind the main protective layer.
Remember, because of our intense sun, you should reapply a fresh topcoat every 7 to 10 years in Florida. Staying proactive with maintenance is the true secret to preserving your gorgeous home.
Cost Breakdown
Budgeting accurately is a massive part of planning your home improvement project. If you are debating whether to grab a brush yourself or hire a crew, this breakdown will help you decide.
Here is a general cost comparison for a standard 1500 to 2000 square foot Florida home:
Project Size & Scope DIY Estimated Cost Professional Hire Estimated Cost
1500 – 2000 sq ft Home $800 – $1200 $3000 – $5000+
Important Cost Factors: The price heavily depends on the quality of the products you choose. Premium, hurricane-resistant products cost more upfront but last much longer.
Furthermore, if you are hiring professionals and you live directly on the coast, you should expect to add roughly 20% to the labor costs. Coastal homes require significantly more prep work to remove deeply embedded salt and often require specialized, heavy-duty marine-grade coatings.
Whether you spend $1000 on DIY supplies or $5000 on a pro crew, properly executing how to paint wood siding on a house in Florida yields a massive return on investment for your property value.
FAQs
We know that tackling a major exterior project raises many specific questions. Here are the most common questions we hear from homeowners about wood siding prep in Florida style.
How long do I need to dry wood siding before painting in Florida? Because of our high humidity, you should wait at least 48 hours after heavy rain or power washing. However, if the humidity is hovering near 90%, it is much safer to wait 3 to 7 full days. The timber must feel completely bone-dry to the touch.
Can I paint my house during the Florida summer? You can, but it is incredibly difficult. The summer brings extreme heat, which dries the liquid on the brush too quickly, leaving ugly stroke marks. Summer also brings daily thunderstorms that can ruin wet walls. It is highly recommended to wait for the cooler, drier winter months.
What is the best way to prevent mold from growing back on my new paint? First, ensure you clean the timber with a bleach-based solution before starting. Second, purchase a Premium brand that specifically advertises built-in mildewcides. Finally, trim back any trees or heavy bushes that touch your house to allow sunlight and breezes to keep the walls dry.
Should I spray or roll the exterior of my house? For the best results, you should do both! Spraying applies the liquid quickly and evenly, but you must immediately follow up with a roller or brush (back-brushing) to physically push the liquid into the timber’s natural grain.
Why is my current paint peeling off in large strips? This is almost always a moisture issue. Either the timber was damp when it was originally coated, or there’s a leak behind the walls pushing water outward. You must find and fix the source of the moisture before applying a new coat.