
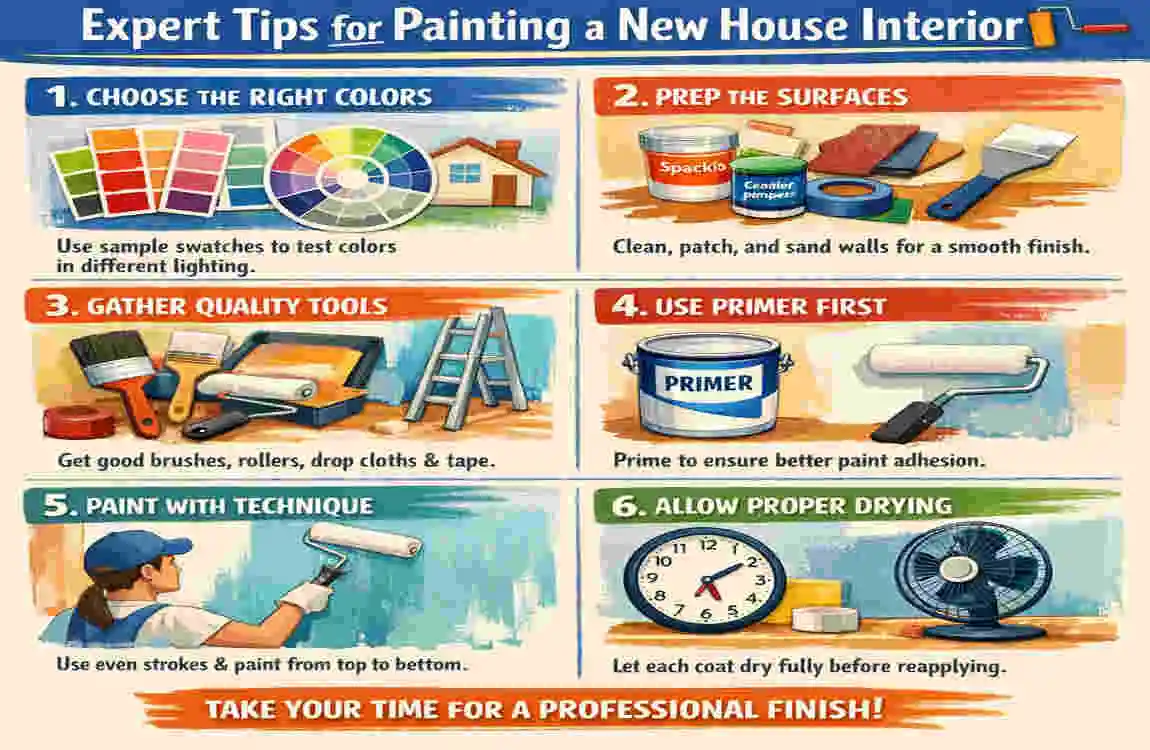
Painting is one of the most important finishing steps in a new home. It does more than add colour. It helps the space feel complete, clean, and ready to live in.
If you are learning how to paint a new house interior, the good news is that the job is very manageable when you plan it the right way. A careful paint job can protect your walls, improve the look of every room, and even add value to your home.
Why Proper Interior Painting Matters
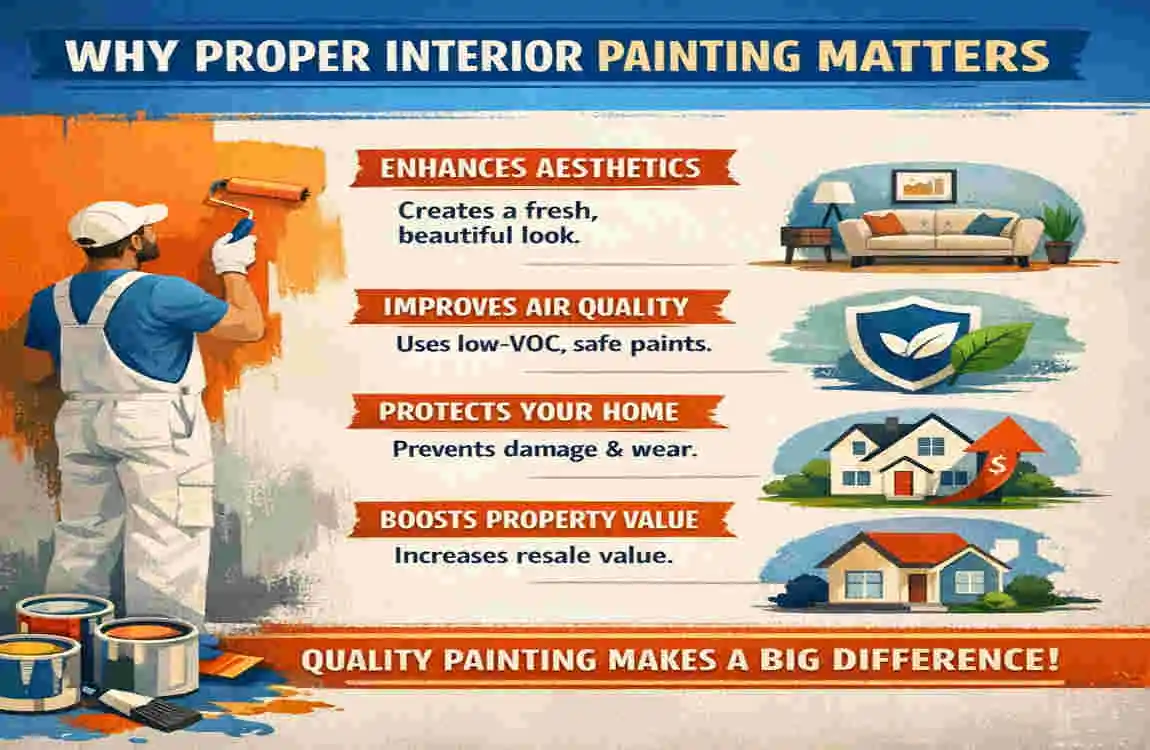
Protects Walls and Surfaces
Paint is not just about style. It also adds a layer of protection to your walls. It helps seal the surface and makes everyday cleaning easier.
That matters a lot in a new home because fresh walls can still be slightly porous and sensitive to marks.
Improves Home Appearance
A clean paint job makes a house look polished and welcoming. Even a simple colour can make rooms feel brighter and more finished.
This is one of the easiest ways to make a new home feel like your own space.
Increases Property Value
Good interior paint can help your home look better to future buyers. A neat, fresh finish gives the impression that the home has been well cared for.
Creates a Comfortable Living Space
Colour affects mood. Soft, warm, or neutral shades can make rooms feel calm and pleasant.
So when you paint well, you are not just improving the walls. You are improving how the whole home feels.
Things to Do Before Painting a New House Interior
Allow Fresh Drywall and Plaster to Cure
If your home has new drywall or plaster, let it dry and cure properly before painting. Painting too early can cause poor adhesion and uneven results.
Patience here makes a big difference.
Inspect and Repair Wall Imperfections
Look for dents, nail holes, cracks, or rough patches. Fix them before you start painting.
Even small flaws can show through once the paint dries.
Clean Dust and Debris
Fresh construction often leaves behind dust. Wipe down the walls and trim so the paint sticks properly.
A clean surface always gives a better finish.
Remove Outlet Covers and Fixtures
Take off switch plates, outlet covers, and any small fixtures that might get in the way.
This gives you cleaner edges and helps avoid paint splashes.
Protect Floors and Furniture
Use drop cloths or plastic covers to protect the floor. If furniture is already in place, cover it well.
This step saves you from a lot of cleanup later.
Essential Painting Tools and Materials
ToolPurpose
Paint Roller Covers large wall areas
Paint Brush Corners and trim
Paint Tray Holds paint
Painter’s Tape Clean edges
Drop Cloth Protects flooring
Primer Improves paint adhesion
Sandpaper Smooths walls
Extension Pole Reaches high ceilings
Before you start, make sure you have everything ready. A well-prepared setup saves time and reduces mistakes.
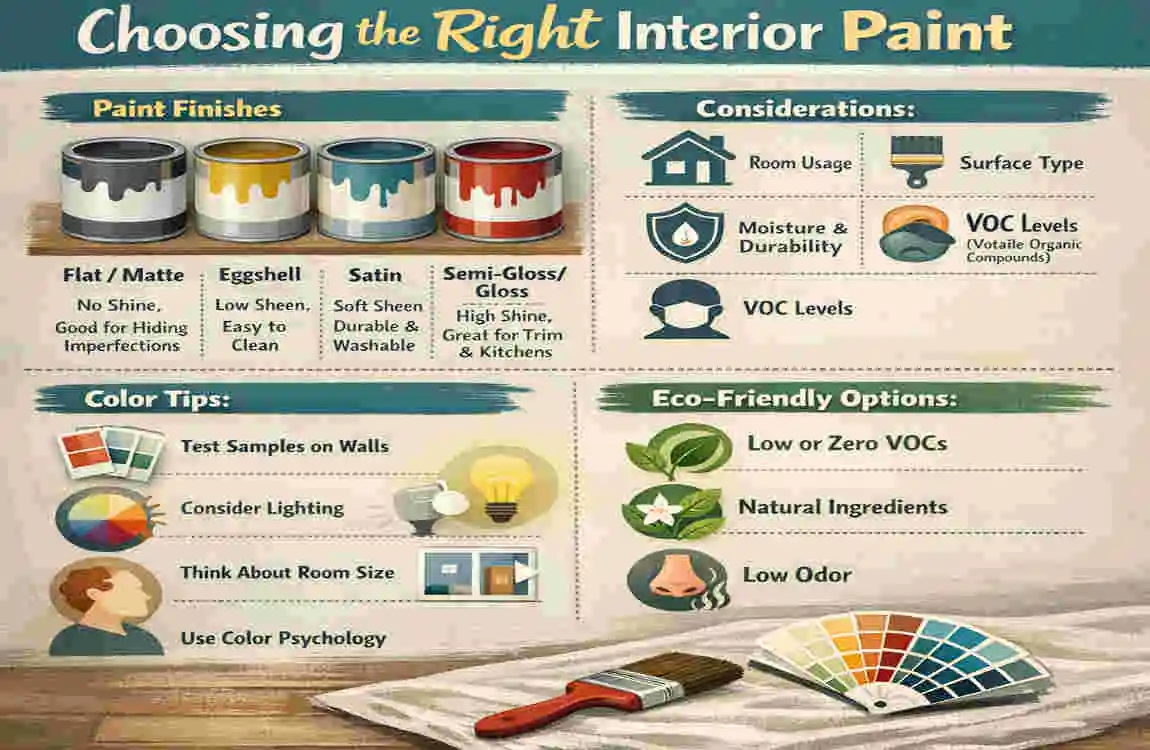
Choosing the Right Interior Paint
Water-Based vs Oil-Based Paint
Most modern homes use water-based paint because it dries faster, has less odour, and is easier to clean up.
Oil-based paint is stronger in some cases, but it takes longer to dry and is less common for full interior walls now.
Selecting the Right Paint Finish
The finish changes both the look and the usefulness of the paint.
- Flat: Hides wall flaws well, but is harder to clean.
- Matte: Soft look, good for calm spaces.
- Eggshell: Slight sheen, popular for living areas.
- Satin: Easy to clean, works well in busy rooms.
- Semi-Gloss: Good for trim, doors, and moisture-prone spots.
- Gloss: Very shiny and durable, but shows flaws more easily.
For most walls, eggshell or satin is a smart choice.
Choosing the Best Paint Colours
Choose colours that match your light, furniture, and room size. Light shades can make rooms feel bigger. Deeper colours can make a space feel cosy.
Think about how the colour will look in daylight and under indoor lighting.
How Much Paint You’ll Need
Paint coverage depends on room size, wall texture, and the number of coats. Always buy a little extra so you do not run short in the middle of the job.
Step-by-Step Guide: How to Paint a New House Interior
Prepare Every Room
Clear the room as much as possible. Cover floors, tape off edges, and repair any wall flaws.
This is the part that sets up the whole project for success.
Apply Primer
Primer helps the paint stick and gives you a more even result. It is especially important on new drywall.
Do not skip this step if you want a clean, long-lasting finish.
Cut In Around Edges
Use a brush to paint around corners, ceilings, trim, and other tight spaces first. This is called cutting in.
It helps you create neat lines before using the roller.
Roll the Walls
After cutting in, use a roller to cover the larger wall areas. Work in sections and keep the coat even.
Try not to press too hard. A steady hand gives better results.
Paint the Ceiling
If the ceiling needs paint, do it before the walls. That way, any drips can be covered later.
Ceilings are often painted with flat white or another light finish.
Common Painting Mistakes to Avoid
Skipping Primer
Primer is important for new walls. Without it, the paint may soak in unevenly.
Using Cheap Brushes
Low-quality brushes can leave marks and loose bristles behind.
Applying Thick Paint Coats
Thick coats may drip, dry unevenly, or take too long to cure.
Painting Dirty Walls
Dust and debris can ruin the finish and reduce adhesion.
Ignoring Drying Time
If you paint too soon over a wet layer, the finish can look patchy.
Removing Painter’s Tape Too Late
Take off the tape while the paint is still slightly soft. If you wait too long, the paint may peel with it.
Expert Tips for a Professional Finish
- Paint from top to bottom
- Maintain a wet edge
- Work in natural daylight
- Stir paint regularly
- Use quality rollers
- Paint one room at a time
- Keep consistent roller pressure
These small habits help you get a smoother and more even look.
Best Room Painting Order
Ceilings First
Start with the ceiling so any drips do not ruin finished walls.
Walls Second
Once the ceiling is done, move to the walls.
Trim Third
Paint the trim after the walls so you can clean up edges more easily.
Doors Last
Doors are usually the final step because they need careful brushing and drying space.
How Long Does Interior Painting Take?
Single Room Timeline
A single room may take one to two days, depending on size and prep work.
Entire House Timeline
A full house can take several days or longer if there are many rooms or detailed trim areas.
Factors That Affect Painting Time
Time depends on:
- Room size
- Number of coats
- Wall condition
- Drying time
- Whether you are doing it yourself or hiring help
DIY vs Hiring Professional Painters
DIY Painting Professional Painters
Lower cost Faster completion
Flexible schedule Professional finish
Requires time Less personal effort
Learning experience Higher upfront cost
DIY works well if you have time and patience. Professionals may be better if you want speed and a very polished finish.
Interior Paint Maintenance Tips
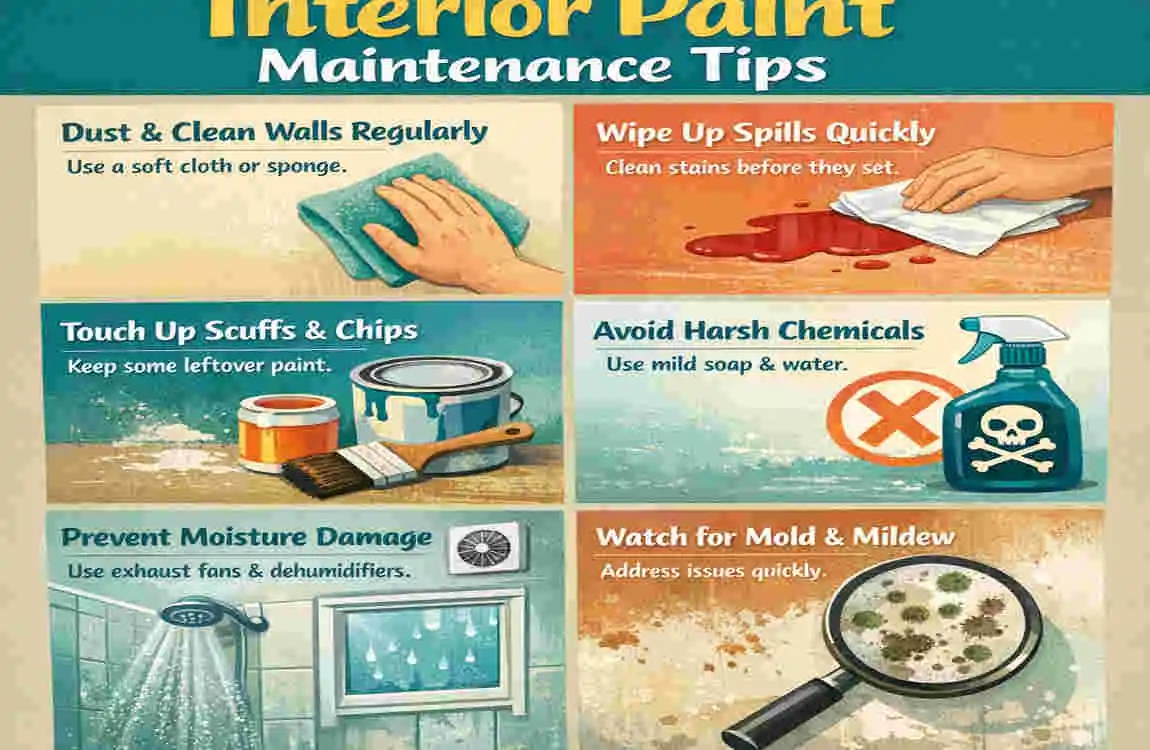
Clean Painted Walls Properly
Use a soft cloth or gentle cleaner. Avoid scrubbing too hard.
Touch Up Minor Scratches
Small marks can usually be fixed with leftover paint and a small brush.
Prevent Moisture Damage
Keep bathrooms and kitchens well ventilated so moisture does not damage the finish.
Repaint When Needed
Over time, walls may lose their freshness. Repainting helps the home stay bright and neat.
Frequently Asked Questions
How do you paint a new house interior for the first time?
Prepare the walls, apply primer, cut in the edges, roll the walls evenly, and finish with two coats of paint.
Do new walls always need primer?
Yes. Primer seals porous surfaces, improves paint adhesion, and helps create an even finish.
Which paint finish is best for interior walls?
Eggshell and satin finishes are popular because they are durable and easy to clean.
How many coats of paint are recommended?
Most interiors need one coat of primer and two coats of paint.
How long should paint dry between coats?
Most water-based paints need about 2–4 hours, but always check the product instructions.
| Tip | Why It Matters | Best Practice |
|---|---|---|
| Plan Your Color Scheme | Creates a cohesive look throughout the home. | Test paint samples in different lighting before choosing. |
| Prepare the Walls | Ensures a smooth, long-lasting finish. | Clean, patch holes, sand rough spots, and apply primer if needed. |
| Choose Quality Paint | Better paint provides superior coverage and durability. | Use premium interior paint with the appropriate finish. |
| Use the Right Tools | Improves speed and overall paint quality. | Invest in quality brushes, rollers, and painter’s tape. |
| Paint in the Correct Order | Prevents drips and uneven coverage. | Start with ceilings, then walls, followed by trim and doors. |
| Apply Multiple Thin Coats | Creates an even, professional-looking finish. | Allow each coat to dry completely before recoating. |
| Ensure Proper Ventilation | Speeds up drying and reduces paint fumes. | Open windows and use fans during and after painting. |
