
House plumbing solder typically melts at temperatures above 400°F (204°C). Silver-bearing solders used in plumbing generally melt around 440°F (227°C) and require heating close to 640°F (338°C) to achieve proper capillary action for joining pipes. Lead-based solders melt at about 361°F (183°C), but lead-free solders commonly used in plumbing melt slightly higher, between 428°F and 446°F (220°C to 230°C). The exact melting point depends on the solder’s composition, with lead-free solder containing alloys like tin, silver, and copper being common for plumbing applications.
What Is Plumbing Solder?
The Foundation of Pipe Connections
Plumbing solder serves as a metallic adhesive that creates watertight seals between copper pipes and fittings. When you look at the joints in your home’s copper plumbing, you’ll see that the smooth, silvery material holding everything together is solder.
This remarkable substance works through a process called capillary action. When heated to its melting point, liquid solder flows into the tiny gap between a pipe and fitting, creating a powerful bond as it cools. It’s like watching water climb up a paper towel—the solder naturally wants to fill every microscopic space.
Types of Plumbing Solder
The plumbing industry has undergone a significant transformation in recent decades. Lead-based solder, once the standard, has been largely phased out due to health concerns. Today’s plumbers primarily work with two categories:
Lead-free solder dominates modern plumbing work. These alloys typically combine tin with small amounts of copper, silver, or antimony. They’re safer for drinking water systems and meet current health regulations.
Lead-based solder still exists in older homes built before 1986. While it melts at lower temperatures and flows more easily, it poses serious health risks and is banned for potable water systems in most countries.
Common Metals in Modern Solder
Today’s plumbing solders feature several key ingredients. Tin forms the primary component, usually making up 95% or more of the alloy. This soft, silvery metal provides excellent flow characteristics and corrosion resistance.
Silver appears in premium solders, typically at 3-5% concentration. Though more expensive, silver-bearing solders create stronger joints and work well in demanding applications.
Copper additions, typically around 0.5%, help the solder bond more effectively to copper pipes. This small percentage makes a big difference in joint strength and longevity.
Environmental and Health Considerations
The shift to lead-free solder represents one of plumbing’s most important health advances. Lead contamination in drinking water can cause serious health problems, especially in children and pregnant women.
Modern regulations strictly control solder composition. The Safe Drinking Water Act limits the lead content of solder used in potable water systems to 0.2%. This dramatic reduction from the 50% lead content common in older solders has significantly improved water safety.
Understanding Melting Points of Different Plumbing Solders
The Science Behind Melting Points
Every metal has a specific temperature at which it transforms from solid to liquid. For pure metals, this happens at one precise temperature. But plumbing solders are alloys—mixtures of different metals—which means they have a melting range rather than a single point.
Think of it like making chocolate chip cookies. Pure chocolate melts at one temperature, but when mixed into cookie dough, the melting process becomes more complex. Similarly, solder alloys begin softening at one temperature and become fully liquid at another.
Melting Temperature Ranges for Common Solders
Let’s address the core question: what temp does house plumbing solder melt? The answer depends on the specific type you’re using.
Working Temperature vs. Melting Temperature
Here’s something crucial to understand: plumbers don’t just heat solder to its melting point. They typically work at temperatures 50-100°F above the melting range to ensure proper flow and adhesion.
For lead-free solder melting around 450°F, a plumber might heat the joint to 500-550°F. This extra heat ensures the solder flows completely into the joint, creating that perfect seal you need for leak-free plumbing.
Why Is Knowing the Melting Temperature Important in Plumbing?
Fire Hazards and Safety Concerns
Working with open flames near wood framing, insulation, and other combustibles requires careful temperature management. A torch flame can reach 3,000°F—far hotter than needed for soldering.
Understanding melting temperatures helps you use minimal heat effectively. This reduces fire risks and makes your work safer. Many house fires start from careless torch use during plumbing repairs, making temperature awareness literally a lifesaver.
Impact on System Longevity
Properly soldered joints can last 50 years or more. But joints made with incorrect temperatures often fail within months or years. Cold joints leak immediately or develop pinhole leaks over time. Overheated joints might hold initially but fail when stressed.
Consider the cost of water damage from a failed joint hidden inside a wall. By mastering temperature control, you’re investing in decades of reliable service from your plumbing system..
Step-by-Step Guide: How to Properly Solder Plumbing Joints
Preparing Pipes and Fittings
Start with spotless surfaces. Use emery cloth or sandpaper to polish both the pipe end and fitting interior until they shine like new pennies. This isn’t about aesthetics—oxidation and dirt prevent proper solder adhesion.
Cut pipes square using a tubing cutter, not a hacksaw. Angled cuts create uneven gaps that solder can’t bridge effectively. Remove any burrs with a reaming tool, as these can restrict water flow and create turbulence.
Dry fit everything before applying flux. Pipes should slide fully into fittings with slight resistance. Too tight risks cracking fittings when heated. Too loose creates gaps that weaken the joint.
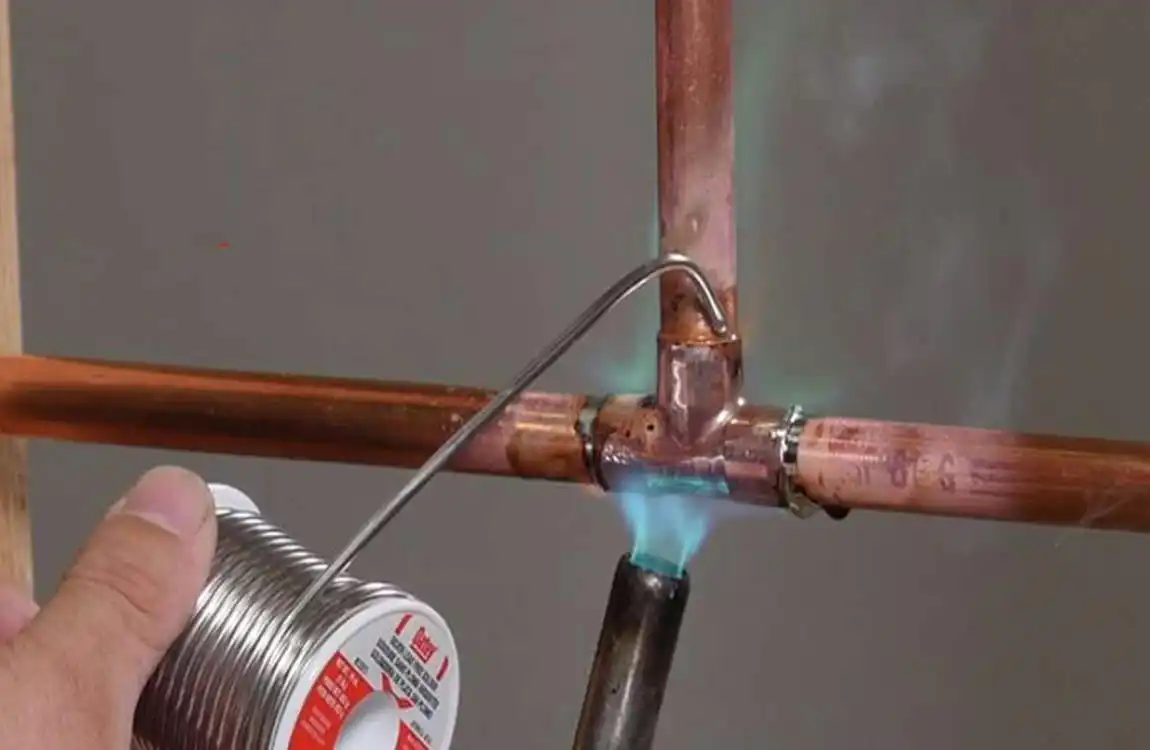
Applying Flux and Solder
Brush on flux liberally on both surfaces—the pipe exterior and the fitting interior. Don’t be stingy here. Complete coverage ensures solder flows everywhere it needs to go. Excess flux is far better than insufficient coverage.
Assemble joints immediately after fluxing. Flux begins working instantly, and delays allow new oxidation to form. Twist pipes slightly during insertion to spread flux evenly.
Pre-cut solder lengths save time and improve consistency. For ½” pipe, cut pieces about 1″ long. Having solder ready prevents fumbling while managing a hot torch.
Controlling Heat for Perfect Joints
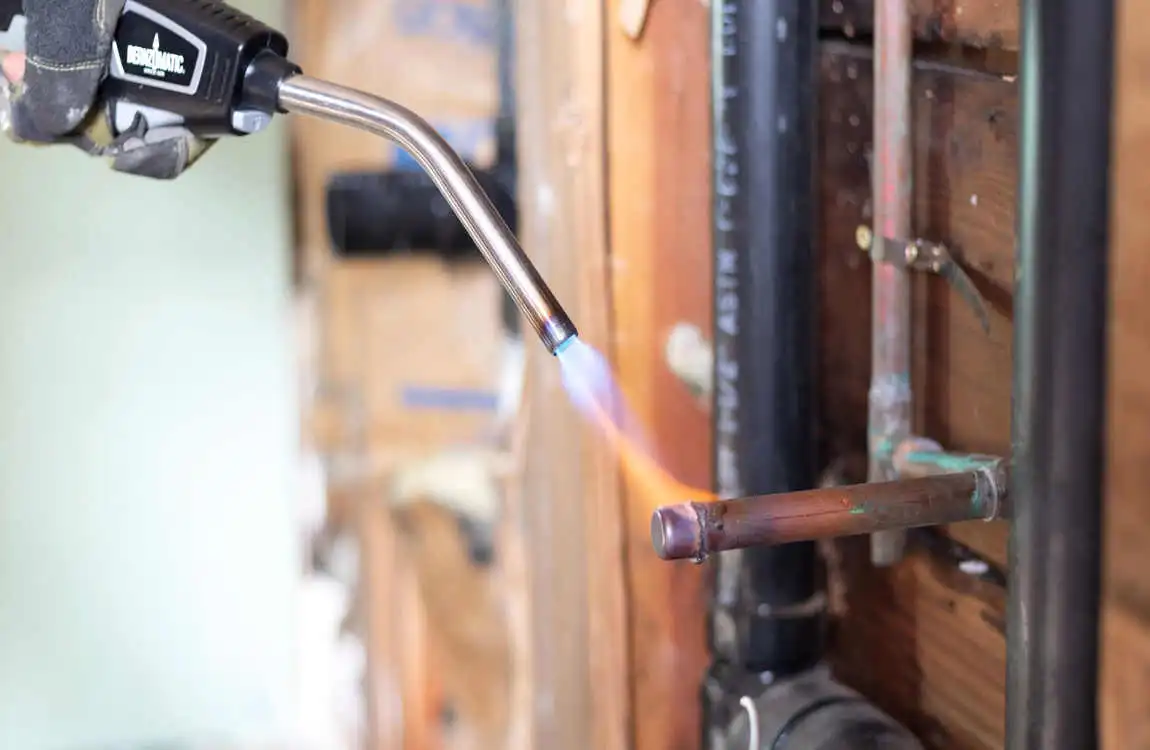
Begin heating the fitting, not the joint itself. Heat rises, so start at the bottom for vertical joints. The fitting’s mass requires more heat than the pipe, so give it a head start.
Move your torch constantly in small circles or figure-8 patterns. This distributes heat evenly, preventing hot spots. Watch the flux—when it begins to bubble and turn clear, you’re approaching soldering temperature.
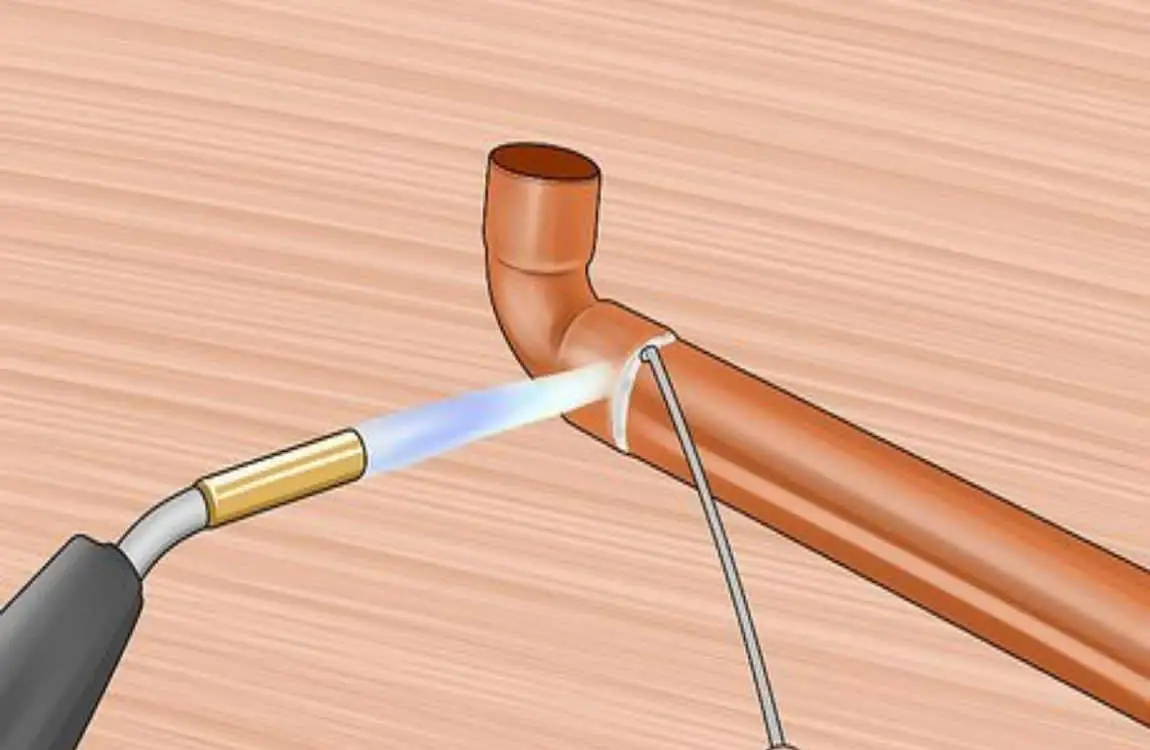
Test readiness by touching the solder to the joint opposite the flame. If it melts and gets drawn in, you’ve reached the proper temperature. The joint itself should melt the solder, not the torch flame.
Apply solder until a complete ring forms around the joint. For a ½” pipe, this typically takes ½” to ¾” of solder. Stop when you see a small drop form at the bottom—more isn’t better.
Cooling and Inspection
Let joints cool naturally for the best strength. Quenching in water might seem logical, but it can crack fittings and weaken solder joints. Patient cooling takes just a minute or two.
Wipe joints with a damp cloth while still warm to remove flux residue. This prevents corrosion and creates a professional appearance. Green flux stains indicate incomplete cleaning.
Scrutinize every joint. Look for complete solder rings and smooth, shiny surfaces. Gaps, rough texture, or dull gray color suggest temperature problems requiring rework.
Troubleshooting Common Issues Related to Solder Melting Temperature
Identifying and Fixing Cold Joints
Cold joints occur when solder doesn’t reach the proper melting temperature. They look dull and grainy rather than smooth and shiny. You might see obvious gaps or areas where solder formed balls rather than flowing.
These joints often leak immediately or fail under pressure testing. The fix requires complete disassembly, cleaning, and re-soldering. Simply adding more solder won’t solve the underlying adhesion problem.
To prevent cold joints, ensure pipes reach temperature before applying solder. If solder doesn’t flow instantly when touched to the joint, continue heating. Patience here saves hours of repair work later.
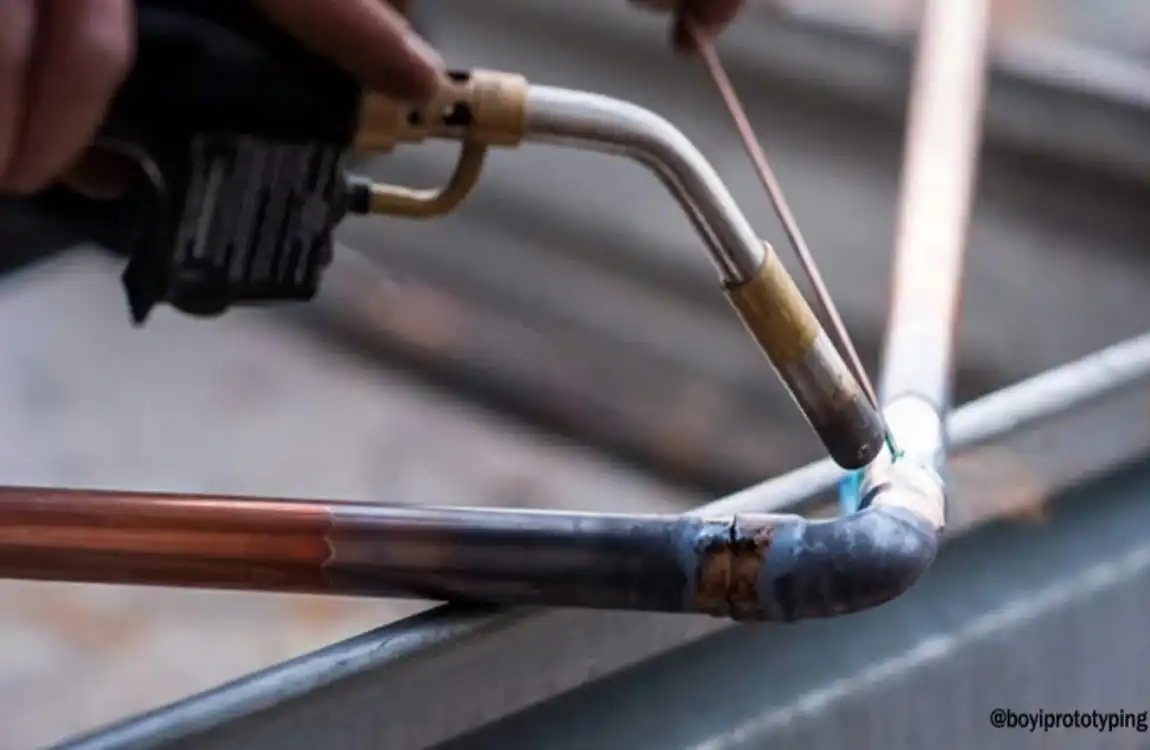
Dealing with Overheated Joints
Overheated joints show distinct symptoms. The copper Plumbing dark purple or black, the flux residue appears burned, and the solder might look crystallized or separated. These joints might hold initially, but often fail prematurely.
Flux-Related Temperature Problems
Burned flux creates multiple issues. It leaves black, crusty residue that’s difficult to remove and can contaminate water systems. More seriously, burned flux prevents solder from flowing properly, creating weak spots.
Different fluxes have varying temperature tolerances. Standard flux works up to about 600°F, while high-temperature versions handle 800°F or more. Using standard flux with lead-free solder, which has a higher melting point, often causes problems.
If flux turns black during soldering, you’re using too much heat or the wrong flux type. Clean everything thoroughly and start over with appropriate materials and temperature control.