
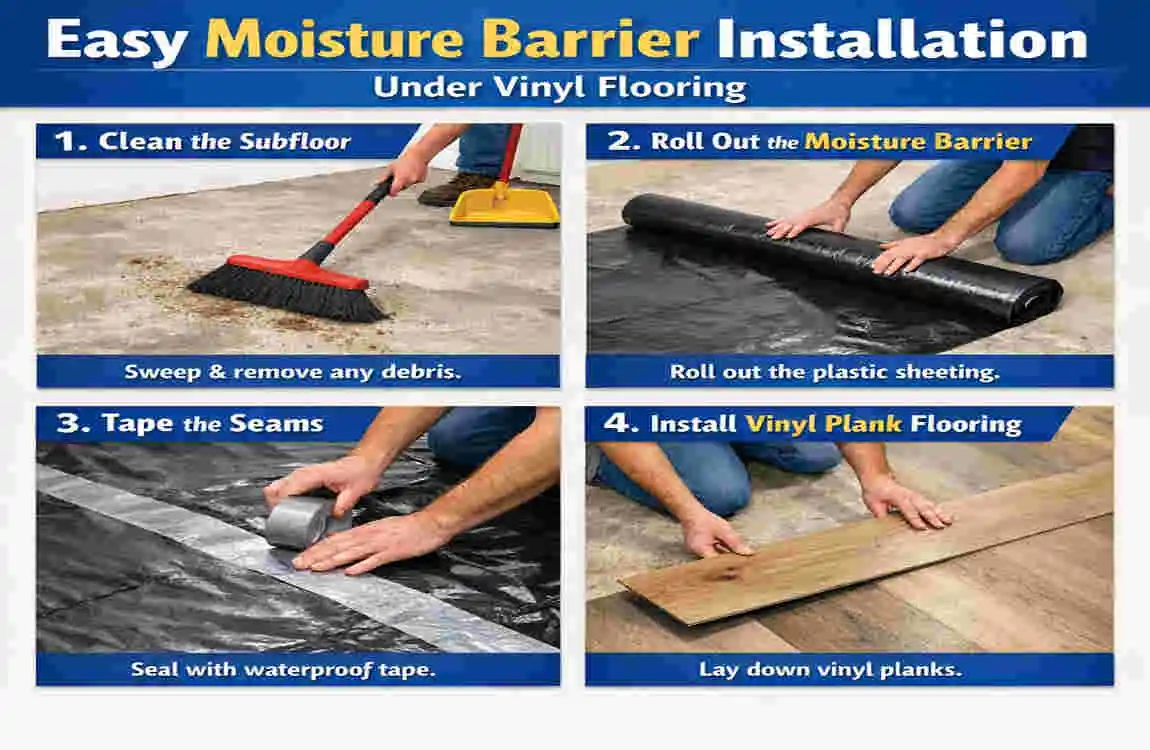
This may sound like a small detail, but it can make a big difference. Moisture can rise from the subfloor, accumulate under the flooring, and cause serious problems later. It can affect glue, loosen planks, damage the subfloor, and even lead to mold or mildew in the wrong conditions.
That is why moisture protection is not just an extra step. It is part of a good flooring job.
Understanding Moisture Barriers Under Vinyl Flooring
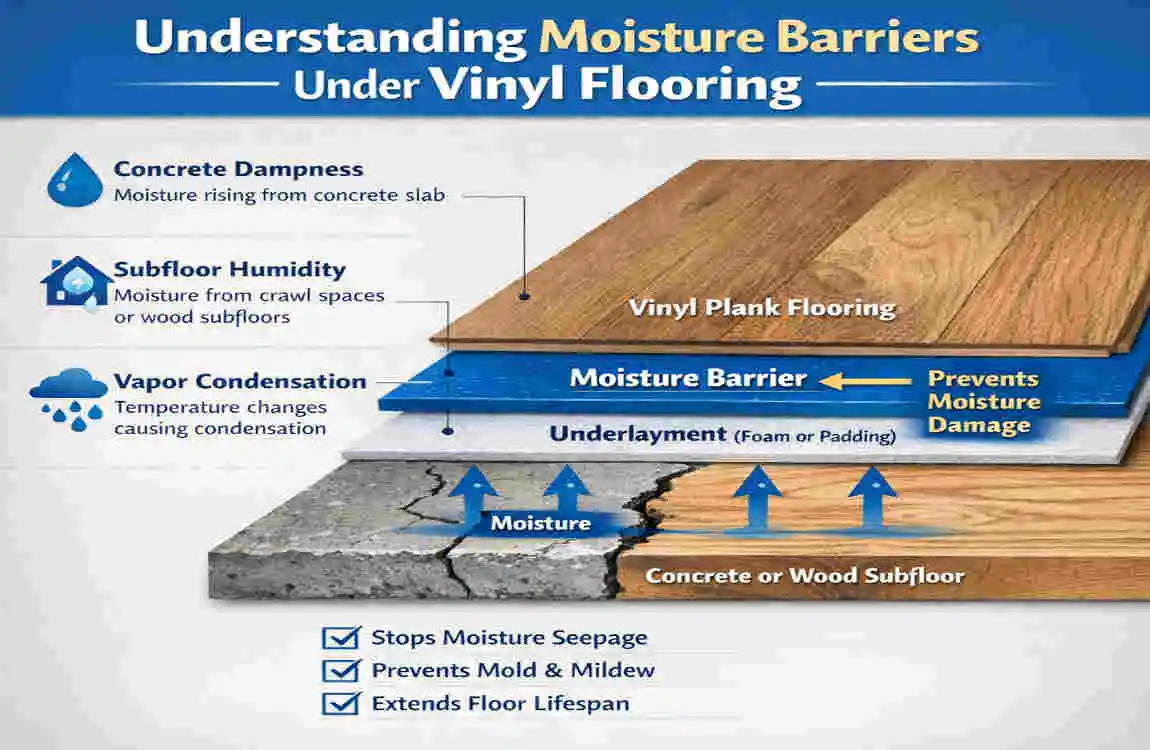
What Is a Moisture Barrier?
A moisture barrier is a layer that helps block or slow down moisture from moving through the subfloor and into the flooring above it.
Think of it like a protective shield. It does not fix water problems, but it helps reduce the chance that moisture will travel upward and cause damage.
People often use the terms moisture barrier and vapor barrier interchangeably. In simple terms, both are meant to control moisture movement. Still, the exact meaning can depend on the product and the flooring system. That is why it is important to check the product label and the manufacturer’s instructions before you buy anything.
Why Moisture Protection Matters
Moisture protection matters because vinyl flooring may look tough, but the layers below it still need care.
If moisture gets trapped under the floor, it can cause several issues:
- Damage to adhesives
- Warping or swelling in the subfloor
- Mold or mildew growth
- Loose or uneven flooring
- Shorter flooring life
This is especially important in places like kitchens, bathrooms, basements, and concrete slab installations. These areas often deal with more moisture than a standard room.
A good moisture barrier helps protect the floor system as a whole, not just the vinyl on top.
Does Vinyl Flooring Always Need a Moisture Barrier?
Not always.
Some vinyl flooring products already include an attached backing or underlayment that offers moisture resistance. Others need a separate underlayment or membrane. Some products may not allow extra layers at all.
That is why you should always read the manufacturer’s installation instructions first. The flooring brand may tell you:
- whether a moisture barrier is needed
- what type of barrier is allowed
- what thickness is acceptable
- whether a separate underlayment can be used
So before you start, check the rules for your exact product. This step can save you a lot of trouble later.
Materials and Tools You May Need
Before you begin, gather the right products and tools. Using the wrong material can cause more problems than it solves.
Moisture Barrier Material
The right barrier depends on the floor and the vinyl product. Common options may include:
- Plastic or polyethylene sheeting, when approved
- Manufacturer-approved moisture membranes
- Moisture-resistant underlayment
- Approved underlayment with built-in moisture control
The keyword here is approved. Being waterproof does not automatically mean a product is suitable for vinyl flooring.
Basic Installation Tools
You do not need a complicated setup. In most cases, these basic tools are enough:
- Utility knife
- Measuring tape
- Straightedge
- Flooring tape or seam tape approved for the product
- Scissors
- Clean cloth or broom
- Adhesive, if the product requires it
Keep the work area tidy as you go. A clean surface makes the installation easier and helps the barrier lay flat.
Choosing the Right Barrier
Choosing the right barrier is about matching the material to the floor.
Ask yourself these questions:
- Is the subfloor concrete or wood?
- Is the room on a slab or above grade?
- Does the vinyl product allow a separate underlayment?
- Does the product need a specific thickness or type of barrier?
Do not choose a barrier just because it claims to be waterproof. Compatibility matters more than marketing language.
Preparing the Subfloor Before Installation
Good preparation is one of the most important parts of the job. A moisture barrier helps, but it cannot solve a bad subfloor.
Clean the Floor Thoroughly
Start with a clean surface.
Remove:
- dust
- dirt
- loose debris
- old adhesive
- leftover flooring pieces
The subfloor should be dry, clean, and free of loose material before the barrier goes down. Even small bits of debris can create bumps or weak spots.
Inspect for Damage
Look closely at the floor before you begin.
Check for:
- cracks
- holes
- soft areas
- loose boards
- damaged concrete
- signs of rot
- swelling from past water damage
If you find major issues, fix them first. A moisture barrier should go over a sound surface, not a damaged one.
Check for Moisture
This step is very important, especially on concrete.
Concrete can look dry on the surface while still retaining moisture. That moisture can move upward later and affect the floor above it.
Use the moisture test method recommended by your flooring manufacturer. Each product may have different limits and testing requirements.
Never install over a floor that is visibly wet or has an active leak. If there is a plumbing issue, drainage problem, or water entry problem, that must be solved first.
Make Sure the Surface Is Level
Vinyl flooring needs a smooth and even base.
If the subfloor has dips, ridges, or uneven spots, those flaws may show through the finished floor. In some cases, they can also affect how the floor locks or bonds.
Fix any uneven areas per the flooring system requirements before laying the barrier.
How to Install Moisture Barrier Under Vinyl Flooring
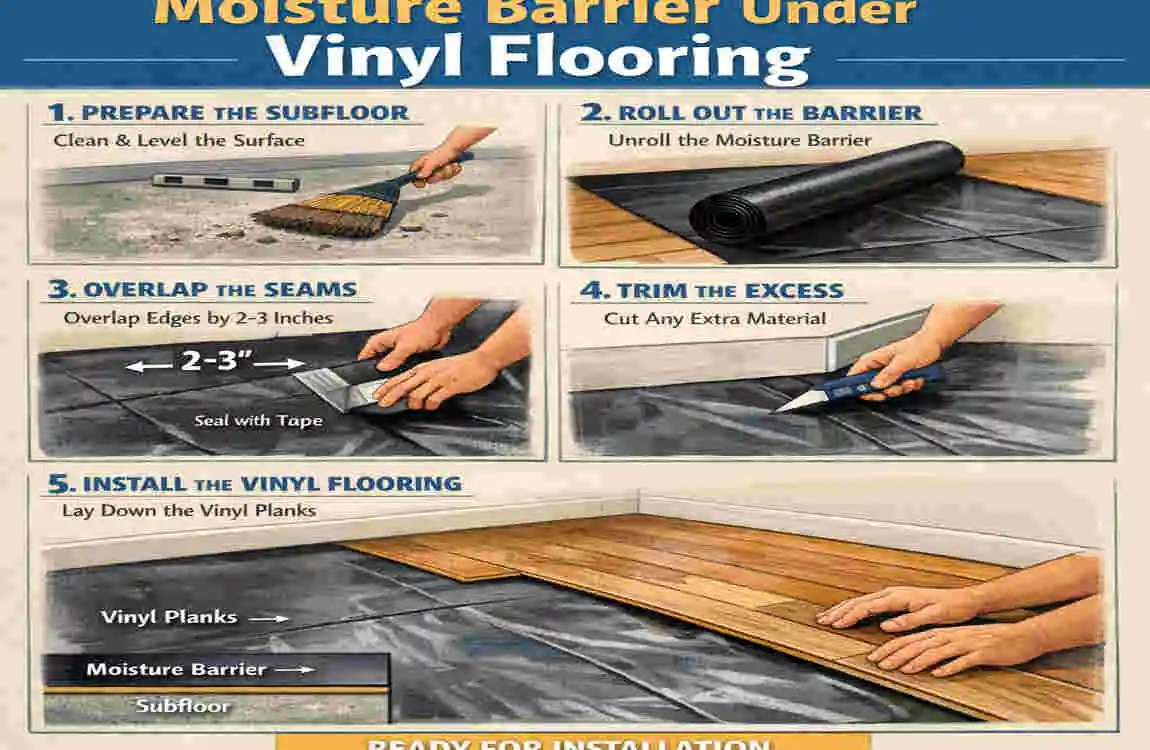
Now let’s walk through the process step by step.
Measure the Installation Area
Measure the room carefully before cutting anything.
You want to know:
- the length
- the width
- where seams will land
- how much overlap is needed
Planning helps reduce waste and keeps the installation neat. It also helps you avoid unnecessary seams, which can be weak points if not sealed well.
Cut the Moisture Barrier
Once you have your measurements, cut the barrier material with a sharp utility knife or scissors.
Work slowly and cleanly. Rough cuts can leave gaps or uneven edges.
Try to keep the material flat while cutting. A smooth sheet is easier to install and seal properly.
Lay the Barrier Over the Subfloor
Place the barrier over the prepared surface and spread it out carefully.
Watch for:
- wrinkles
- folds
- loose spots
- torn edges
The barrier should lie flat and even. If the product has a specific direction or side that faces up, follow that instruction exactly.
Seal the Seams
If the barrier comes in multiple pieces, the seams matter a lot.
Overlap the sections as required by the product instructions. Then seal them with the correct tape or sealing material.
Do not guess here. Some products require a certain amount of overlap, while others require a specific tape type. A poor seam can weaken the moisture protection.
Handle Edges and Obstacles
Rooms are not always simple squares. You may need to cut around:
- walls
- posts
- vents
- pipes
- door openings
Make careful cuts and try not to leave large openings. Follow the barrier instructions for edges and perimeter details.
A clean perimeter helps the barrier perform better and keeps the whole floor system neat.
Install the Vinyl Flooring
After the moisture barrier is in place, you can install the vinyl flooring according to its own method.
That may mean:
- click-lock installation
- glue-down installation
- loose lay installation
Be careful not to add extra layers that the flooring system does not allow. Too many layers can affect fit, stability, or adhesive performance.
Moisture Barrier Installation for Different Subfloors
The right method depends a lot on the type of subfloor you have.
Subfloor Type Main Moisture Concern Best Approach
Concrete: Moisture can rise through the slab. Test first and use an approved barrier.
Wood Rot, swelling, and hidden damage Keep it dry and repair weak areas
Basement Higher dampness and water risk Use strong moisture control and fix leaks first
Concrete Subfloors
Concrete is one of the most common places where a moisture barrier is needed.
Even when concrete looks dry, it can still release moisture. That is why testing is so important before installation.
For concrete, always:
- test moisture according to the flooring instructions
- use only products approved for your vinyl system
- make sure the concrete is clean, dry, and level
- fix cracks or surface problems before starting
Concrete slabs below grade or in humid areas often need extra attention.
Wood Subfloors
Wood needs a different kind of care.
Wood can absorb moisture, swell, rot, and weaken over time. Before installing vinyl flooring, check for:
- soft spots
- discoloration
- moldy areas
- squeaks
- loose panels
- signs of past leaks
If the wood subfloor is not solid, fix it first. A barrier is not a repair solution for damaged wood.
Basement Floors
Basements often create more moisture concerns than other rooms.
The space may be below grade, which means it can hold more dampness and feel more humid. That makes moisture control very important.
Before installation, look for:
- leaks
- seepage
- drainage problems
- condensation
- musty smells
If water is entering the basement, solve that first. Installing flooring over an active moisture problem usually leads to trouble later.
Common Mistakes to Avoid
Many flooring problems stem from simple mistakes made early in the process.
Installing Over a Damp Subfloor
This is one of the biggest mistakes.
A moisture barrier is not a magic fix for water problems. If the floor is damp, you need to find the source and correct it first.
If you skip this step, the moisture can remain trapped and cause damage later.
Using the Wrong Underlayment
Not every underlayment works with every vinyl floor.
Some products are too thick, too soft, or not approved for the specific flooring system. That can affect how the floor locks together or how adhesive performs.
Always check compatibility before installation.
Ignoring Manufacturer Instructions
This is another common issue.
Different vinyl products have different requirements. One floor may allow a certain barrier, while another may not. The instructions should guide every step.
If the product says not to use a separate layer, follow that rule.
Leaving Gaps Between Barrier Sections
Gaps and loose seams can reduce protection.
If the seams are not overlapped or sealed properly, moisture can get through. Take your time with this part.
Creating an Unstable Flooring System
More layers are not always better.
Too many layers can make the floor feel unstable or interfere with the fit. That is especially important with click-lock flooring, which depends on a stable base.
Keep the system simple and approved.
How to Know if the Installation Is Done Correctly
After the barrier is in place, check your work carefully.
A correct installation should have:
- a clean, dry, prepared subfloor
- a barrier laid flat without wrinkles
- sealed or overlapped seams as required
- proper edge treatment around obstacles
- no visible gaps or loose sections
- vinyl flooring that sits evenly and securely
The finished floor should not have unusual movement, lifted edges, or soft spots.
If you notice problems early, fix them before they grow into bigger issues.
Maintenance and Moisture Prevention After Installation
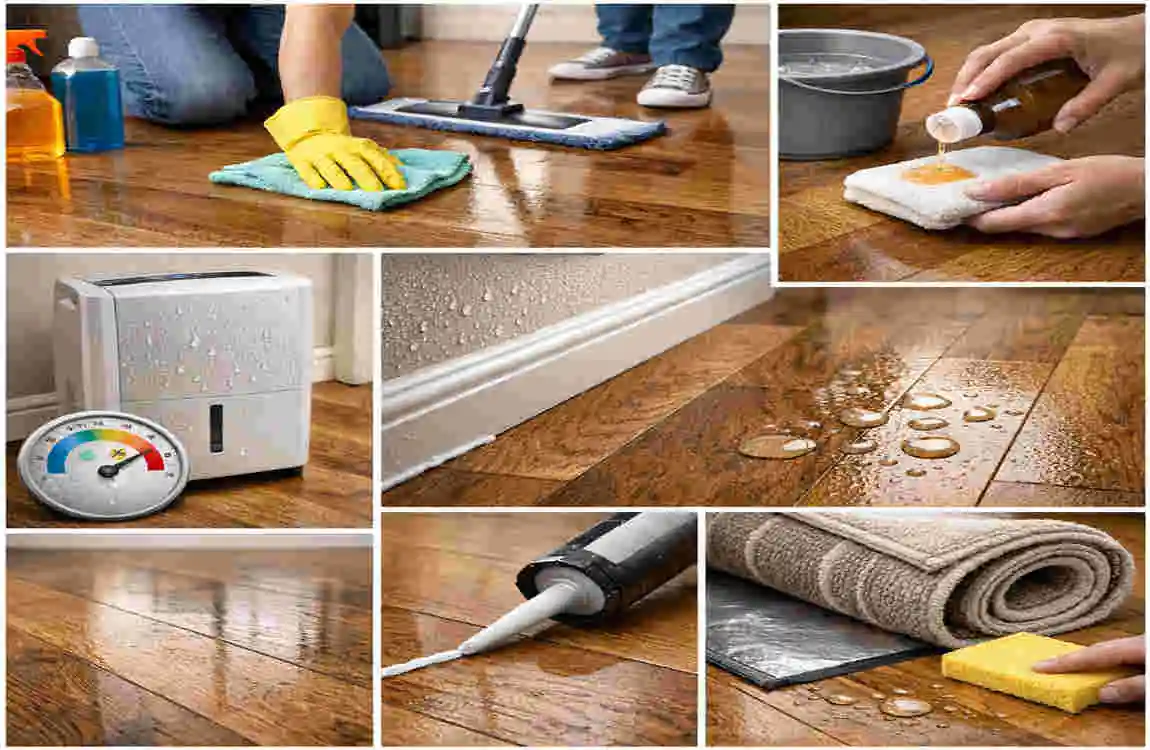
Once the floor is installed, moisture control still matters.
Control Indoor Moisture
Keep humidity at a reasonable level in the home.
Use ventilation in:
- bathrooms
- kitchens
- laundry areas
Also, fix condensation or small leaks quickly. These small issues can become bigger over time.
Clean Spills Quickly
Wipe up water as soon as possible.
Even if vinyl flooring is moisture-resistant, standing water should not be left sitting around seams or edges. Quick cleanup helps protect the floor system.
Watch for Warning Signs
After installation, keep an eye out for signs of moisture trouble:
- buckling
- soft spots
- musty odors
- discoloration
- peeling
- adhesive failure
- visible moisture near the floor
If you notice any of these signs, do not ignore them. Investigate early.
Simple Step-by-Step Summary
If you want a quick overview, here is the basic process for how to install a moisture barrier under vinyl flooring:
- Clean and inspect the subfloor
- Test for moisture if needed
- Choose the right approved barrier
- Measure and cut the material
- Lay it flat across the floor
- Seal seams and edges properly
- Install the vinyl flooring on top
That is the basic flow, but the small details matter just as much as the big steps.
Frequently Asked Questions
Do you need a moisture barrier under vinyl flooring?
Not always. It depends on the vinyl product, the subfloor, and the room conditions. Some vinyl flooring already includes moisture resistance.
Can I put a moisture barrier directly under vinyl flooring?
Sometimes yes, sometimes no. It depends on the flooring system. Always check the manufacturer’s instructions first.
What is the best moisture barrier under vinyl flooring?
There is no single best choice for every job. The best product is the one approved for your specific vinyl flooring and subfloor.
Can I install vinyl flooring over a concrete floor?
Yes, in many cases. The concrete must be properly prepared, dry enough, level, and compatible with the flooring system.
Does vinyl flooring prevent moisture from reaching the subfloor?
Vinyl flooring is often moisture-resistant, but that does not make every installation fully waterproof. Seams, edges, and subfloor moisture still matter.
Should I use plastic under vinyl plank flooring?
Not automatically. Plastic sheeting may not work with every vinyl plank product. Use only materials approved by the flooring manufacturer.
Can moisture under vinyl flooring cause mold?
Yes, moisture trapped under flooring can contribute to mold or mildew in some situations, especially if organic materials are present.
How do I install moisture barrier under vinyl flooring on concrete?
Start with a clean, dry, level concrete slab. Test for moisture as required, then install the approved barrier before adding the vinyl flooring.
