
When it comes to home maintenance, a few things are as critical as ensuring the proper functioning of your plumbing system. At the heart of this system lies the plumbing stack, also known as the vent stack. This vertical pipe is essential for channeling waste and venting sewer gases, playing a crucial role in keeping your home safe and sanitary.
However, like any component in a home, plumbing stacks can develop leaks over time. A leaking plumbing stack isn’t just a minor inconvenience — it can lead to water damage, mold growth, and even structural issues if left unaddressed. Fixing it promptly can save you both time and money while preventing further complications.
Understanding Your Home Plumbing Stack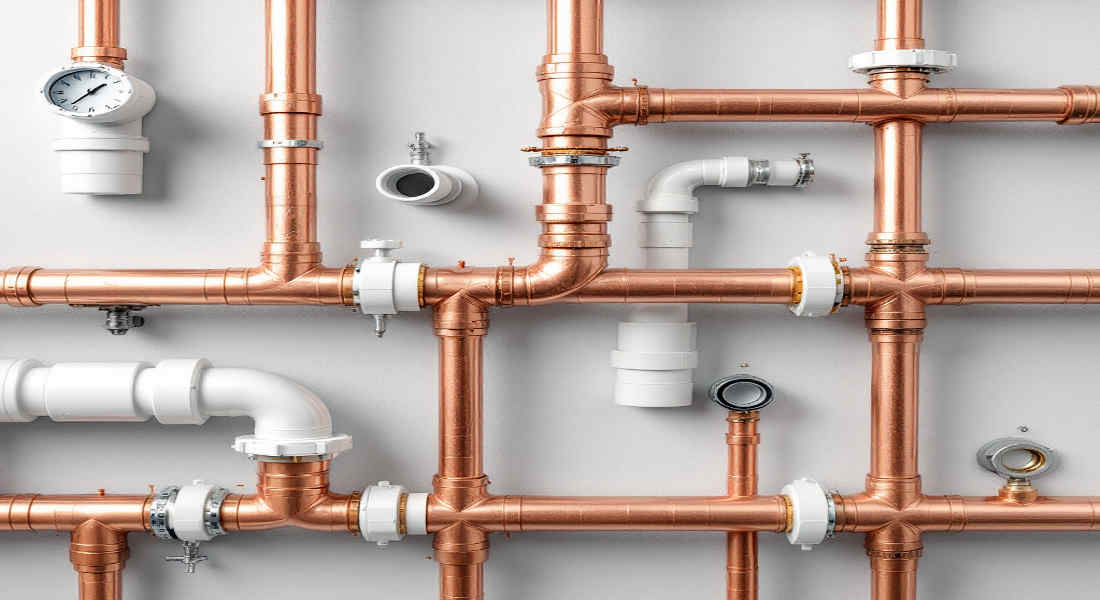
To effectively repair a plumbing stack, it’s important to first understand what it is and why it’s so vital to your home.
What is a Plumbing Stack?
A plumbing stack is a vertical pipe that serves two main functions:
- Waste Removal: It carries wastewater from your sinks, toilets, and showers to your home’s main sewer line.
- Ventilation: It allows sewer gases to escape from your home, preventing unpleasant odors and ensuring proper drainage by equalizing air pressure in the plumbing system.
Common Causes of Plumbing Stack Leaks
Plumbing stacks can develop leaks due to various reasons. Here are some of the most common culprits:
- Wear and tear: Over time, materials like cast iron or PVC can degrade, leading to cracks or gaps.
- Corrosion: Older metal pipes may rust and weaken, especially in humid environments.
- Damaged roof flashing or rubber boots: The areas where the stack protrudes through the roof are particularly vulnerable to leaks due to weather exposure.
- Improper installation: Poorly fitted pipes or connections can cause leaks to develop prematurely.
Signs of a Leaking Plumbing Stack
How can you tell if your plumbing stack is leaking? Look out for these warning signs:
- Water stains on walls or ceilings near the plumbing stack.
- A persistent musty odor or the smell of sewer gases in your home.
- Dripping sounds coming from the walls or attic.
- Roof leaks in the area where the stack exits through the roof.
By identifying these signs early, you can prevent further damage and address the issue promptly.
Identifying the Leak in Your Plumbing Stack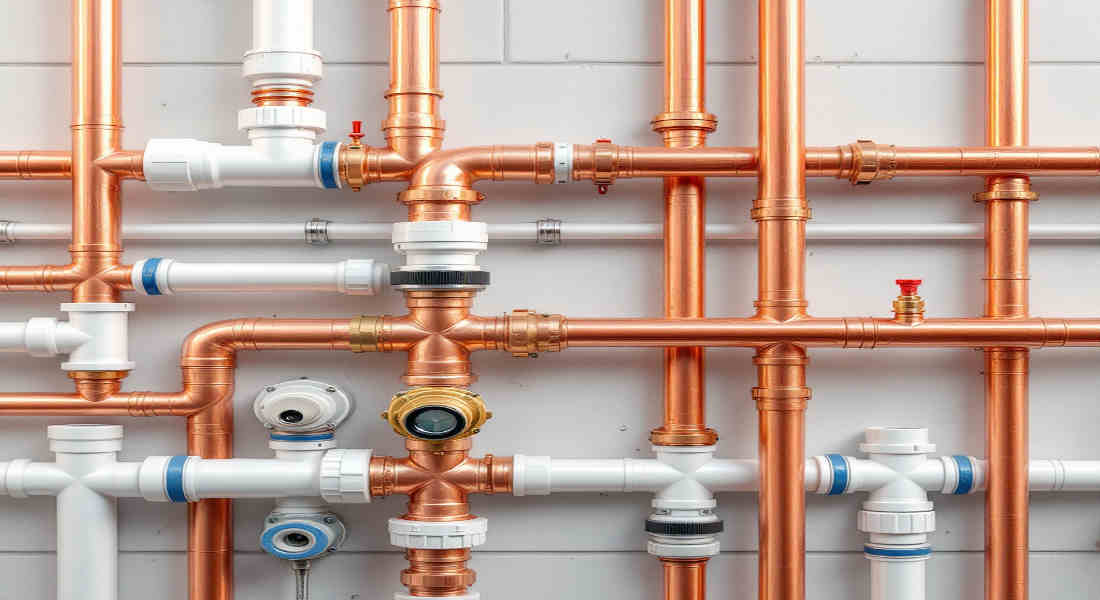
Before diving into repairs, you need to pinpoint the exact location of the leak. This step is crucial for determining the right course of action.
You may also read (mastering the art of hiding plumbing in your home).
How to Inspect the Plumbing Stack Safely
- Turn off the water supply: To prevent further water damage, always shut off the water supply before inspecting the plumbing stack.
- Examine the visible sections: Start by looking for cracks, gaps, or signs of corrosion in the exposed parts of the pipe.
- Inspect the roof area: Check the flashing and rubber boot where the stack exits the roof. Look for tears, cracks, or deterioration that could be causing leaks.
- Use a flashlight: For hard-to-see areas, a flashlight can help you spot small cracks or moisture.
Differentiating Between Pipe and Roof Flashing Leaks
It’s important to determine whether the leak is coming from the pipe itself or the roof flashing.
- Pipe leaks: These are usually caused by cracks, corrosion, or faulty connections in the plumbing stack.
- Roof flashing leaks: These occur when the seal around the stack where it exits the roof becomes damaged, allowing water to seep in.
When to Call a Professional Plumber
While many plumbing stack leaks can be repaired as a DIY project, there are situations where professional help is necessary. Call a plumber if:
- The leak is extensive or difficult to access.
- You notice significant corrosion or multiple leaks.
- You’re unsure about how to proceed safely.
Tools and Materials Needed for Repair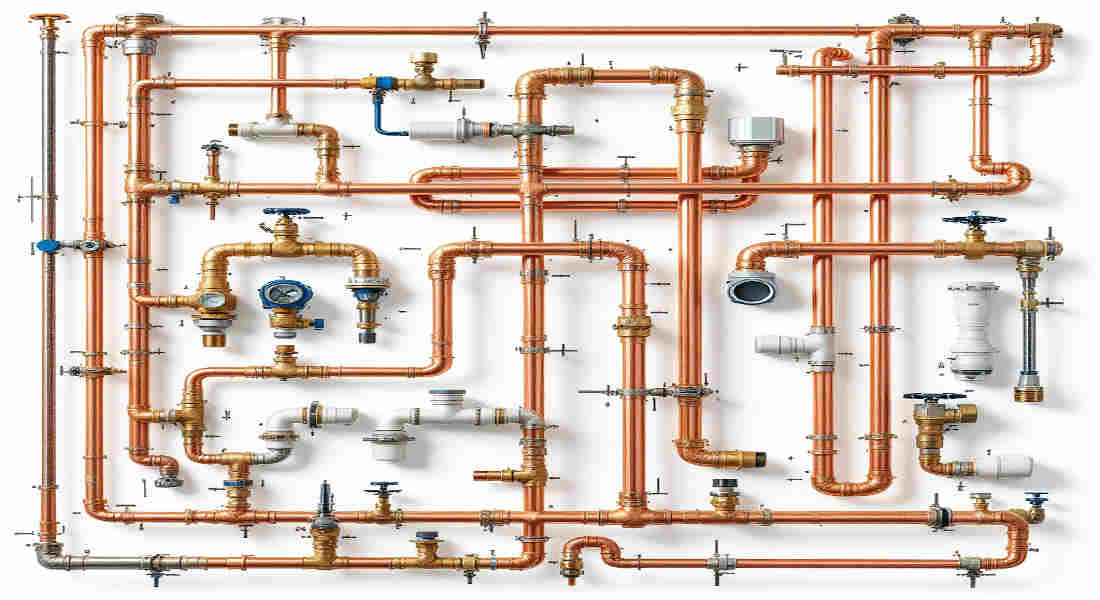
Before starting the repair process, gather all the necessary tools and materials. Having the right equipment on hand will make the job smoother and more efficient.
Tools You’ll Need
- Adjustable wrench
- Pipe cutter or hacksaw
- Screwdriver
- Caulking gun
- Safety goggles and gloves
- Flashlight (for inspecting hard-to-reach areas)
You may also read (colorados home-real estate license law).
Materials to Prepare
- PVC or ABS pipes (depending on your plumbing system)
- Pipe fittings
- Pipe cement and primer (for PVC repairs)
- Rubber couplings
- Roofing cement or silicone sealant
- New rubber boot or flashing
Tool/MaterialPurpose
Adjustable wrench Tightening or loosening pipe fittings
Pipe cutter/hacksaw Cutting damaged pipe sections
Roofing cement/sealant Sealing leaks around the roof flashing
PVC/ABS pipes and fittings Replacing damaged pipe sections
Safety goggles/gloves Protecting yourself during the repair
Tips for Choosing Materials
- PVC pipes and fittings are used for modern plumbing systems, while older homes may require cast iron or ABS pipes.
- Ensure you purchase materials that are compatible with your existing plumbing system.
Step-by-Step Guide: How to Fix a Leaking Home Plumbing Stack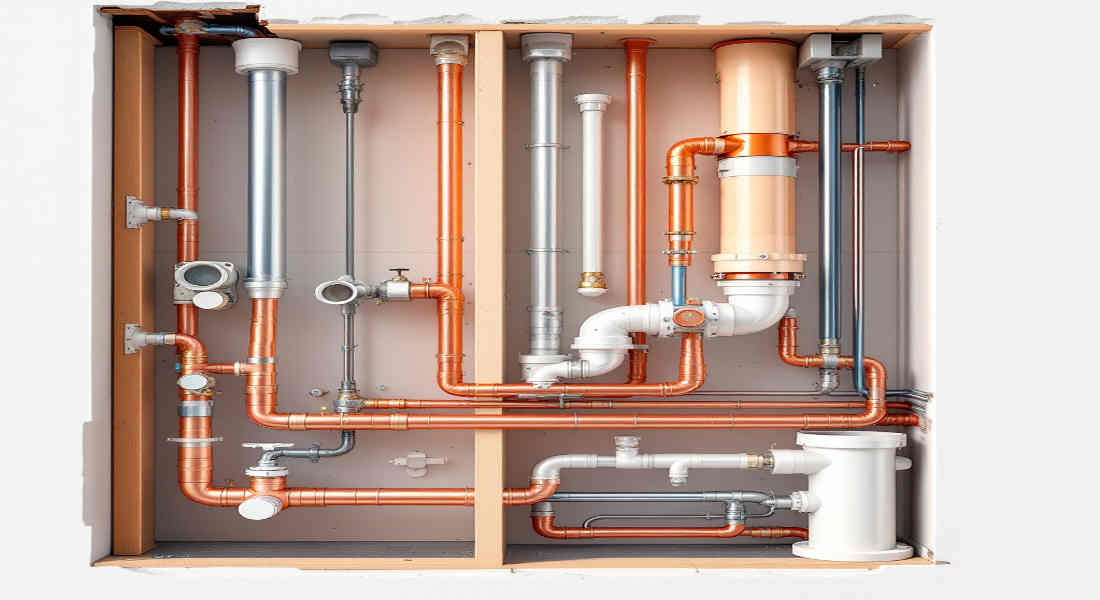
Follow these steps to repair your leaking plumbing stack effectively:
Locate the Source of the Leak
Inspect the plumbing stack thoroughly to identify the exact location of the leak. Turn off the water supply before proceeding.
Remove Damaged Fittings or Pipe Sections
Using an adjustable wrench or screwdriver, carefully remove any damaged fittings or connectors.
Cut Out Damaged Pipe Sections
If the leak is caused by a crack or corrosion, use a pipe cutter or hacksaw to remove the damaged section of the pipe.
Prepare Replacement Pipe and Fittings
For PVC pipes, apply primer and pipe cement to the replacement pipe and fittings. For ABS, rubber couplings are used to connect the new section.
Install the Replacement Pipe
Securely attach the replacement pipe section, ensuring all connections are watertight. Use Teflon tape or pipe thread sealant to prevent leaks at threaded joints.
Repair Roof Flashing or Rubber Boot
If the leak is from the roof flashing or rubber boot, remove the old material and install a new one. Seal the edges with roofing cement or silicone sealant.
Reconnect Fittings and Turn On Water Supply
Reattach all fittings and connections. Turn the water supply back on and check for any signs of leakage.
Monitor the Repaired Area
Keep an eye on the repaired area over the next few days to ensure the fix holds.
Safety Precautions to Keep in Mind
When working on plumbing stack repairs, safety should always be a priority. Here are some essential precautions:
- Wear safety goggles and gloves to protect yourself from debris and sharp edges.
- Ensure the water supply is off before beginning any repairs.
- Use ladders carefully when accessing the roof, and avoid working on wet or slippery surfaces.
- If you’re unsure about any step, don’t hesitate to consult a professional plumber.
Common Mistakes to Avoid
Avoiding common pitfalls can save you from frustration and additional repairs:
- Over-tightening fittings: This can cause cracks or damage to the pipe.
- Using the wrong materials: Always select pipes, fittings, and sealants compatible with your plumbing system.
- Ignoring roof flashing issues: Failing to address leaks around the roof flashing can lead to further water damage.
- Delaying repairs: Small leaks can quickly escalate into larger problems if left unaddressed.
When to Call a Professional Plumber
Not every plumbing stack issue is suitable for DIY repairs. You should call a professional if:
- The leak is extensive or involves multiple areas.
- The plumbing stack is made of old or corroded cast iron.
- You’re unable to safely access the roof.
Maintaining Your Plumbing Stack to Prevent Future Leaks
Regular maintenance can help prevent future issues:
- Inspect your plumbing stack annually for signs of wear or damage.
- Check the roof flashing after heavy storms or harsh weather.
- Address minor leaks as soon as they appear to prevent larger problems.
You may also read (home plumbing and why is it-important).