
Keeping plumbing pipes clean is essential for maintaining a healthy and efficient water system at home. With simple, cost-effective DIY methods using everyday household items, anyone can easily clear clogs, remove buildup, and prevent unpleasant odors. This easy guide will walk through effective steps to clean plumbing pipes safely and keep water flowing smoothly without the need for professional help.
Understanding Your Plumbing Pipes
Before you grab any tools or cleaners, it’s essential to know what you’re working with. Your home’s plumbing system is like the veins of a house, carrying water in and waste out. These pipes are composed of different materials, and each one reacts differently to cleaning methods. For example, you might have PVC pipes, which are made of plastic and are common in modern homes because they’re lightweight and resistant to corrosion. Then there’s copper piping, often found in older houses, known for its durability but sensitivity to acidic cleaners. Don’t forget galvanized steel pipes, which were popular in the past but can rust over time, leading to buildup.
Regular maintenance isn’t just about fixing problems—it’s about preventing them. By keeping your pipes clean, you ensure better water flow, reduce the risk of leaks, and even improve your home’s overall health. Consider this: dirty pipes can harbor bacteria, which can impact the quality of your drinking water. According to plumbing experts, inspecting and cleaning pipes every few months can significantly extend their lifespan. Take a moment to identify the types of pipes in your home—check under sinks or in your basement—and plan your cleaning strategy accordingly. This knowledge empowers you to select the most suitable methods and prevent potential damage.
In short, understanding your cleaning plumbing pipes is the foundation of effective cleaning. Whether you’re dealing with flexible PVC or sturdy copper, knowing the signs—such as strange noises when water runs or slow drainage—helps you act quickly. Remember, a little effort now can save you a lot of headaches later. Let’s move on to what causes these issues in the first place.
Safety Precautions Before Starting Pipe Cleaning
Safety should always be your top priority when working on home maintenance, especially when it comes to plumbing Cleaning pipes might seem straightforward, but it can involve slippery surfaces, chemicals, or even sharp tools. Start by equipping yourself with the right protective gear. Wear gloves to protect your hands from bacteria and harsh cleaners, goggles to shield your eyes from splashes, and a mask if you’re dealing with strong odors or dust. These simple items are readily available at any hardware store and can help prevent accidents.
Before you begin, turn off the water supply to the area where you’re working. This step is crucial to avoid unexpected floods or pressure buildups. Locate the shut-off valve, usually located under the sink or in your main water line, and ensure it’s fully closed. If you’re using house cleaners, handle them with care. Read the labels, wear protective gear, and never mix different products, as this can create dangerous fumes. For example, combining bleach and ammonia can release toxic gases, so always use one cleaner at a time.
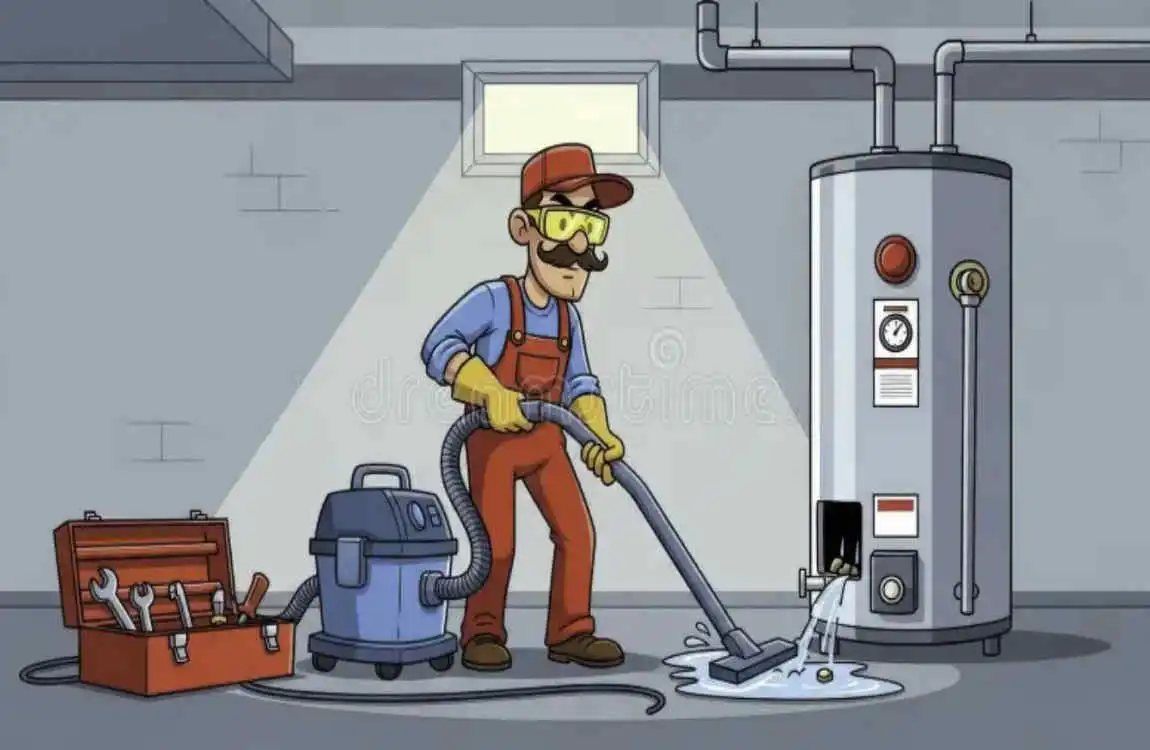
There are times when DIY isn’t the best option. If you suspect a major issue, such as a cracked pipe or a persistent clog, it’s best to call a professional. Signs include recurring problems cleaning or unusual noises in the walls. By prioritizing safety, you not only protect yourself but also ensure the job is done right. Have you checked your safety gear lately? Taking these precautions makes the process less stressful and more effective.
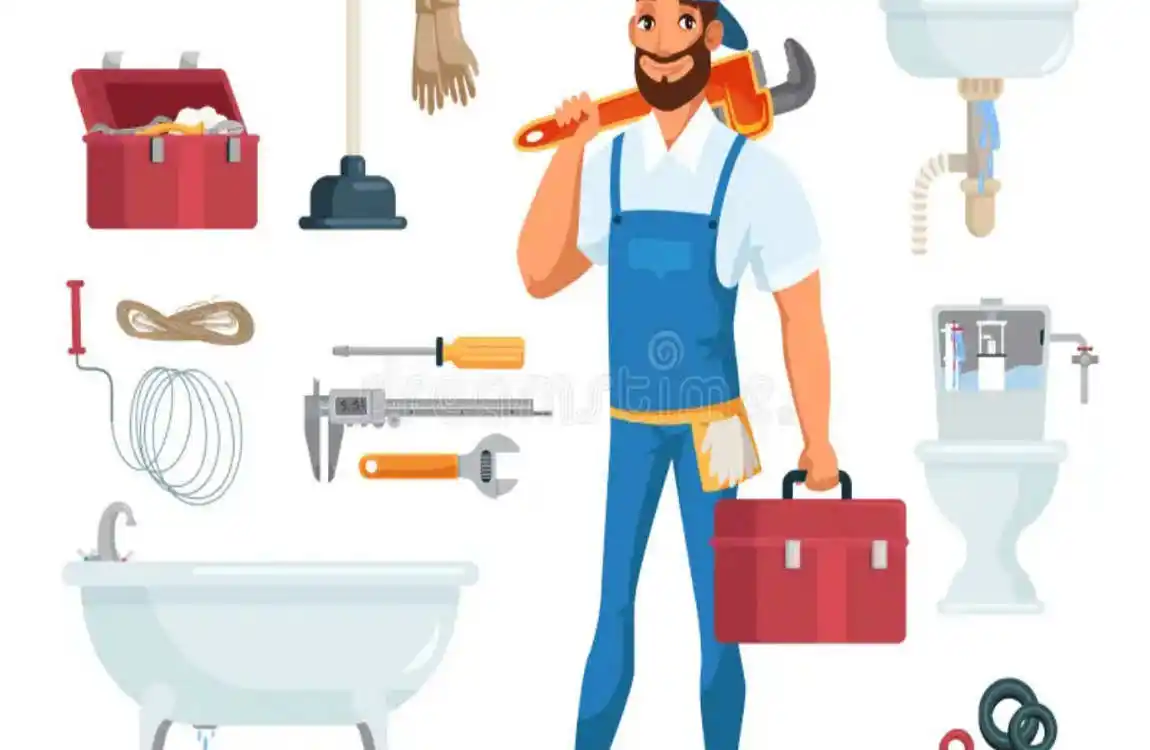
Tools and Materials Needed for Cleaning Pipes at Home
Having the right tools and materials can make pipe cleaning a breeze. You don’t need a fancy toolkit—just a few readily available essentials. Start with basic items like a plunger, which is great for dislodging simple clogs due to its suction power. A plumber’s snake, also known as a drain auger, is a flexible tool that can reach deep into pipes to remove stubborn blockages. Don’t forget a pipe brush for scrubbing away residue and a bucket to catch any water or debris that may be released.
For natural cleaning, raid your kitchen cabinets. Baking soda acts as a mild abrasive to break down grime, while vinegar provides acidity to dissolve buildup—think of it as a dynamic duo for eco-friendly cleaning. Lemon juice adds a fresh scent and helps cut through grease, and salt can scrub away minor deposits. If you prefer store-bought options, commercial pipe cleaners are available; however, choose ones that are safe for your specific type of pipe. Look for products labeled as non-corrosive to prevent damage to materials like copper.
Commercial Cleaners Fast-acting, strong on tough clogs. It can be harsh, with potential for pipe damage. Stubborn blockages in PVC or plastic pipes
As you can see, natural methods are versatile and beginner-friendly. Always match the cleaner to your pipe material to avoid issues. Now that you’re equipped, let’s walk through the actual steps of cleaning.
Step-by-Step Guide on How to Clean Plumbing Pipes at Home
Cleaning your plumbing pipes at home doesn’t have to be overwhelming. With this detailed guide, we’ll break it down into manageable steps, using clear and concise language, along with practical tips. We’ll focus on methods that are safe, effective, and easy to follow. By the end, you’ll have clear, flowing pipes and the satisfaction of a job well done. Remember, take your time and prioritize safety—refer back to the precautions we discussed earlier.
Initial Inspection and Locating Clogged or Dirty Pipes
Start by assessing the problem. Turn on faucets and flush toilets to determine the location of the issue. Is the kitchen sink draining slowly, or is it the shower that’s the issue? Look for visible signs, such as water pooling or unusual odors. Use a flashlight to inspect under sinks and around drains for buildup or leaks. For example, if you see hair or soap scum in the trap, that’s a clue to the cause.
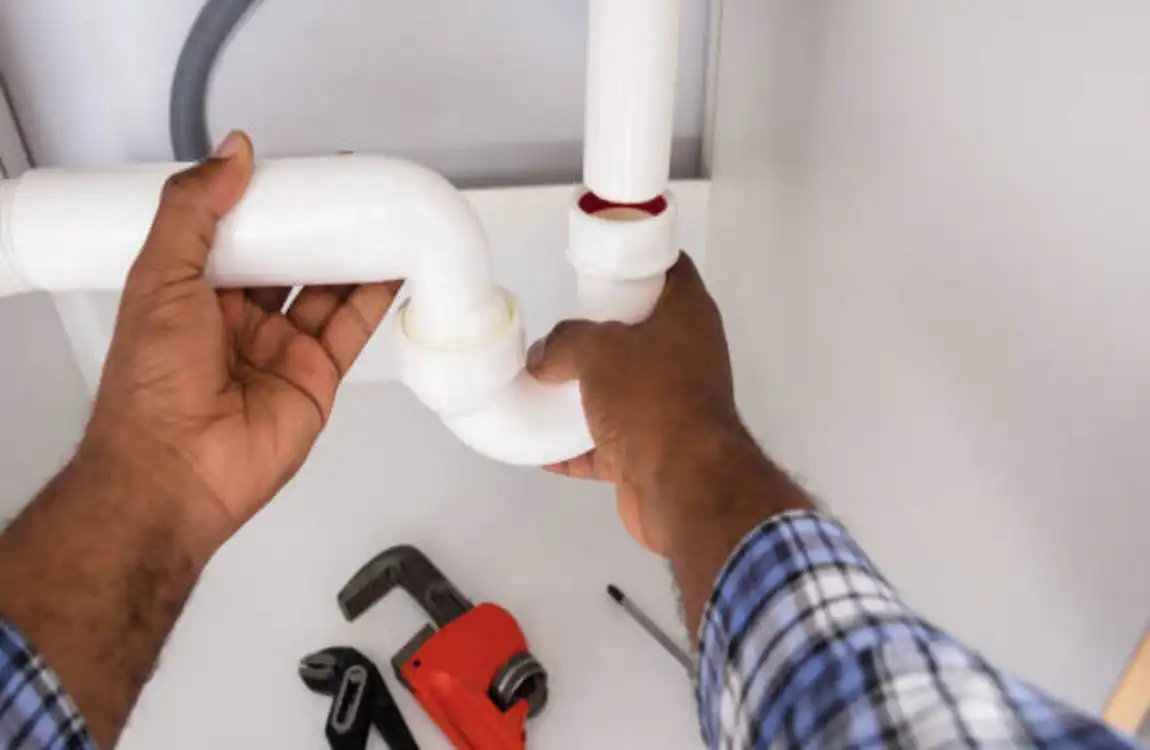
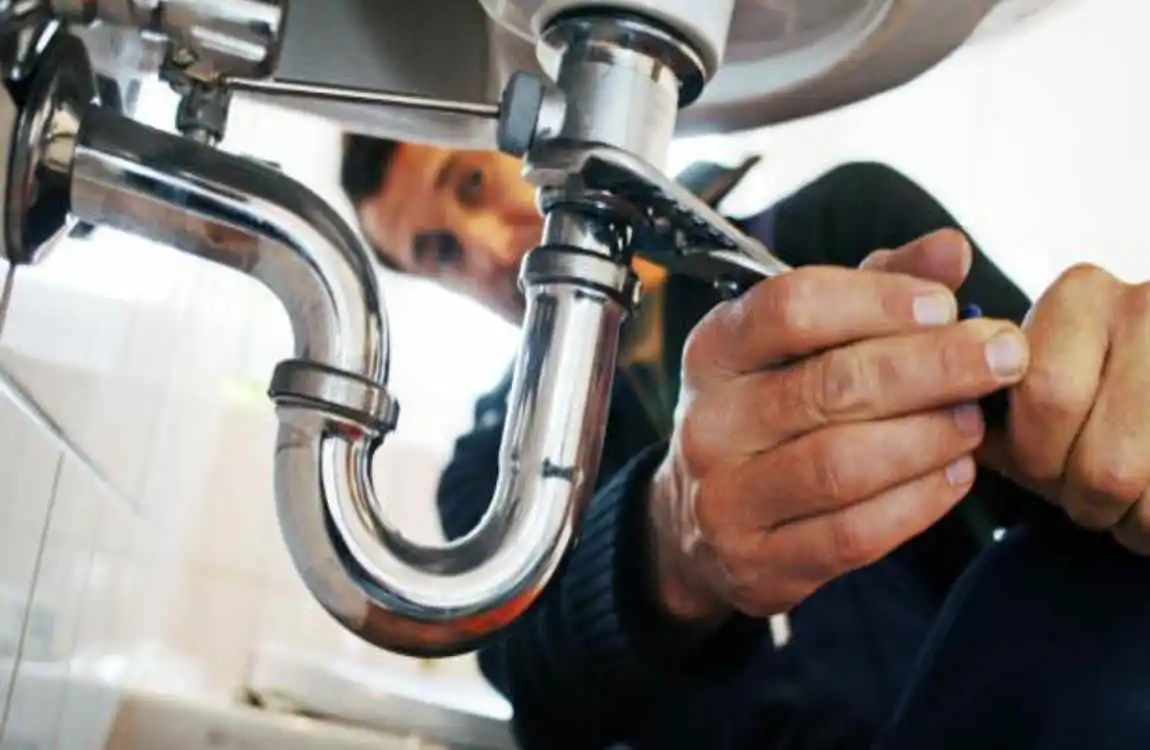
Manual Removal of Debris Using a Plumber’s Snake or Pipe Brush
Once you’ve located the clog, it’s time for hands-on removal. Grab your plunger or plumber’s snake and get to work. For a plunger, create a tight seal over the drain and plunge vigorously to dislodge debris. If that doesn’t work, insert the snake into the pipe and twist it gently to hook and pull out blockages, such as hair or food particles.
A pipe brush is perfect for scrubbing interior walls, especially in accessible areas like sink traps. Wear gloves to protect your hands, and be careful not to scratch the pipe material. This method is great for PVC pipes, but use caution with copper to avoid damage. Imagine pulling out a clump of gunk—it’s satisfying and often resolves minor issues quickly. Direct appeal: Try this step first, as it’s chemical-free and effective for many common clogs.
Using a Commercial Cleaner for Stubborn Clogs (Instructions and Precautions)
If natural methods aren’t cutting it, consider a commercial cleaner, but use it wisely. Select a product specifically designed for your pipe material, such as one made for PVC, to prevent corrosion. Follow the instructions carefully: pour the recommended amount down the drain, let it sit for the specified time, and flush with water.
Precautions are vital here—wear protective gear, work in a well-ventilated area, and avoid overexposure to the substance. Commercial cleaners contain strong chemicals that can damage pipes or harm the environment. For instance, they might contain acids or enzymes that break down tough buildup, but they’re not ideal for regular use. If you’re hesitant, start with a small test area. This step should be a last resort, as natural methods are often sufficient.
Regular Maintenance Tips to Prevent Future Clogs and Buildup
The best way to clean pipes is to keep them from getting dirty in the first place. After cleaning, adopt habits like using drain strainers to catch hair and food particles. Dispose of grease in the trash instead of pouring it down the sink. Set a schedule for routine flushes with hot water or natural cleaners every month.
Maintenance extends pipe life and saves money. Check for minor leaks regularly and repair them promptly to prevent more significant issues. Direct appeal: What small changes can you make today to keep your pipes in top shape? Consistency is key, so integrate these tips into your routine for long-term benefits.
With these steps, you’ve got a solid plan for cleaning and maintaining your pipes. However, let’s discuss maintaining their cleanliness over time.
Tips for Maintaining Clean Pipes Long-Term
Keeping your pipes clean isn’t a one-time fix—it’s an ongoing commitment. By following a few best practices, you can prevent clogs and enjoy hassle-free plumbing. Start with smart disposal habits: never pour grease or oil down the drain; instead, let it solidify and dispose of it properly. Use drain strainers in sinks and showers to catch debris, such as hair and food particles, before they cause problems.
Regular flushing with natural cleansers, such as a baking soda and vinegar mix, can keep buildup at bay. Aim for this every 1-3 months, depending on your household’s usage. Also, check for and repair minor leaks immediately; even a small drip can lead to corrosion over time. Seasonal inspections are also a good idea—inspect pipes in spring and fall to catch issues early.
Here’s a quick list of maintenance tips to make it easier:
- Dispose properly: Use trash for grease and coffee grounds to avoid buildup.
- Install strainers: They cost little but save big on clogs.
- Flush regularly: Using hot water or natural cleaners helps keep things flowing smoothly.
- Monitor for leaks: Fix small problems before they escalate into larger issues.
- Schedule checks: Annual or bi-annual inspections prevent surprises.
By incorporating these habits, you’ll reduce the need for deep cleanings and extend the life of your plumbing system. Remember, prevention is easier than cure—what can you do this week to start?