Hey there, homeowner! Have you ever looked at your worn-out floors and thought, “It’s time for a refresh”?Floor refinishing can transform your space, making it feel brand new. But let’s be real—doing this while you’re still living in the house? That’s a whole different ballgame. It brings challenges such as dust everywhere, strong odours, and disrupted routines. If you’re wondering how to refinish floors while living in a house without losing your sanity, you’re in the right place.
Understanding Floor Refinishing

What Exactly Is Floor Refinishing?
Floor refinishing is like giving your floors a spa day. You strip away the old finish, smooth out imperfections, and apply a fresh coat to make them shine. It’s not just about looks—it’s about protecting the wood from wear and tear over time.
Think about it: your floors take a beating from daily foot traffic, spills, and furniture drags. Refinishing revives them, adding years to their life. But if you’re living in the house during renovation, you need to plan smart to avoid turning your home into a construction zone.
The Typical Process and Timeline
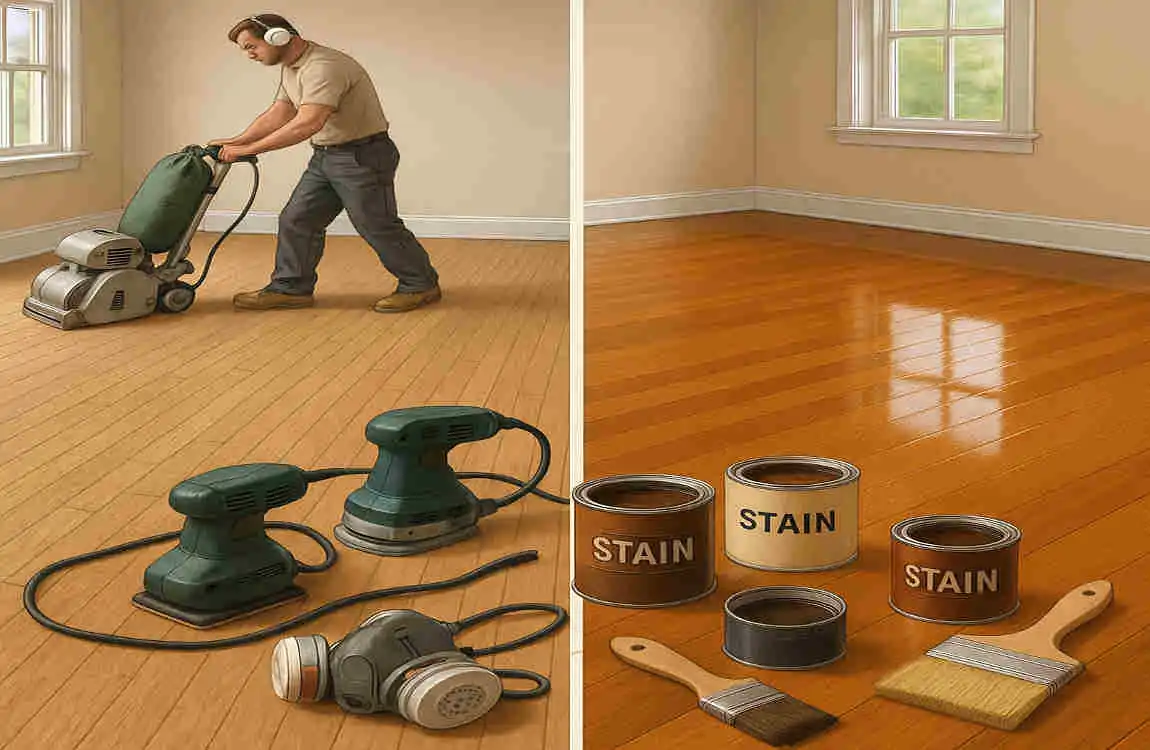
The process usually starts with sanding to remove the old layers. Then comes staining (if you want a colour change) and sealing with a protective finish, such as polyurethane. It sounds simple, but it can take days or even weeks, depending on the size of your home.
For a standard three-bedroom house, expect 3-7 days per section. Drying times between coats also contribute to this—floors may need 24-48 hours to cure before you can walk on them. If you’re figuring out how to refinish floors while living in a house, remember that rushing this timeline leads to sloppy results and more headaches.
Common Types of Floors That Need Refinishing
Hardwood modern floors are the stars here—they’re durable and can be refinished multiple times. Engineered wood works too, but only if the top layer is thick enough. Laminate or vinyl? Skip refinishing; those need replacement.
Refinish oak, maple, or pine floors in older homes. Each type reacts differently to sanding and finishes, so be aware of your floor’s material. This knowledge is invaluable when you’re living in a house during renovation, as it allows you to anticipate dust levels or drying times.
Why Timing and Preparation Matter
Timing is everything. Refinish during milder weather for better ventilation—avoid extreme heat or cold that could mess with drying. Preparation? It’s your secret weapon. Clear rooms in advance and stock up on supplies.
Ask yourself: Can I handle a few days of chaos? Proper prep turns a potential nightmare into a manageable project. It ensures safety and keeps your daily life somewhat regular while you learn how to refinish floors while living in a house.
Planning Ahead for Refinishing Floors While Living in Your House
Planning isn’t glamorous, but it saves you from regret. Imagine starting the job only to realise you can’t access your kitchen for a week. Ouch! Good planning minimises those disruptions.
Start by mapping out your home. Which rooms get refinished first? How will you navigate around work zones? This forward-thinking approach is key to refinish floors while living in a house.
The Importance of Planning to Minimise Disruption
Disruption happens, but you control how much. Plan for meal prep in a temporary kitchen setup or remote work in a quiet corner. Little steps like these keep life flowing.
You might even involve your family in the planning. What do they need to stay comfortable? This makes everyone feel included and reduces stress during the living-in-house phase of the renovation.
Communicating with Contractors or DIY Scheduling
If hiring professionals, discuss timelines openly. Ask about their process and how they handle floor sanding safety. For DIYers, create a schedule with built-in buffers for unexpected surprises.
Set check-ins to adjust as needed. Clear communication ensures the project stays on track without invading your space more than necessary.
Setting Realistic Expectations About Duration and Inconvenience
Be honest: This won’t be perfect. Expect noise, smells, and limited access. But knowing that upfront helps you cope.
Picture this—you thought it’d take two days, but it stretches to four. Realistic expectations prevent frustration and help you adapt while living in a house during renovation.
Preparing Alternative Living Spaces Within the House
Convert a spare room into a mini hub. Stock it with essentials like snacks, bedding, and entertainment. If no spare room, consider camping out in the basement or garage.
This setup lets you retreat from the chaos. It’s a clever hack for maintaining sanity as you master how to refinish floors while living in a house.
Create a Clear and Safe Work Zone
Safety first, right? When refinishing, dust and tools can turn your home into a hazard zone. Creating a dedicated work area helps keep things organised and contained.
You don’t want kids tripping over sanders or pets inhaling fumes. Let’s break down how to set this up effectively.
Sectioning Off Work Areas to Limit Dust and Fumes
Use painter’s tape and plastic sheeting to seal doorways. Hang barriers from ceiling to floor—it’s like building a temporary wall.
This contains the mess. Dust stays put, and fumes don’t wander into your living spaces. It’s a game-changer for floor sanding safety.
Using Plastic Sheeting and Barriers
Opt for heavy-duty plastic—thicker stuff holds up better. Secure it tightly to avoid gaps where dust can escape.
Pro tip: Add zipper doors for easy access. This way, workers can come and go without letting chaos spread.
Safety Precautions for Family, Kids, and Pets
Keep everyone away with clear signs, such as “Work Zone—Do Not Enter.” For kids, explain the dangers in simple terms: “This area has yucky air that can make you cough.”
Pets? Store them or keep them in a secure location. These steps ensure that refinishing floors while living in the house doesn’t turn into a risky endeavour.
How This Supports Safe Refinishing While Living In
A safe zone means you can relax in other parts of the house. It promotes peace of mind, knowing your loved ones are protected during the project.
Manage Dust and Air Quality
Dust is the enemy in refinishing—it’s sneaky and gets everywhere. Sanding generates particles that can irritate the lungs and eyes. But you can fight back with innovative strategies.
Managing dust when refinishing floors isn’t just about house clean liness; it’s about health. Let’s explore how to keep your air breathable.
Common Dust and Air Pollution from Sanding
Sanding grinds away old finishes, creating fine dust. Add in chemical fumes from sealants, and your indoor air quality tanks.
Without control, this stuff lingers, affecting everyone in the house. That’s why managing dust during floor refinishing is crucial.
Using Air Scrubbers, Ventilation, and Purifiers
Invest in an air scrubber—it filters particles like a vacuum on steroids. Open windows for cross-ventilation, and run fans to push air out.
Don’t forget HEPA air purifiers in living areas. They trap tiny dust bits, keeping your space fresher.
Tips for Maintaining Good Indoor Air Quality
Wipe surfaces daily with damp cloths—dry sweeping stirs up more dust. Use exhaust fans in kitchens and bathrooms to pull air away.
Improving Living Comfort During Refinishing
Better air means fewer headaches and coughs. You’ll actually enjoy your home more, even during the mid-project phase. It’s all part of learning how to refinish floors while living in a house comfortably.
Here’s a quick bullet-point list of essential tools for dust management:
- HEPA vacuum: Sucks up fine particles without redistributing them.
- Dust barriers: Plastic sheets with adhesive edges for secure seals.
- Air purifiers: Models with high CADR ratings for larger rooms.
- Respirator masks: For anyone near the work zone.
Schedule Work in Phases for Minimal Disruption
Don’t refinish the whole house at once—that’s a recipe for chaos. Break it into phases, like doing one room at a time.
This way, you keep parts of your home usable. It’s a practical approach to living in a house during renovation.
Breaking the Job into Phases
Start with less-used areas, like a guest room. Move to high-traffic spots last, so you can still function normally.
Each phase might take 1-2 days, with drying in between. This phased method reduces overwhelm.
Allowing Continued Use of Home Parts
Imagine refinishing the living room while using the kitchen freely. Phased work keeps life moving.
Coordinate with your routine—do bedrooms during the day when you’re out, for example.
Coordinating Work Hours Around Family Routines
Align sanding with school hours if you have kids. Avoid evenings when everyone needs quiet time.
Flexible scheduling respects your life, making the process less intrusive.
Example Schedules for Phased Refinishing
Let’s look at a sample table to visualise this:
Phase Room/Area Estimated Time Notes
1 Guest Bedroom 2 days (sand + 1 coat) Low traffic; use as test run.
2 Hallway 1 day (quick dry) Coordinate with minimal foot traffic.
3 Living Room 3 days (multiple coats). Move furniture to the kitchen temporarily.
4 Kitchen 2 days Do last; eat out or use outdoor grill.
Use Low-VOC or Eco-Friendly Finishes
VOCs? That’s short for volatile organic compounds—nasty chemicals in some finishes that off-gas into your air. They can cause headaches or worse.
Switching to low-VOC floor finishes is a healthier choice, especially when living in the house.
Explaining VOCs and Their Impact
VOCs evaporate from paints and sealants, polluting indoor air. High levels irritate the eyes, nose, and throat.
For families, this is a big deal. Low VOC options release fewer toxins, making your home safer.
Benefits of Low-VOC or Natural Finishes
These finishes dry faster and have a less pungent smell. They’re eco-friendly too, often made from natural oils like tung or linseed.
You’ll breathe easier—literally—and enjoy a healthier space post-refinishing.
Recommendations for Safest Products
Try brands like Bona or Vermont Natural Coatings for low-VOC floor finishes. Water-based polyurethanes are great starters.
Promoting Health-Conscious Refinishing
Choosing these products aligns with smart living in the house during renovation. It shows you’re prioritising well-being while mastering how to refinish floors in your own home.
Protect Your Furniture and Belongings

Furniture takes a hit during refinishing—dust settles, and accidental drips happen. Protecting it keeps your stuff safe and your mind at ease.
Move what you can, cover the rest. It’s straightforward but essential.
Properly Covering and Moving Furniture
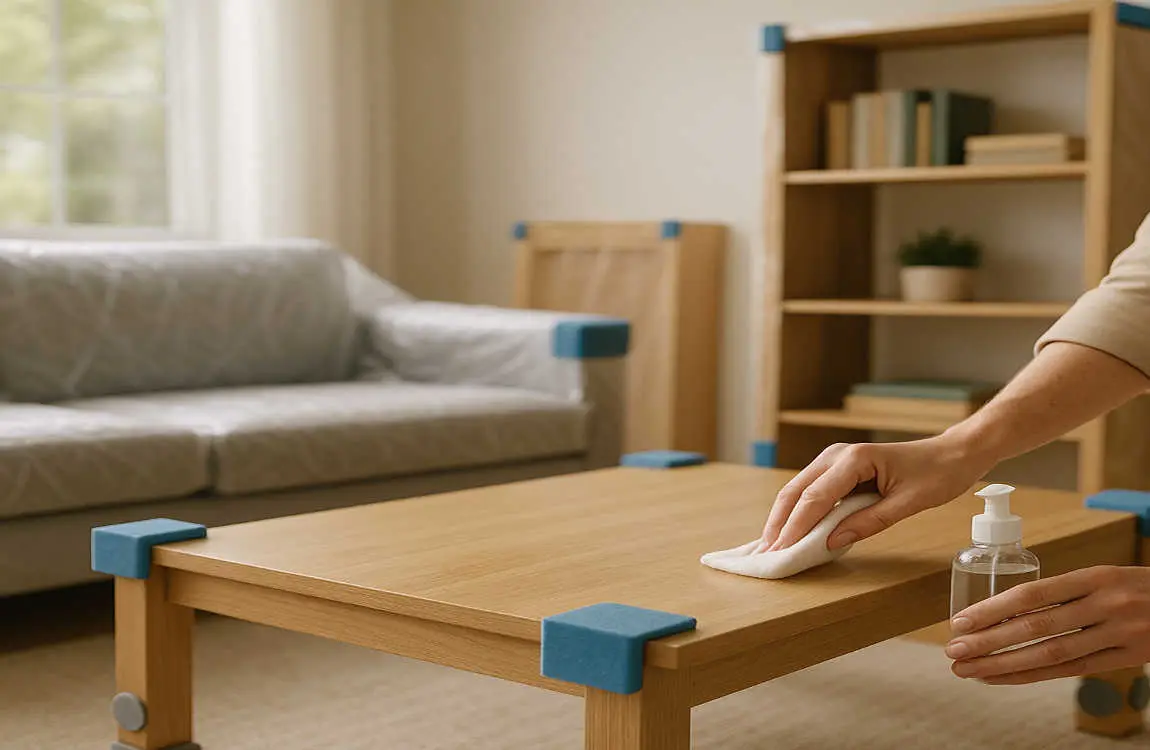
Empty rooms first. For big pieces, use drop cloths or old sheets secured with tape.
Lift items carefully to avoid scratches. Enlist help if needed—don’t strain yourself!
Tips for Storage Solutions During Phases
Rent a storage pod for overflow, or stack items in the garage. Use plastic bins for small belongings to keep dust out.
This organisation prevents loss and damage, smoothing out the process.
Avoiding Damage and Dust Contamination
Double-wrap valuables in plastic. Vacuum furniture post-project to remove any sneaky dust.
These steps ensure your home feels normal again quickly.
Keeping Everyday Life Smooth
Protected belongings mean less cleanup later. It’s a small effort that pays off big in comfort during the refinishing process.
Keep Pets and Children Safe and Comfortable
Kids and pets are curious—they’ll wander into danger if you’re not careful. Prioritise their safety to avoid accidents.
Create safe havens and monitor them closely. It’s about peace for everyone.
Strategies to Keep Vulnerable Family Members Away
Set up play areas far from work zones. Use baby gates for toddlers or leashes for pets during key times of the day.
Explain rules gently: “This room is off-limits for now, okay?”
Temporary Relocation Options or Safe Rooms
Board pets at a kennel for a day or two. For kids, arrange sleepovers with friends or family.
A designated safe room with toys and snacks works wonders, too.
Minimising Stress for Pets and Kids
Maintain routines as much as possible—regular walks for dogs, storytime for kids. Comfort home decor items help ease anxiety.
This approach ties into floor sanding safety, ensuring a stress-free experience.
Aligning with Living In House Concerns
By focusing on them, you make refinishing floors while living in a house a family-friendly endeavour.
Manage Noise and Work Hours
Noise from sanders and vacuums can drive you nuts. It’s loud and constant, disrupting sleep or focus.
Manage it by timing work wisely and using dampeners.
Expectation Management for Noise Levels
Know it’s coming—Sanders hit 80-100 decibels. Prepare mentally and notify neighbours if necessary.
This sets the stage for better coping.
Scheduling Work During Daytime Hours
Aim for 9 AM to 5 PM. Avoid early mornings or late nights to respect rest times.
Flexible pros can adjust to your schedule.
Using White Noise Machines or Sound Dampening
Run fans or white noise apps in quiet areas. They mask the racket, helping you concentrate or relax.
Earplugs are a simple fix, too.
Impact on Quality of Life
Controlled noise means better sleep and less irritability. It enhances your overall experience living in the house during renovation.
Here’s a numbered list of quick noise-reduction tips:
- Communicate early: Tell your household about noisy periods.
- Use barriers: Hang blankets over doors to absorb sound.
- Take breaks: Schedule quiet hours for meals or calls to avoid distractions.
- Invest in tech: Apps like Calm offer soothing sounds to counteract noise.
Post-Refinishing Care and Ventilation
The job’s not done when the last coat dries. Proper aftercare ensures floors cure right and your air clears.
Ventilate well and clean thoroughly—it’s the final push.
Steps to Ventilate and Cure Floors After
Open all windows for 24 to 48 hours. Use fans to circulate air, which speeds up the off-gassing process.
Avoid walking on floors until the product is fully cured—follow the product guidelines.
Cleaning Tips to Remove Residual Dust and Fumes
Damp-mop gently with approved cleaners. Vacuum with HEPA filters to catch lingering particles.
For fumes, keep purifiers running a few extra days.
Guidelines on Avoiding Heavy Traffic and Furniture
Please wait 72 hours before moving furniture back into its original position. Use felt pads under legs to prevent scratches.
Light traffic only at first—give it time to harden.
Supporting a Healthy Living Environment
Good aftercare means fresher air and durable floors. It wraps up your project on a high note.
