
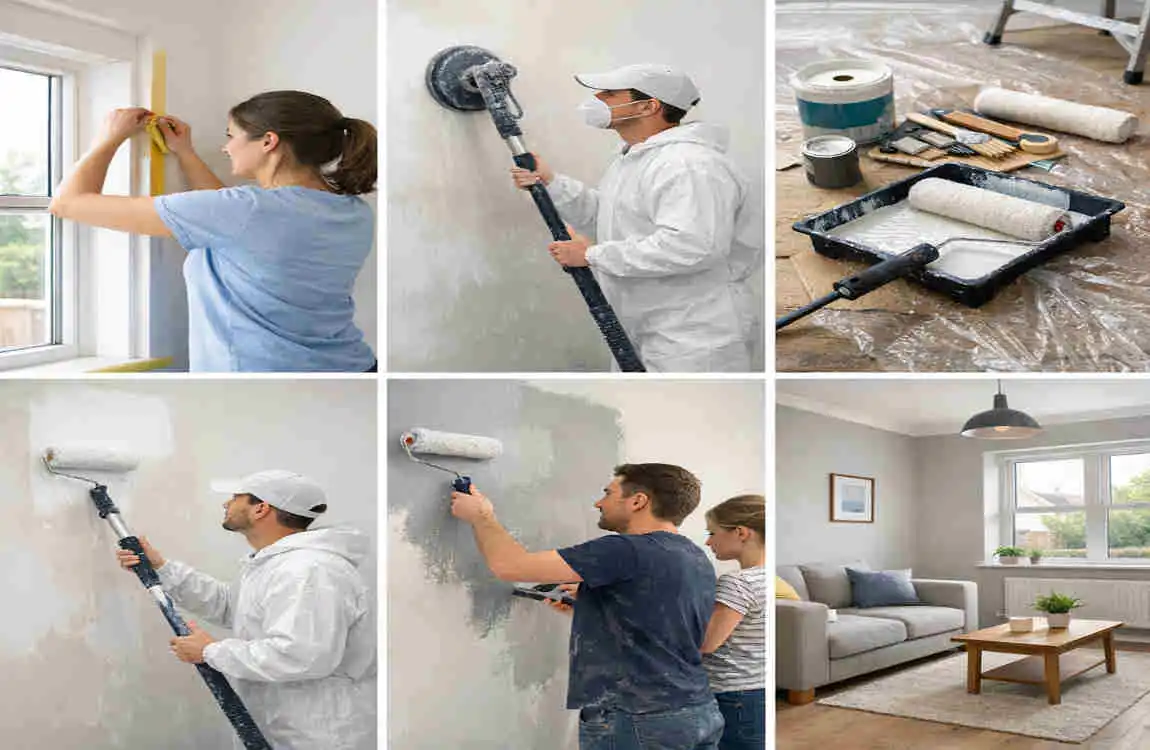
Painting a new home is one of the easiest ways to make it feel truly yours. A fresh coat of paint can turn plain walls into a warm, welcoming space. It also helps the house feel clean, finished, and ready for everyday life.
If you are looking for how to paint a new house interior in the UK, the process is not as hard as it may first seem. You need the right preparation, the right products, and a clear step-by-step plan.
Should You Paint a New House Before Moving In?
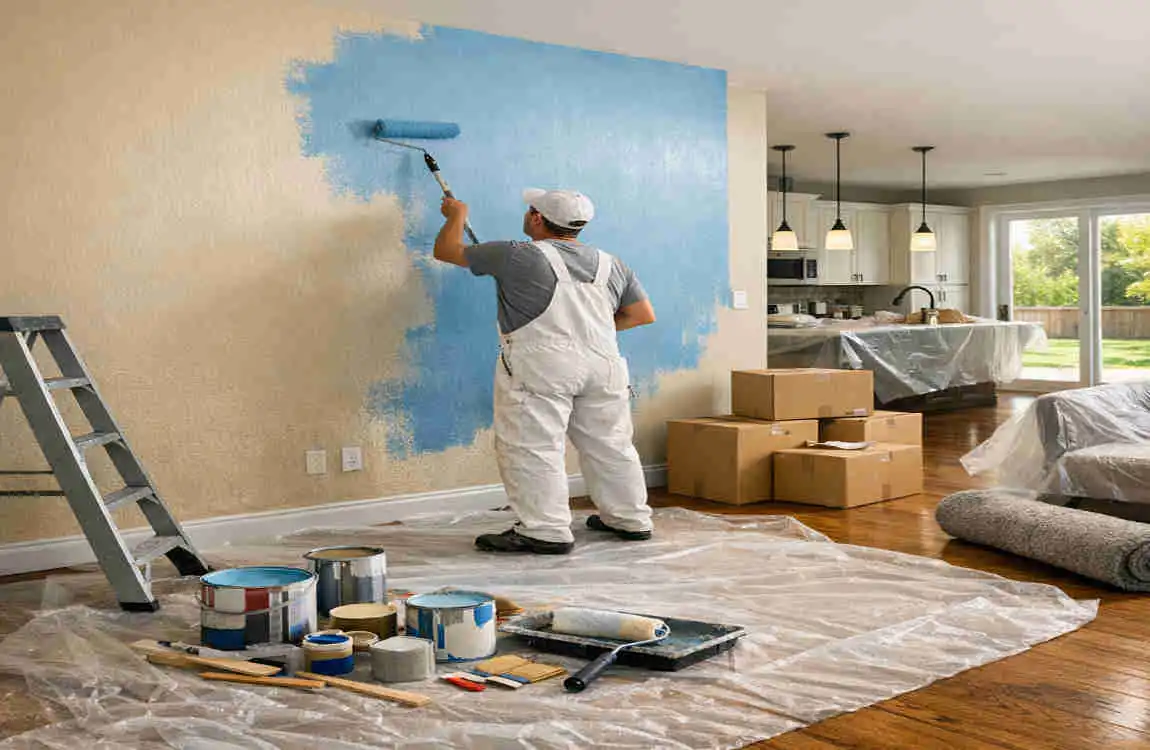
Advantages of painting an empty home
Yes, in most cases, painting before moving in is the best option.
An empty home gives you more space to work. You do not have to move furniture out of the way. You can reach corners easily. You can also paint faster because the rooms are clear and open.
It is much easier to protect a home before it is filled with furniture, boxes, and daily clutter. That alone can save you time and stress.
Best time to start painting
The best time is usually after the plaster has dried properly but before your furniture arrives.
This gives you the cleanest and easiest start. You can paint ceilings, walls, woodwork, and trim without worrying about spills on your belongings.
If you are moving into a new build or a freshly renovated house, this timing becomes even more important. New plaster must be ready before any paint goes on.
Common mistakes to avoid
A lot of people rush into painting too early. That can lead to peeling, patchy color, and poor coverage.
Try to avoid these mistakes:
- Painting before the plaster is dry
- Skipping preparation
- Using the wrong finish for the room
- Painting in damp conditions
- Rushing between coats
If you want to paint a new house interior in the UK properly, patience is a big part of the process.
Preparing a New House for Interior Painting
Checking if plaster is fully dry
This is one of the most important steps.
New plaster in UK homes needs time to dry before painting. If you paint too soon, the moisture trapped in the wall can cause problems later.
A dry wall usually looks a lighter, more even color. A damp wall often looks darker in patches. If you are unsure, give it more time rather than less.
Cleaning walls and ceilings
Even new walls can have dust on them. Dust, plaster powder, and small bits of debris can affect how paint sticks.
Wipe down the walls and ceilings gently before you start. You do not need anything fancy. A soft brush, dry cloth, or vacuum attachment may be enough for light dust.
Filling small imperfections
Even new homes can have little cracks, dents, or nail holes. These small flaws can show through the paint if you do not address them first.
Use filler on any small marks or holes. Once it dries, smooth it down so the surface is even. This helps the final paint look neat and clean.
Sanding for a smooth finish
Sanding may not seem exciting, but it makes a huge difference.
Light sanding helps remove rough spots, dried filler, and uneven edges. It also gives the paint a better surface to grip.
Use fine sandpaper and work gently. You do not need to strip the wall. You want a smooth base.
Protecting floors, doors, and windows
Before you open a paint tin, protect the rest of the room.
Cover floors with dust sheets. Tape around window frames, switches, and door edges if needed. This helps keep the job neat and saves you from extra cleaning later.
Essential Painting Tools and Materials
Paint rollers and brushes
You will need both rollers and brushes.
Rollers are great for large wall areas. Brushes are better for corners, edges, and smaller areas that need more control.
A good roller can save time and help you get even coverage. A good brush helps you create clean lines.
Painter’s tape and dust sheets
Painter’s tape helps mark off edges neatly. Dust sheets protect your flooring and furniture.
These simple items may not seem important at first, but they help keep the whole room tidy.
Primer and undercoat
Primer helps the paint stick better. Undercoat helps create an even base.
For new plaster, these are often essential. They stop the wall from soaking up too much paint and help the final color look more even.
Paint trays and extension poles
A paint tray helps load your roller evenly. An extension pole lets you reach higher areas without climbing up and down too much.
If you are painting ceilings or tall walls, an extension pole can save a lot of time and effort.
Safety equipment
Painting is simple, but safety still matters.
Use basic safety items such as:
- Gloves
- A mask if dust is heavy
- Eye protection if needed
- Good ventilation
Fresh air is especially important when painting indoors.
Essential Painting Supplies
ToolPurpose
Roller Large wall coverage
Brush Corners and edges
Primer Better paint adhesion
Sandpaper Smooth surfaces
Dust Sheets Protect flooring
Painter’s Tape Clean paint lines
Paint Tray Even paint loading
Choosing the Right Interior Paint in the UK
Matt paint
Matt paint is very popular in UK homes.
It gives walls a soft, smooth look and hides small wall marks well. This makes it a good choice for living rooms and bedrooms.
The only downside is that matt paint can be a little harder to wipe clean than other finishes.
Silk paint
Silk paint has a slightly shiny look. It reflects a bit more light, which can help brighten a room.
It is often used where durability matters, but some people feel it shows more wall imperfections.
Eggshell finish
Eggshell is one of the most balanced options. It sits between matt and silk.
It gives a soft sheen without looking too glossy. Many homeowners like it because it feels modern and practical.
Satin finish
Satin has a little more shine than eggshell. It is often used in kitchens, bathrooms, and other spaces where easy cleaning matters more.
Best paint colors for modern UK homes
The best color depends on the mood you want to create.
Some popular choices include:
- Soft white
- Warm cream
- Light grey
- Pale beige
- Gentle green
- Muted blue
Lighter colors make a room feel bigger and brighter. Darker colors can add depth, but they work best when the room gets good natural light.
Low-VOC and eco-friendly paints
Many homeowners now look for low-VOC or eco-friendly paint. These paints release fewer harsh fumes into the air.
That can make the home more comfortable during and after painting. It is a smart choice, especially if you are painting rooms you will use often.
Do You Need Primer on New Walls?
Bare plaster vs previously painted walls
This is a key point for painting a new house interior in the UK.
If your wall is bare plaster, it usually needs a mist coat first. If the wall has already been painted, you may need standard primer or undercoat instead.
Bare plaster absorbs paint very quickly. Without the right base layer, your topcoat may look patchy.
Mist coat explained
A mist coat is a watered-down emulsion paint used on fresh plaster. It helps seal the wall before the final coats go on.
It is one of the most important steps in new-build painting. If you skip it, the wall may soak up paint unevenly.
When primer is essential
Primer is important when:
- The wall is bare plaster
- The surface is uneven
- You are covering stains or repairs
- You want stronger paint adhesion
Not every wall needs the same treatment, so always check the surface first.
Step-by-Step Guide: How to Paint a New House Interior in the UK
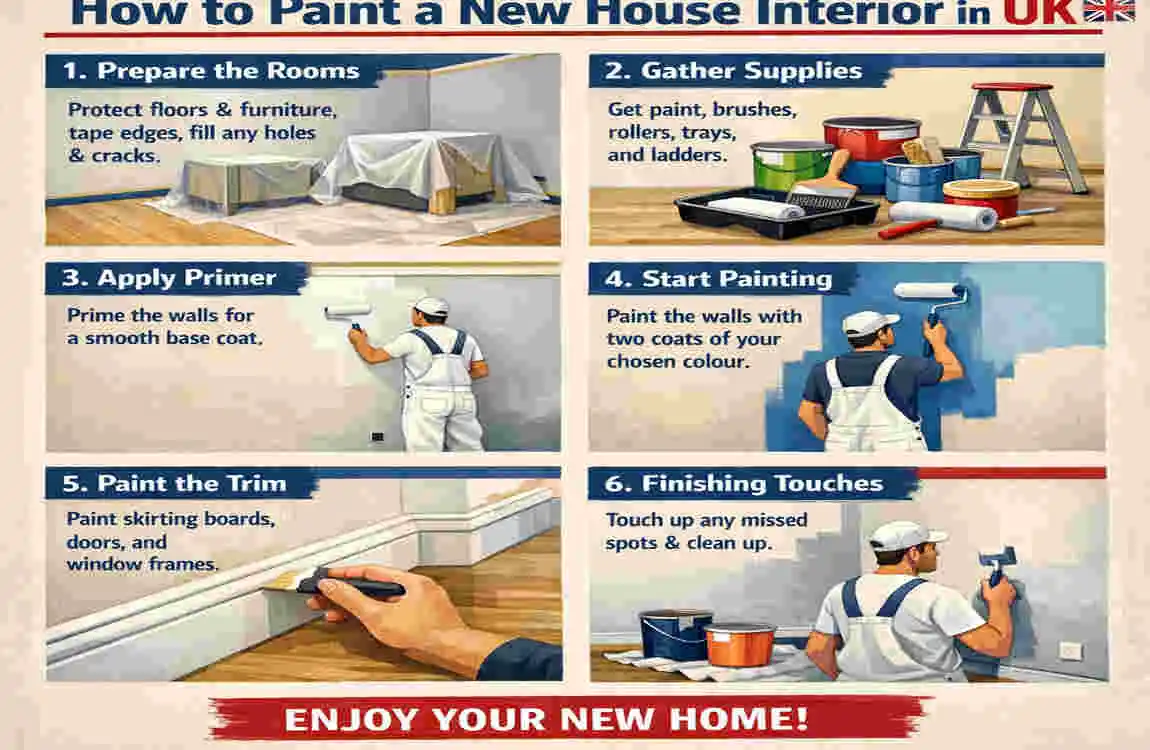
Prepare the room
Start by clearing the space as much as possible.
Lay down dust sheets, tape off edges, and remove anything that might get in the way. Check the walls, ceilings, and trim for marks or damage.
This step may feel slow, but it makes the actual painting easier.
Apply mist coat
If you are painting new plaster, apply the mist coat first.
Use a diluted emulsion and spread it evenly across the wall. The goal is not to make it look perfect right away. The goal is to seal the surface.
Let it dry fully before moving on.
Cut in around edges.
Cutting in means painting the edges, corners, and around trim with a brush before rolling the larger wall areas.
This gives you cleaner lines and helps the room look neater.
Work slowly and keep your hand steady.
Roll the walls evenly.
Now use the roller for the larger areas.
Apply paint in smooth, overlapping strokes. Do not load the roller too heavily. Too much paint can cause drips and streaks.
Work section by section so the paint stays even.
Paint ceilings
Most people paint the ceiling before the walls are fully finished.
This helps avoid splashes on fresh wall paint. Ceilings usually work best with a flat finish that hides marks and gives a clean look.
Paint woodwork and trim.
After the ceiling and walls, move on to skirting boards, door frames, and trim.
These areas often need a more durable finish. Satin or eggshell is often used here because it is easier to clean.
Apply the second coat.
Most rooms need at least two finish coats.
The second coat helps deepen the color and smooth out any missed spots. Do not rush this part. Let the first coat dry properly before adding the next one.
Final inspection and touch-ups
Once the paint is dry, check the room in daylight if possible.
Look for thin patches, drips, or missed areas. Touch them up carefully. Small fixes at the end can make the whole room look far better.
Best Order to Paint a Room
Ceiling first
The ceiling should usually be painted first because paint drips can fall onto the walls.
Walls second
After the ceiling, paint the walls. This creates the main color in the room and gives the biggest visual change.
Doors and trim last
Doors, frames, and trim should come after the walls so you can keep the lines neat.
Skirting boards
Skirting boards are usually painted near the end, once the wall color is finished and dry enough to work around.
Interior Painting Tips for a Professional Finish
Maintain a wet edge.
A wet edge means keeping the paint line from drying too fast while you work.
This helps avoid visible lap marks and streaks. Paint one section at a time and keep moving at a steady pace.
Avoid roller marks
Roller marks usually happen when too much pressure is used, or the roller is too dry.
Load the roller evenly and use light, steady strokes. Do not keep rolling over areas that have already started drying.
Prevent paint drips
Too much paint on the brush or roller can cause drips.
Wipe excess paint off before applying it to the wall. Check corners and edges often.
Improve drying conditions
Good airflow helps paint dry more evenly. Open windows if you can, but avoid strong draughts that can cause dust to stick.
Achieve even coverage
Thin, even coats are always better than one thick coat.
This is one of the simplest ways to improve the final look of your room.
Common Painting Mistakes to Avoid
- Skipping preparation
- Not using a mist coat
- Overloading the roller
- Using poor-quality brushes
- Painting in damp conditions
- Ignoring drying times
These mistakes are very common, but they are also easy to avoid if you slow down and plan.
How Long Does Interior Paint Take to Dry?
Drying vs curing
Drying means the paint feels dry on the surface. Curing means the paint has fully hardened.
A wall may feel dry after a few hours, but it may still need more time before it is fully strong.
Factors affecting drying time
Drying time depends on:
- Room temperature
- Ventilation
- Paint type
- Humidity
- Thickness of the coat
Water-based paints usually dry faster than oil-based products.
When to apply another coat
Always follow the paint tin instructions. Many water-based paints are ready for a second coat after a few hours, but some rooms may need longer.
When in doubt, wait a little more. Rushing often leads to poor results.
How Much Does It Cost to Paint a New House Interior in the UK?
DIY costs
DIY painting is usually much cheaper than hiring a professional.
Your costs may include:
- Paint
- Brushes and rollers
- Tape
- Dust sheets
- Filler
- Primer or mist coat materials
If you already own some of the tools, your total cost may be lower.
Professional painter costs
Hiring a professional costs more, but it saves time and effort.
Professionals often include labor, prep, painting, and cleanup. For some people, that extra convenience is worth the cost.
Ways to save money
You can keep costs down by:
- Buying the right amount of paint
- Using good tools that last
- Preparing the room properly
- Painting during a time that suits your schedule
- Avoiding extra redo work from mistakes
Estimated Painting Costs
Home SizeDIY CostProfessional Cost
1 Bedroom £150–£350 £800–£1,500
2 Bedroom £250–£500 £1,200–£2,200
3 Bedroom £350–£700 £2,000–£3,500
4 Bedroom £500–£1,000 £3,000–£5,500
These are general estimates. The final price can vary based on paint quality, room condition, and the amount of prep work needed.
Maintaining Your Newly Painted Walls
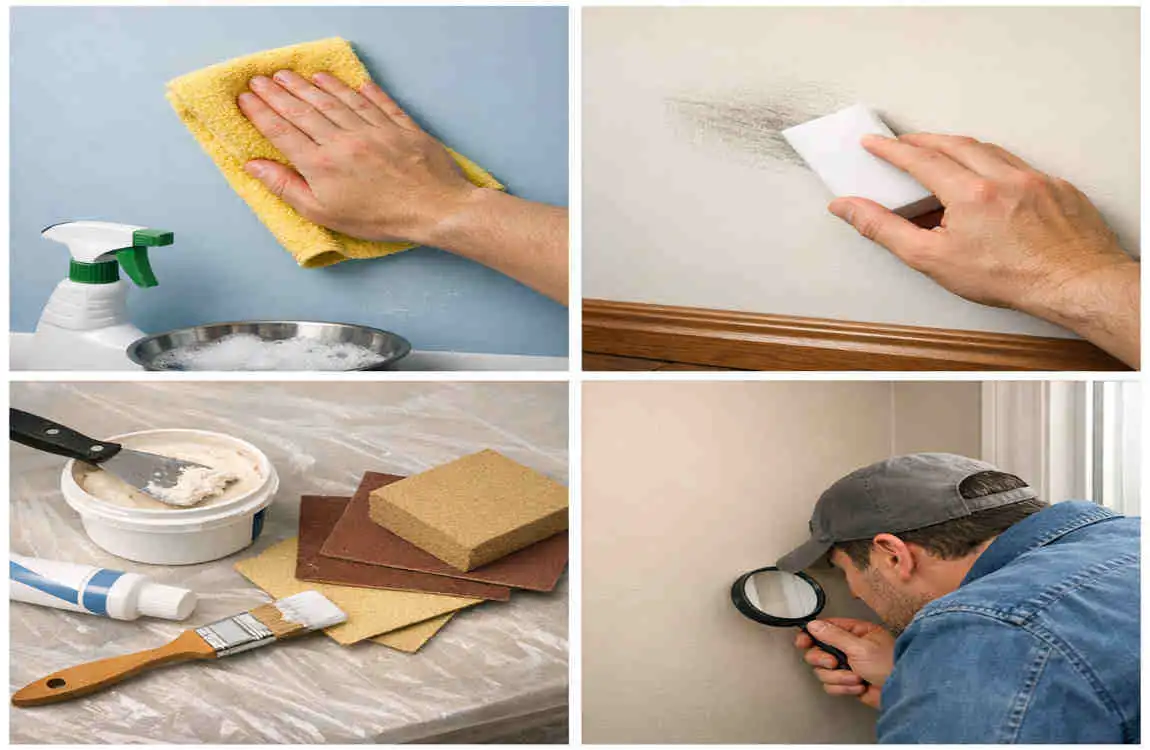
Cleaning painted surfaces
Once the paint has fully dried, clean walls gently when needed.
Use a soft cloth and mild cleaner. Avoid harsh scrubbing unless the finish is made for it.
Preventing scuffs
Furniture, bags, and shoes can leave marks on walls. Try to move carefully around fresh paint, especially in busy areas like hallways.
Touch-up techniques
Keep a small amount of leftover paint for future touch-ups.
A tiny mark or chip is much easier to fix if you still have the original paint.
When to repaint
Most walls do not need repainting often, but high-traffic rooms may wear faster.
If the color looks dull, marked, or uneven, it may be time for a refresh.
Frequently Asked Questions
How do I paint a new house interior in the UK?
Prepare the walls, apply a mist coat if needed, paint the ceiling first, then the walls, followed by trim and woodwork.
Should new plaster be painted straight away?
No. Wait until the plaster is completely dry before applying a mist coat.
What is a mist coat?
A mist coat is diluted emulsion paint used to seal new plaster before applying the final coats.
How many coats of paint are needed?
Most rooms need one mist coat, if applicable, plus two finish coats.
What is the best paint finish for interior walls?
Matt is popular for living spaces, while eggshell or satin works well in kitchens and bathrooms.
How long should I wait between coats?
Follow the paint manufacturer’s instructions, but many water-based paints need around 2–4 hours between coats.
| Step | What to Do | Helpful Tip (UK) |
|---|---|---|
| Let Walls Dry | Ensure new plaster is fully dry before painting. | Fresh plaster usually needs 2–4 weeks to dry completely. |
| Clean the Surface | Remove dust and debris with a soft brush or cloth. | Clean walls help paint stick better. |
| Apply a Mist Coat | Paint new plaster with a diluted emulsion (mist coat). | Mix roughly 70% paint and 30% water unless the manufacturer advises otherwise. |
| Fill and Sand | Fill small holes or cracks and sand smooth. | Wipe away sanding dust before painting. |
| Protect the Room | Cover floors, furniture, and skirting boards. | Use dust sheets and painter’s tape for clean edges. |
