
Building a kitchen counter frame is a practical DIY project that can transform kitchen space by adding sturdy support for countertops and extra storage. It involves precise measuring, cutting lumber to size, and assembling a stable frame using tools like a circular saw, drill, and level. Once the base and vertical supports are securely attached and leveled, finishing touches like sanding and home painting protect the wood and prepare it for the countertop surface.
Benefits of Building Your Own Kitchen Counter
Building your own kitchen counter offers incredible flexibility. You can tailor the design to fit your specific space and style preferences.
Cost savings are another significant advantage. By sourcing materials yourself, you often save money compared to purchasing pre-made counters.
A DIY project also provides a sense of accomplishment. Watching your vision come to life enhances your connection with the space.
You gain full control over material choices too, from high-end woods to durable composites that suit your lifestyle perfectly.
Personalizing every aspect ensures that your kitchen reflects who you are as a modern home chef or entertainer.
Tools and Materials Needed
To build a kitchen counter frame, you’ll need some essential tools. Start with a measuring tape for accuracy. A level is crucial to ensure everything sits just right.
Next, grab a miter saw or circular saw for cutting wood. This will help in achieving clean edges and precise angles. Don’t forget about the drill; it’s key for assembling your frame securely.
For materials, quality wood is vital. Choose sturdy options like plywood or solid hardwoods that can withstand wear and tear over time.
You’ll also need screws to hold everything together tightly and brackets for extra support at corners. If you’re looking to add flair, consider decorative trim pieces as an option.
Sandpaper will give your frame a smooth finish before sealing it later on. With these tools and materials ready, you’re set to start crafting your kitchen counter masterpiece!
Step-by-Step Guide to Building a Kitchen Counter Frame
Start by measuring your kitchen space. Accurate dimensions will guide the entire project. Decide on the height and width of your counter frame, keeping in mind standard measurements for comfort.
Next, cut the wooden pieces according to your specifications. Use a miter saw for precise angles and straight cuts. Lay out all pieces before assembly to visualize the final structure.
Assemble the frame using wood screws for durability. Secure corners with brackets if extra strength is needed. Ensure everything is level; this will affect how well your countertop sits later on.
Once assembled, sand down any rough edges to prevent splinters or injuries during use. It’s essential that each joint fits snugly, ensuring stability over time as you utilize your new counter space effectively.
Before moving on to finishing touches, double-check all connections are tight and sturdy to support future countertops comfortably.
You may also read (how to organize a small home kitchen efficiently).
Tips for Customization and Personalization
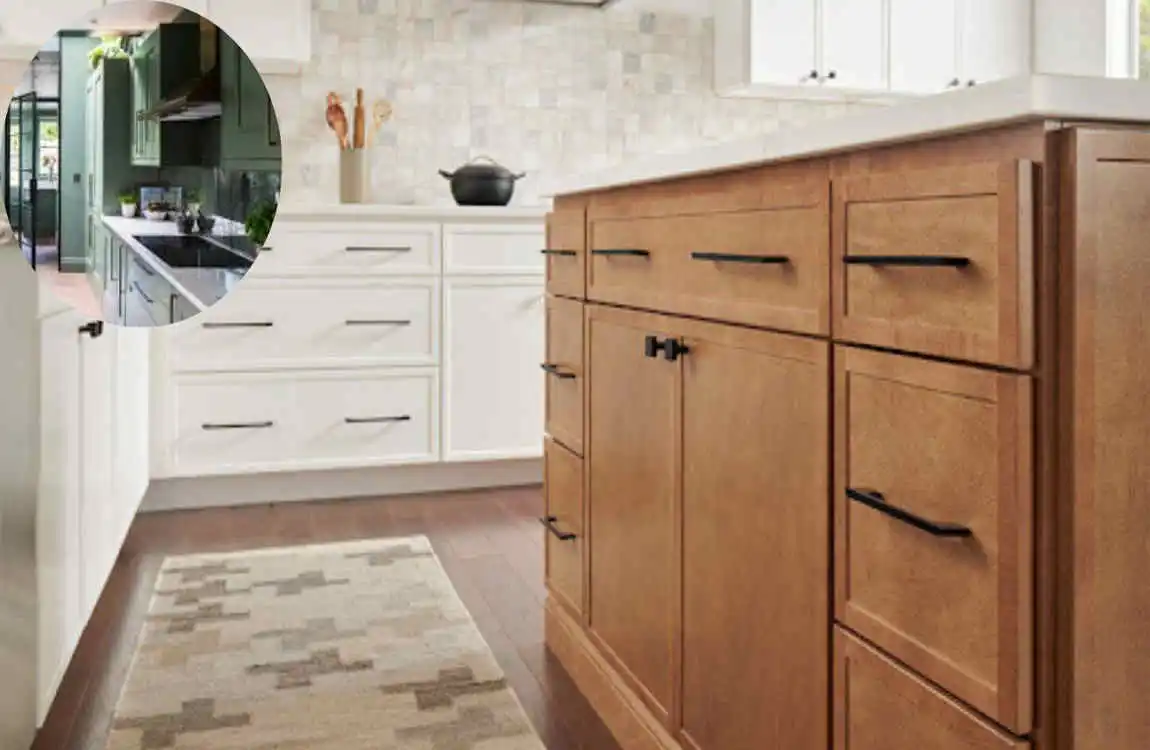
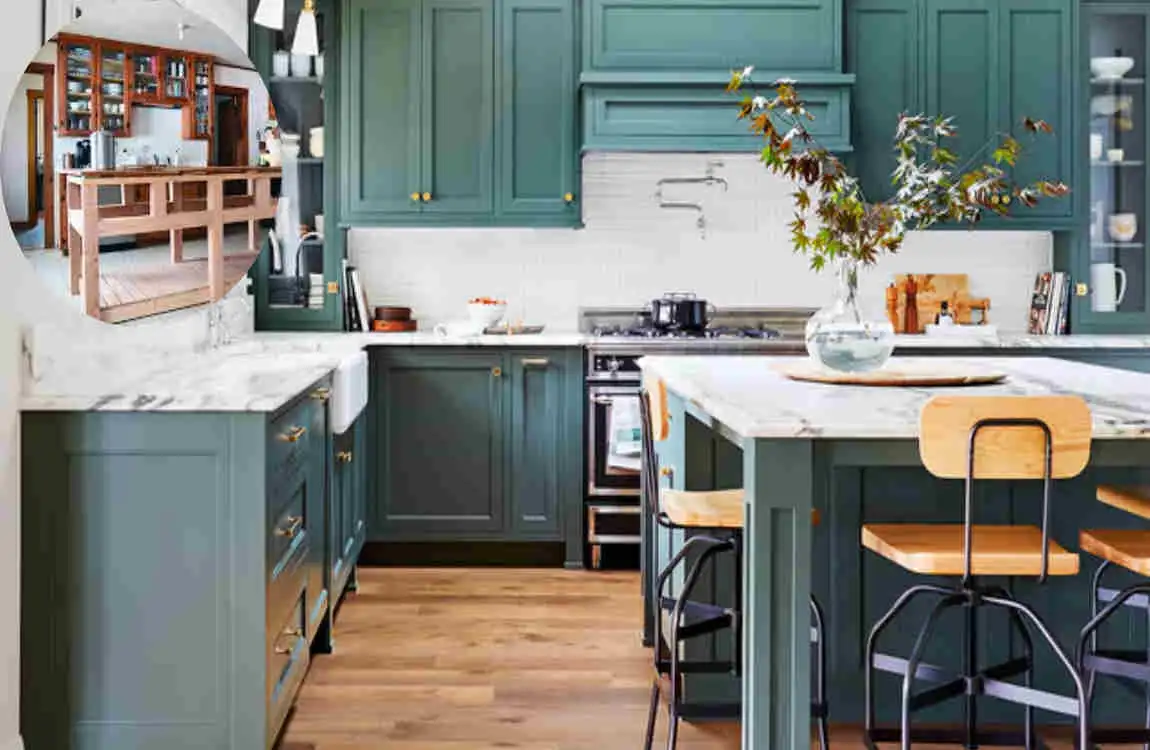
Customization is where your kitchen counter frame can truly shine. Think about the style that fits your home—rustic, modern, or something in between. Choose wood types and finishes that resonate with you.
Consider adding shelves or hooks to enhance functionality. A built-in wine rack or a spice shelf could elevate both aesthetics and utility.
Don’t shy away from paint or stains; they can dramatically change the look of your frame. Use colors that complement your kitchen décor for a cohesive appearance.
Incorporate unique hardware like drawer pulls or handles for an added touch of personality. These small details can make a big impact.
Think about lighting options beneath your countertop for ambiance during evening gatherings. This not only enhances visibility but adds warmth to the space as well!
Finishing and Sealing the Counter
Once your kitchen counter frame is built, it’s time for the finishing touches. This step not only enhances the aesthetic but also protects your hard work.
Start by sanding the surface to create a smooth finish. Use fine-grit sandpaper to eliminate any rough spots or imperfections. This will prepare the wood for sealing.
Next, choose a wood stain that complements your kitchen decor. Apply it evenly with a brush or cloth, and let it sit according to package instructions before wiping off excess.
After staining, it’s crucial to seal the counter. A polyurethane sealant works well for durability against moisture and scratches. Apply at least two coats, allowing ample drying time between each application.
Remember to ventilate your workspace during this process. The right finish not only beautifies but ensures longevity in your kitchen’s daily hustle!
Maintenance and Longevity
To keep your kitchen counter frame looking its best, regular maintenance is key. Dust and grime can accumulate over time. A simple wipe with a damp cloth will do wonders.
Pay attention to the joints and connections. Check for any signs of wear or looseness. Tightening screws periodically ensures stability.
Consider applying a fresh coat of sealant every few years. This not only protects against moisture but also enhances the wood’s natural beauty.
If you notice scratches or dents, don’t fret. Sanding down the affected area lightly can rejuvenate its appearance. Follow up with finish or paint as needed to blend it seamlessly.
You may also read (embracing the charm of a small house dark kitchen).