
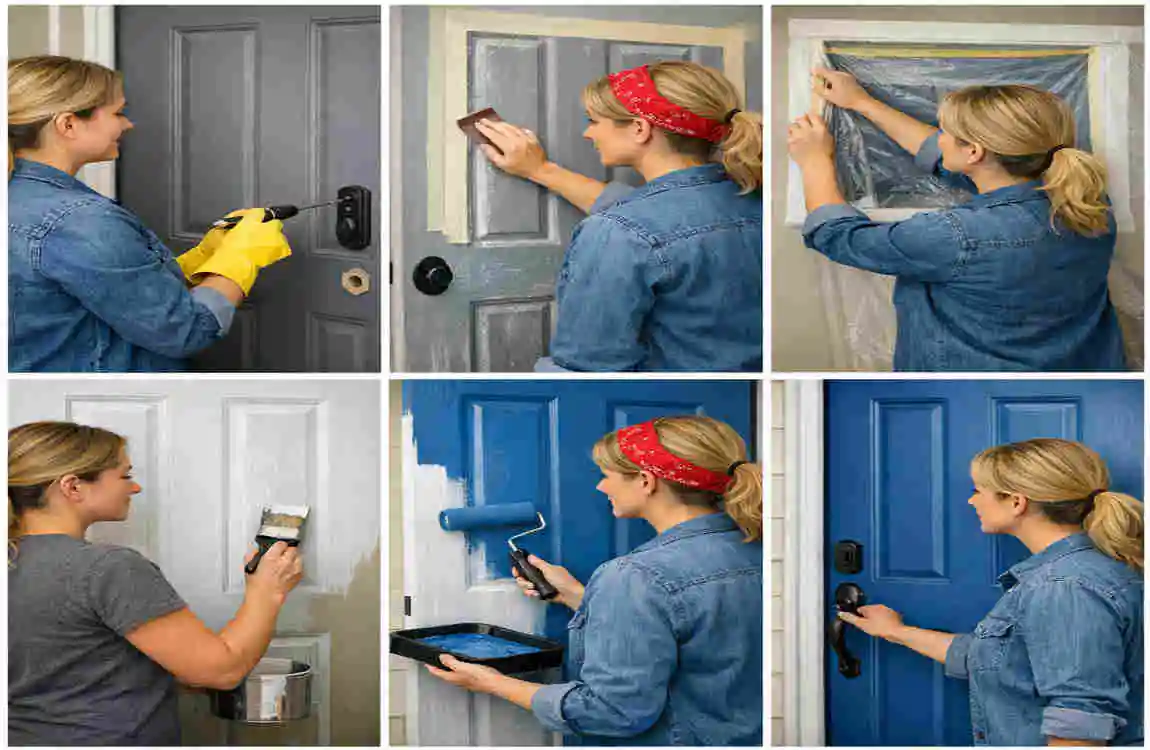
Painting your house door is one of the easiest and most affordable ways to improve your home’s appearance. Whether it’s your front door or an interior door, a fresh coat of paint can instantly make the space look cleaner, brighter, and more welcoming.
Learning how to paint a house door doesn’t require professional experience. With the right tools, proper preparation, and a little patience, you can achieve a smooth, long-lasting finish that looks professionally done.
Why Should You Paint Your House Door?
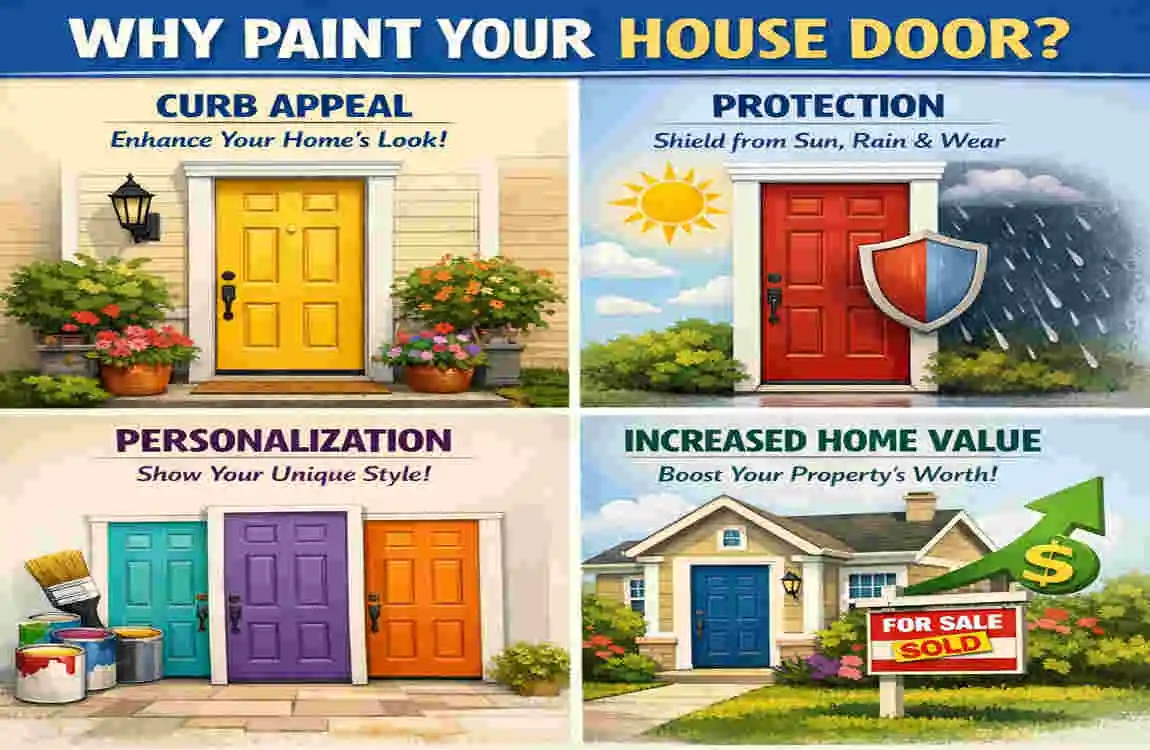
Improve Your Home’s Curb Appeal
A freshly painted door creates a great first impression. It makes your entrance look clean, modern, and well-maintained. If you’re planning to sell your home, a beautiful front door can even increase its value.
Benefits
- Makes your home look newer
- Creates a welcoming entrance
- Improves overall appearance
Protects the Door from Weather Damage
Exterior doors face rain, sunlight, humidity, and changing temperatures every day. A quality paint coating protects the surface from:
- Moisture
- UV rays
- Cracking
- Peeling
- Rot
Refresh Your Home Without Major Renovation
Painting a door costs much less than replacing it. You can also choose a new color to match your home’s style without spending a lot of money.
Tools and Materials You’ll Need
Essential Painting Supplies
Before starting, gather everything you need.
Tool Purpose
Paint Adds color and protection
Primer Helps paint stick better
Paintbrush Paint edges and corners
Foam Roller Smooth finish on flat areas
Painter’s Tape Protect trim and glass
Sandpaper Smooth rough surfaces
Screwdriver Remove hardware
Drop Cloth Protect floors
Cleaning Cloth Remove dust
Wood Filler Repair dents and holes
Choosing the Right Paint
Latex Paint
- Easy to use
- Dries quickly
- Easy cleanup
Oil-Based Paint
- Very durable
- Smooth finish
- Longer drying time
Exterior vs Interior Paint
Always use exterior paint for outdoor doors because it resists weather better. Interior paint works well for indoor doors.
How to Prepare a House Door for Painting
Good preparation is the secret to professional-looking results.
Remove or Protect Door Hardware
Remove:
- Handles
- Locks
- Door knockers
- Hinges (if removing the door)
If you leave them attached, cover them with painter’s tape.
Clean the Door Thoroughly
Wash the door using mild soap and warm water.
Remove:
- Dust
- Dirt
- Grease
- Fingerprints
Allow the surface to dry completely.
Repair Surface Imperfections
Inspect the door carefully.
Fill:
- Nail holes
- Small cracks
- Dents
Allow the filler to dry before sanding.
Sand the Door
Lightly sand the entire surface using medium-grit sandpaper.
Sanding helps:
- Remove old gloss
- Smooth rough areas
- Improve paint adhesion
Wipe away all sanding dust afterward.
Apply Primer
Primer is recommended when:
- Painting bare wood
- Covering dark colors
- Repairing damaged areas
Let the primer dry completely before painting.
How to Paint a House Door Step-by-Step
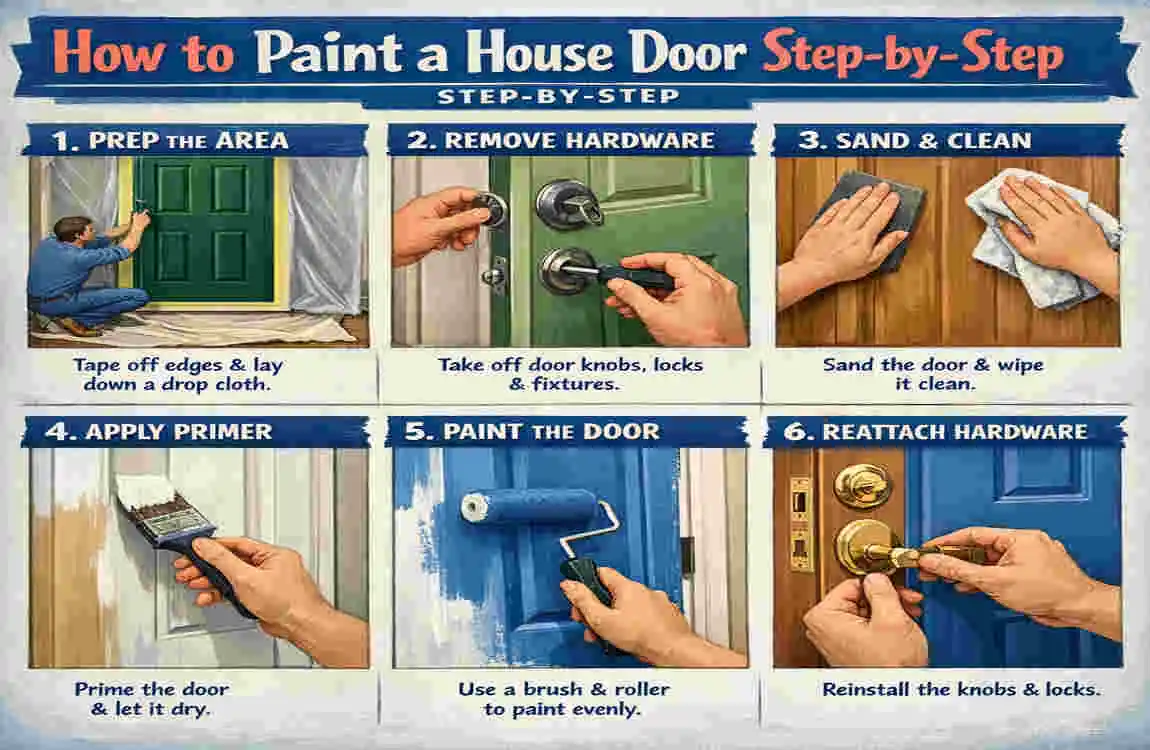
Remove the Door or Leave It Installed
Removing the door makes painting easier, but leaving it installed works as well if you protect the surrounding area.
Tape Around Glass and Trim
Apply painter’s tape around:
- Glass panels
- Door frame
- Decorative trim
This creates clean paint lines.
Apply the First Coat
Use a brush for detailed sections and a foam roller for large flat surfaces.
Apply a thin, even coat.
Paint Panels First
If your door has panels, paint them first using smooth strokes.
Paint Rails and Stiles
Next, paint the horizontal rails followed by the vertical stiles.
Working in this order helps create a consistent finish.
Use Smooth Brush Strokes
Avoid overworking the paint.
Paint in one direction using long, even strokes for a smoother appearance.
Allow the Paint to Dry
Follow the drying time listed on the paint can.
Avoid touching the surface while it dries.
Apply the Second Coat
A second coat provides:
- Better color coverage
- Increased durability
- More professional results
Let the Door Cure Completely
Although paint may feel dry within hours, full curing often takes several days.
Avoid heavy use until curing is complete.
Best Paint Colors for House Doors
Classic White
A timeless choice that suits almost every home.
Black
Elegant, bold, and modern.
Navy Blue
Adds style without being overwhelming.
Red
Creates a warm and welcoming entrance.
Green
Perfect for natural or traditional home designs.
Modern Gray
A popular neutral that pairs well with many exterior colors.
Common Mistakes to Avoid
Skipping Surface Preparation
Dirty or glossy surfaces prevent paint from sticking properly.
Painting in Bad Weather
Avoid painting during:
- Rain
- High humidity
- Very hot temperatures
- Strong winds
Applying Thick Paint Coats
Thin coats dry more evenly and reduce drips.
Ignoring Drying Time
Painting another coat too early may cause peeling or uneven finishes.
Using the Wrong Paint Type
Always match the paint to the door‘s location and material.
Tips for a Professional-Looking Finish
Use High-Quality Brushes
Quality brushes leave fewer streaks and brush marks.
Paint in Thin, Even Coats
Several thin coats always look better than one thick coat.
Sand Between Coats
Light sanding removes tiny imperfections and improves the final finish.
Keep Dust Away During Drying
Close nearby windows if necessary and keep pets away until the paint dries.
Door Painting Time and Cost
TaskEstimated TimeAverage Cost
Cleaning & Preparation 30–60 minutes $5–$15
Sanding 20–40 minutes $5–$10
Priming 1 hour + drying $10–$20
Painting (2 Coats) 2–3 hours $20–$50
Total DIY Project 1–2 Days $40–$100
How to Maintain a Painted House Door
Clean Regularly
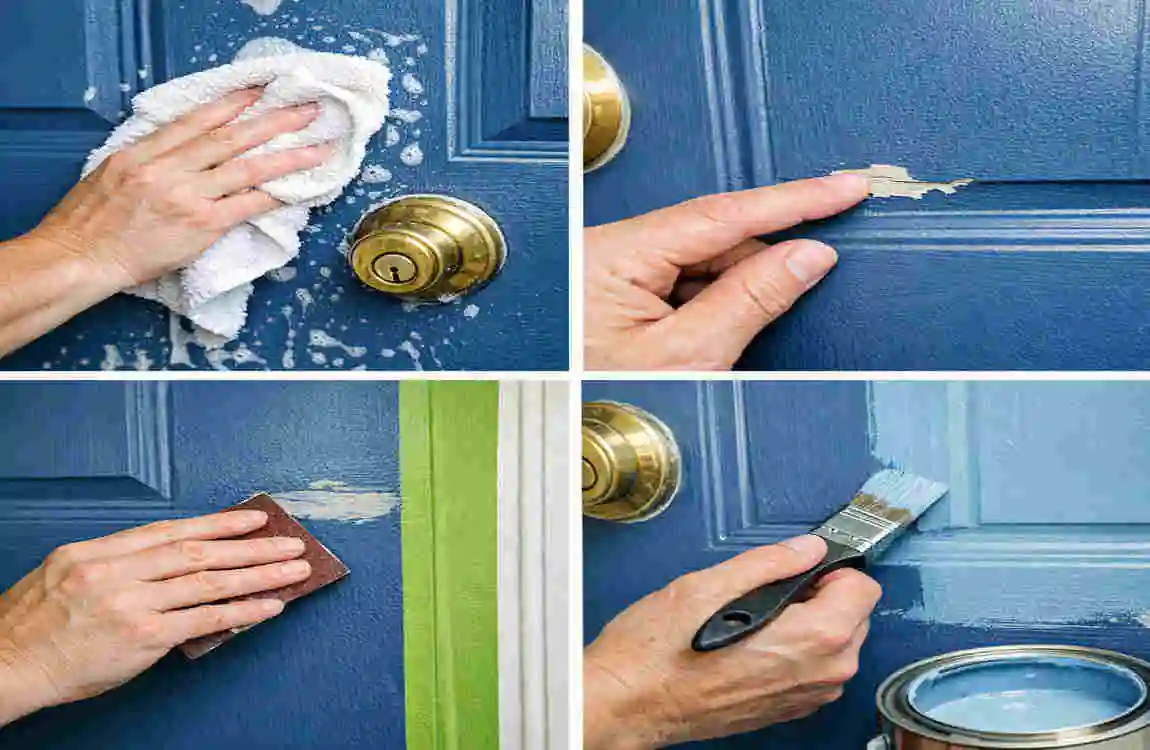
Wipe the door with a soft cloth and mild soap every few months.
Touch Up Small Chips
Repair small scratches as soon as possible to prevent moisture damage.
Repaint Every Few Years
Most exterior doors benefit from repainting every 3–5 years, depending on weather exposure.
Inspect for Moisture Damage
Check for:
- Peeling paint
- Soft wood
- Water stains
- Cracks
Repair problems early to extend the door’s life.
When Should You Repaint Your House Door?
It may be time to repaint if you notice:
- Peeling paint
- Cracks
- Faded color
- Water damage
- Frequent scratches
- Chipping edges
Regular maintenance keeps your door looking attractive and protected.
Frequently Asked Questions (FAQs)
How do you paint a house door without brush marks?
Use a high-quality brush or foam roller and apply thin, even coats. Avoid overbrushing the paint.
Should I remove the door before painting it?
Removing the door makes painting easier, but it is not required. Many homeowners successfully paint doors while they remain installed.
What type of paint is best for a house door?
Exterior acrylic latex paint is a popular choice because it is durable, weather-resistant, and easy to clean.
Do I need to sand a door before painting?
Yes. Light sanding improves paint adhesion and creates a smoother finish.
How many coats of paint should a house door have?
Most doors require two coats for full coverage and long-lasting protection.
| Topic | Details |
|---|---|
| Purpose | Refresh your home’s appearance and protect the door from weather damage. |
| Best Paint Type | Exterior acrylic latex or oil-based paint designed for doors. |
| Recommended Finish | Semi-gloss or gloss for durability and easy cleaning. |
| Tools Needed | Paint, primer, paintbrush, foam roller, painter’s tape, sandpaper, drop cloth, screwdriver. |
| Preparation | Remove hardware, clean the door, fill holes, sand lightly, and wipe away dust. |
| Priming | Apply primer if painting bare wood, stained surfaces, or changing to a lighter color. |
| Painting Steps | Paint edges first, then panels, followed by horizontal and vertical sections. Apply thin, even coats. |
| Number of Coats | Usually 2 coats for solid, long-lasting coverage. |
