
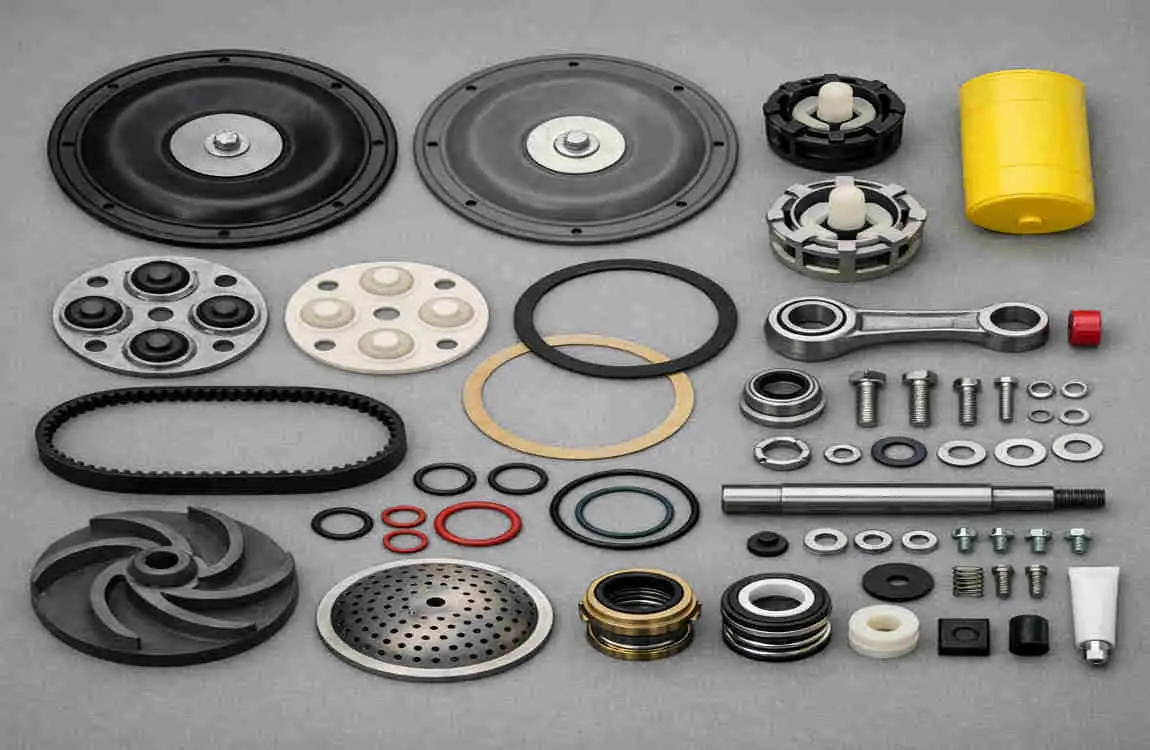
A Wacker diaphragm pump is built for tough jobs. It moves muddy water, sludge, sand, and debris in places where regular pumps would struggle. But even strong equipment needs care. Over time, parts wear down, and that can affect performance.
If you want your pump to keep working well, you need to know which Wacker diaphragm pump repair parts matter most, what warning signs to watch for, and when to replace worn parts.
Why Wacker Diaphragm Pump Parts Matter
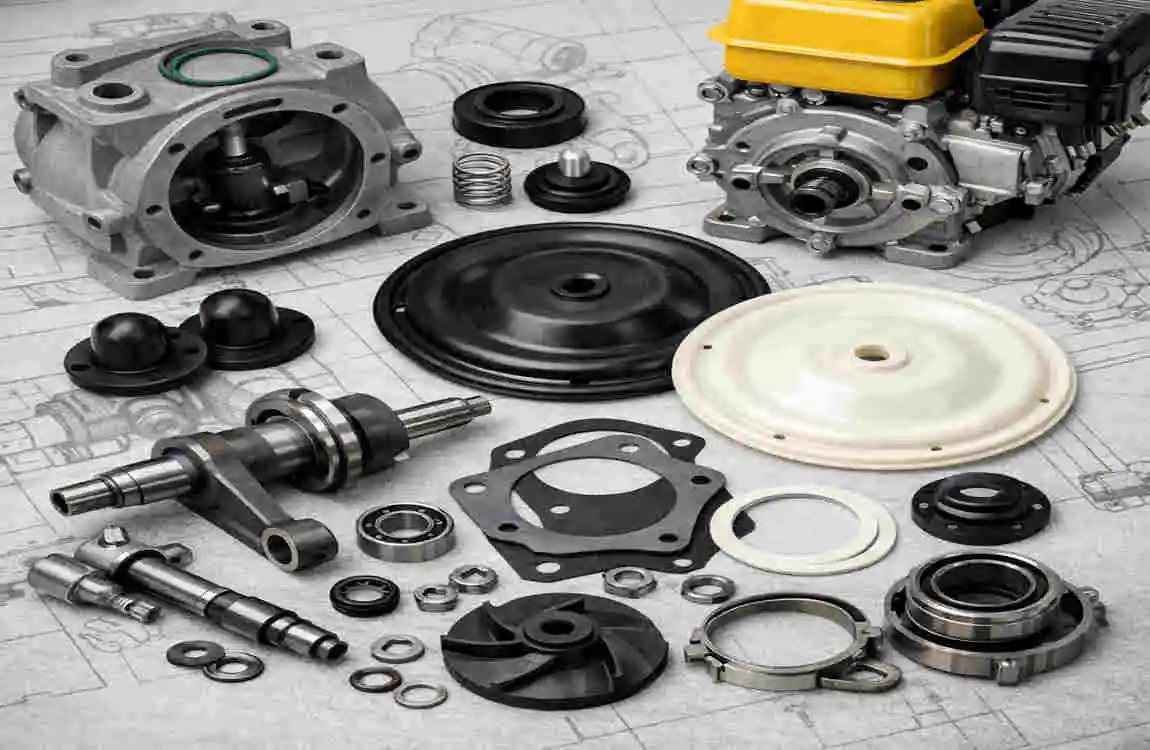
Diaphragm pumps often work in rough conditions. Dirt, grit, and heavy material move through the system every day. Because of that, parts wear out faster than they would in cleaner equipment.
When you replace worn parts on time, you help your pump stay dependable. You also reduce the chance of breakdowns and expensive delays.
Timely part replacement helps you:
- Keep pumping performance steady
- Avoid costly damage
- Reduce downtime on the job
- Extend the life of the pump
- Improve overall efficiency
In simple terms, small repairs now can save you a much bigger problem later.
Common Wacker Diaphragm Pump Repair Parts
Diaphragm
The diaphragm is the main working part of the pump. It moves back and forth to create suction and push water through the system.
If it cracks or wears out, the pump may lose suction or stop working correctly.
Check Valves
Check valves control the direction of water flow. They help make sure water moves one way only.
When they wear out, backflow can happen, and pumping power may drop.
Valve Flaps
Valve flaps help stop reverse flow inside the pump. They are small, but they play a big role.
If the flaps tear or wear down, the pump may not hold pressure well.
Gaskets and O-Rings
These parts create tight seals around the pump housing and connections. They help stop leaks.
When gaskets or O-rings crack, flatten, or dry out, air and water can escape.
Hoses and Fasteners
The suction hose pulls water in, while the discharge hose sends it out. Clamps and fasteners keep everything in place.
A damaged hose or loose clamp can reduce performance fast.
Common Parts at a Glance
Repair PartFunctionSigns It Needs Replacement
Diaphragm Creates pumping action Cracks, leaks, poor suction
Check Valves Control flow direction Backflow, weak pumping
Valve Flaps Prevent reverse flow Tears, worn edges
Gaskets Seal the housing Water leakage
O-Rings Prevent air and fluid leaks Flattened or cracked seals
Suction Hose Draws water in Holes, collapse, leaks
Discharge Hose Sends water out Damage, splitting, leaks
Fasteners & Clamps Hold parts together Rust, looseness
Signs Your Pump Needs Repair Parts
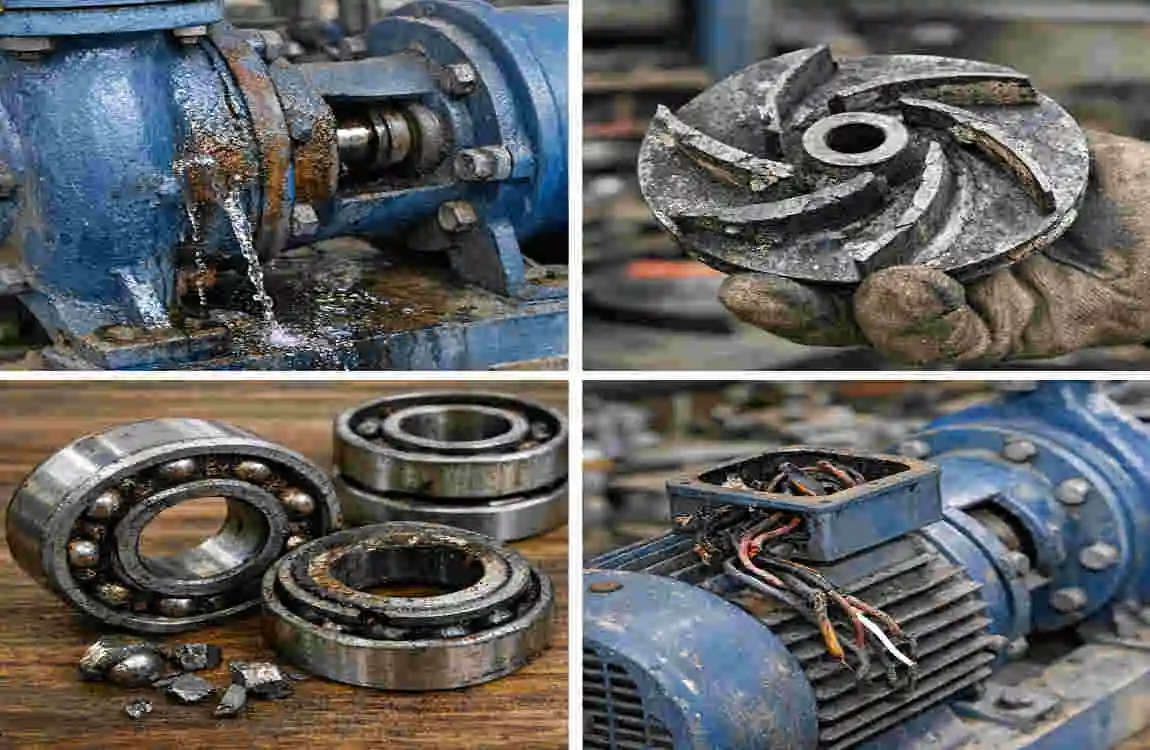
You do not always need to open the pump to know something is wrong. In many cases, the warning signs show up during use.
Reduced Pumping Power
If the pump is moving less water than usual, one or more internal parts may be worn out.
Water Leaks
Leaks often point to bad seals, damaged gaskets, or loose fittings.
Noise or Vibration
Unusual shaking, rattling, or loud operation can mean a part is loose, damaged, or out of balance.
Loss of Suction
If the pump struggles to pull water in, check the diaphragm, valves, and suction hose.
Backflow
Water flowing backward is a strong sign that check valves or valve flaps need attention.
Visible Damage
Cracks, tears, rust, or flattened seals should never be ignored.
If you notice these signs early, you can often fix the issue before it gets worse.
Tips for Choosing the Right Replacement Parts
Picking the right part matters just as much as replacing it. A poor match can lead to more problems later.
Match the Model Number
Always check your pump model before buying parts. Even small differences can affect fit and performance.
Choose Quality Parts
You can use OEM or high-quality compatible parts, as long as they match your pump’s needs.
Inspect Related Parts Too
If one seal or valve is worn, nearby parts may also be close to failure.
Replace Related Parts Together
Changing connected parts at the same time can save labor and reduce repeat repairs.
Follow the Manual
The manufacturer’s maintenance guide usually gives the best replacement advice.
Basic Maintenance Tips
A little care goes a long way with a diaphragm pump. Regular maintenance helps you avoid sudden breakdowns.
- Clean the pump after each use
- Check the diaphragm for wear
- Look over hoses for cracks or soft spots
- Tighten loose bolts and clamps
- Replace damaged gaskets right away
- Store the pump in a dry place when not in use
These simple steps can help your pump last longer and perform better.
Benefits of Timely Repairs
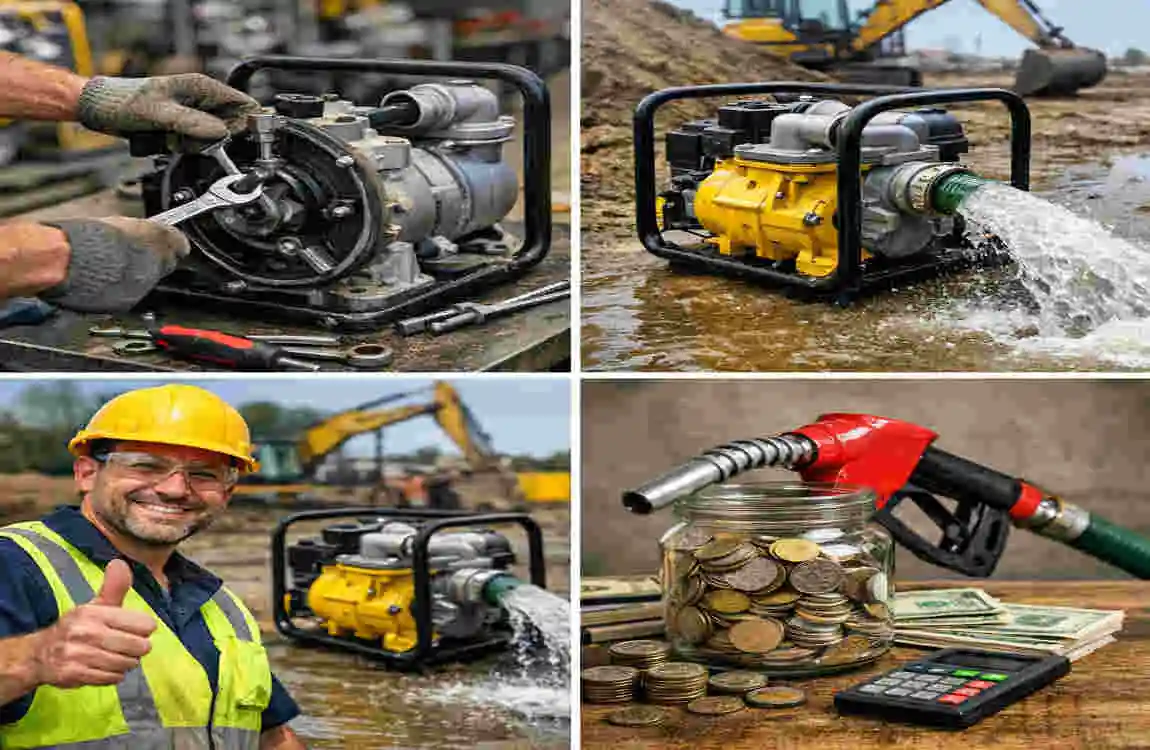
Replacing worn parts before failure gives you clear benefits.
You get better pumping efficiency, lower repair costs, and fewer work delays. You also reduce the chance of major damage that could take the pump out of service for a long time.
For job sites, farms, and industrial work, that kind of reliability matters a lot.
Frequently Asked Questions
What is the most commonly replaced Wacker diaphragm pump part?
The diaphragm is usually the most replaced part because it moves constantly during operation and wears out over time.
How often should I inspect my diaphragm pump?
It is best to inspect it before every use and do a more complete check after heavy-duty work.
Can I use aftermarket repair parts?
Yes, as long as the parts are high quality and match your pump model correctly.
What causes a diaphragm pump to lose suction?
Common causes include a worn diaphragm, leaking seals, bad check valves, clogged hoses, or air leaks in the suction line.
How can I make my pump last longer?
Clean it regularly, inspect wear parts often, replace damaged pieces quickly, and follow the maintenance schedule from the manufacturer.
| Repair Part | Purpose | Signs It Needs Replacement | Maintenance Tip |
|---|---|---|---|
| Diaphragm | Creates the pumping action by moving water or slurry. | Cracks, leaks, reduced pumping performance. | Inspect regularly and replace if worn or damaged. |
| Check Valves | Control one-way fluid flow through the pump. | Backflow, poor suction, inconsistent flow. | Clean debris and replace worn valves. |
| Valve Flaps | Seal the intake and discharge valves. | Loss of pressure or reduced efficiency. | Check for tears and replace when necessary. |
| Gaskets & Seals | Prevent fluid and air leaks. | Visible leaks or pressure loss. | Install new seals during major repairs. |
| O-Rings | Provide a tight seal between pump components. | Cracking, flattening, or leakage. | Lubricate before installation and replace as needed. |
| Piston Rod | Transfers motion to the diaphragm. | Excessive wear, bending, or vibration. | Inspect during routine maintenance. |
| Crankshaft Bearings | Support smooth crankshaft rotation. | Grinding noise, overheating, or excessive play. | Grease or replace if worn. |
| Drive Belt (if equipped) | Transfers engine power to the pump. | Slipping, fraying, or cracking. | Maintain proper belt tension and replace when worn. |
| Air Chamber Components | Reduce pulsation and improve flow consistency. | Uneven flow or excessive vibration. | Inspect chamber and replace damaged parts. |
| Fasteners & Hardware | Secure pump assembly components. | Loose, rusted, or damaged bolts. | Tighten regularly and replace corroded hardware. |
