
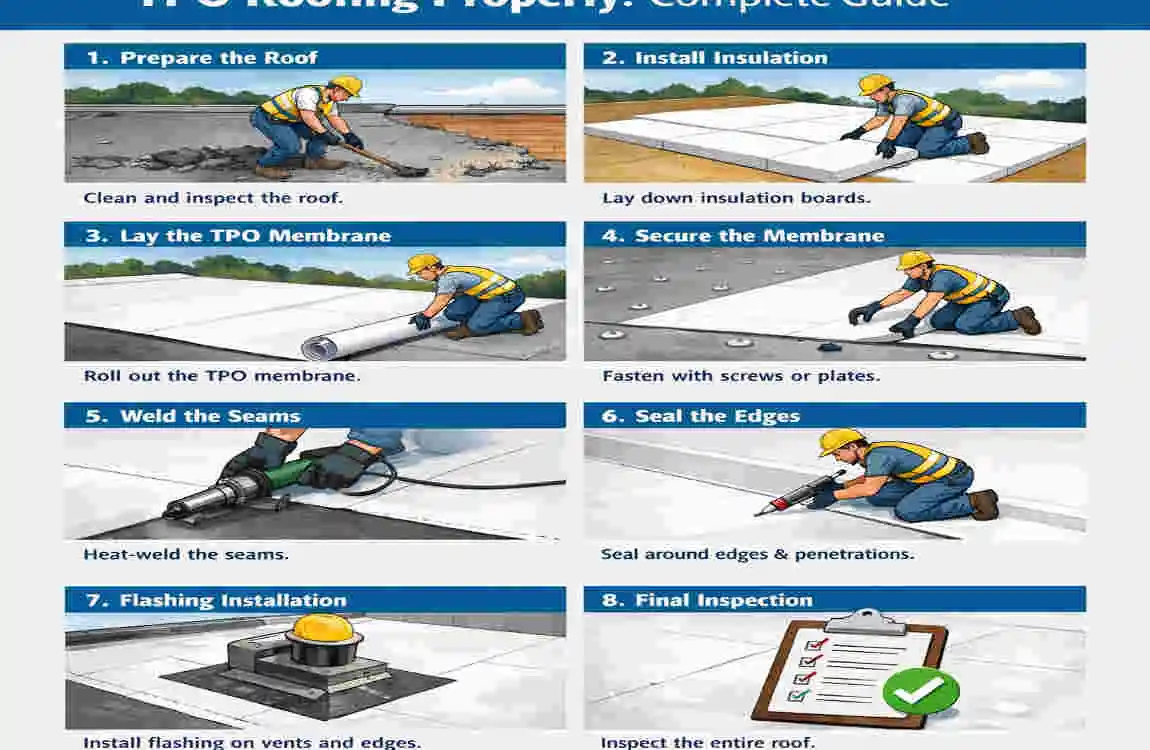
If you are learning how to install TPO roofing, the first thing to know is that it is a single-ply roofing system often used on low-slope and commercial roofs.
TPO is popular because it is durable, flexible, energy efficient, and weather-resistant. It can reflect sunlight, handle changing temperatures, and create a strong waterproof surface when installed correctly.
The process usually includes roof preparation, insulation placement, membrane layout, seam welding, flashing, and final inspection. But keep in mind that installation steps can vary by manufacturer and roof design.
For simple repair work, learning the basics helps. For larger or more complex roofs, qualified roofing professionals are strongly recommended, as TPO work often involves fall hazards, welding equipment, and strict installation requirements.
Prepare the Roof for TPO Installation
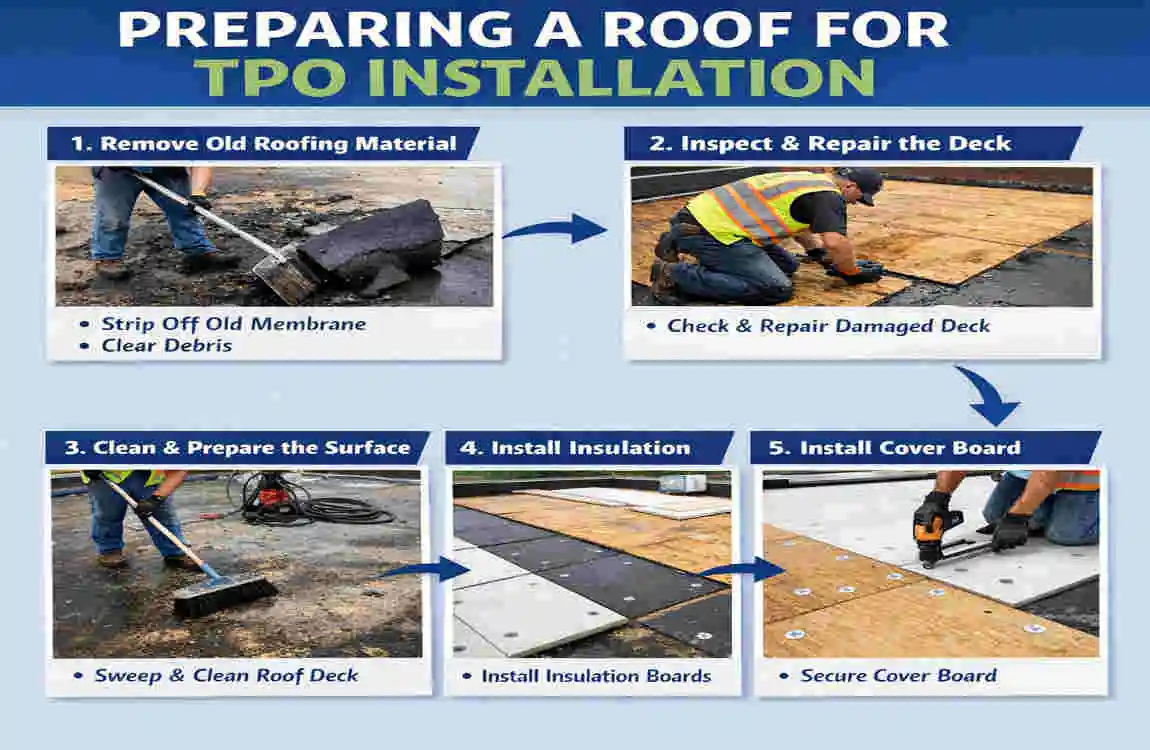
Inspect the Existing Roof
Before any membrane goes down, inspect the roof deck carefully.
Look for:
- Moisture
- Rot
- Soft spots
- Uneven areas
- Loose roofing material
A TPO system needs a clean and solid base. If the roof deck is damaged, the new membrane will not perform well.
Measure the Roof and Plan the Layout
Next, measure the roof area and plan where the membrane sheets will go.
This step matters because you want to reduce seams, avoid waste, and make the layout easier to manage around edges, drains, curbs, and penetrations.
A good layout can make the finished roof cleaner and stronger.
Gather the Required Tools and Materials
Before starting, make sure you have the right materials ready:
- TPO roofing membrane
- Compatible insulation
- Cover board if needed
- Fasteners and plates
- Approved adhesive or bonding materials
- Hot-air welding equipment
- Rollers and seam tools
- Flashing materials
- Safety gear
Having everything on site saves time and helps prevent mistakes.
Install Insulation and Cover Boards
Choose Suitable Insulation
Insulation does more than improve energy performance. It also creates a better surface for the roofing system.
The insulation must be compatible with the TPO assembly and the manufacturer’s instructions. Using the wrong product can cause poor bonding or uneven support.
Secure the Insulation
Once the insulation is in place, it should be attached in accordance with the system design.
The boards should sit tight, flat, and evenly spaced. Gaps or bumps can affect the membrane above them.
Add a Cover Board When Required
Some roofs need a cover board over the insulation.
This adds a smoother surface and helps protect against impact or movement underneath. It can also improve the system’s overall durability.
Install the TPO Roofing Membrane
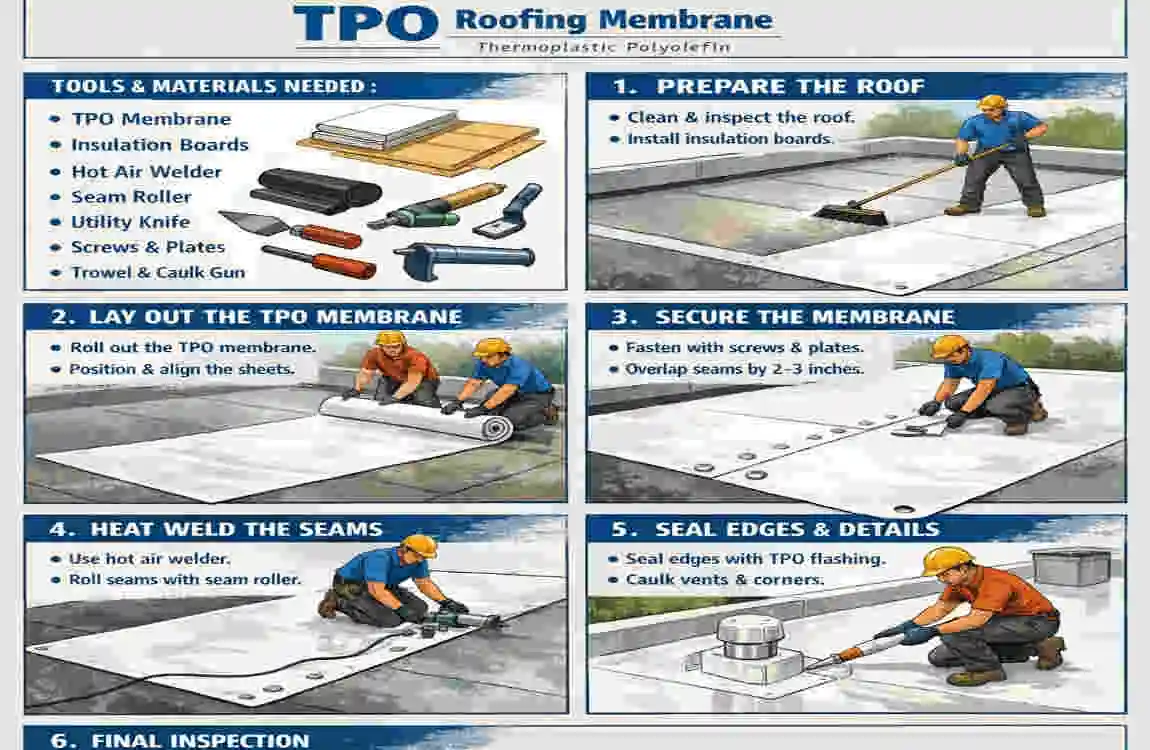
Position the TPO Sheets
Roll out the membrane carefully so it does not wrinkle or tear.
Let it relax as recommended by the manufacturer. This helps reduce stress in the material and makes installation easier.
Select the Installation Method
There are three common TPO methods:
MethodBasic IdeaBest For
Mechanically attached Fastened with plates and screws Many commercial roofs
Fully adhered Bonded with adhesive Roofs needing a smooth finish
Ballasted Held down with stone or pavers where allowed Certain approved roof systems
The correct method depends on the roof design, wind needs, and product instructions.
Secure the Membrane
For a mechanically attached system, fasteners and plates are placed in approved patterns.
For an adhered system, the adhesive must be applied evenly and in accordance with the product directions. Too much or too little can cause problems.
The key rule is simple: follow the approved fastening pattern for that specific system. Do not guess spacing.
Weld TPO Seams and Install Flashing
Prepare the Seams
Before welding, the seam areas must be clean and dry.
Overlap the membrane as required by the system. Good seam preparation is important because weak seams can lead to leaks.
Heat-Weld the Seams
TPO seams are usually joined with hot-air welding.
This process slightly melts the surface, allowing the sheets to fuse. The welder must maintain the right balance of temperature, speed, and pressure.
That is why practice matters. A poor weld may look fine at first but fail later.
Test the Welds
After welding, inspect every seam carefully.
Look for:
- Gaps
- Fishmouths
- Weak spots
- Incomplete welds
Any doubtful seam should be fixed right away.
Install Flashing Around Details
Flashing is needed where the roof meets details like:
- Roof edges
- Pipes
- Drains
- Curbs
- Skylights
- HVAC units
- Walls and parapets
These areas are more likely to leak, so the flashing must be tight and carefully sealed.
Inspect, Finish, and Maintain the TPO Roof
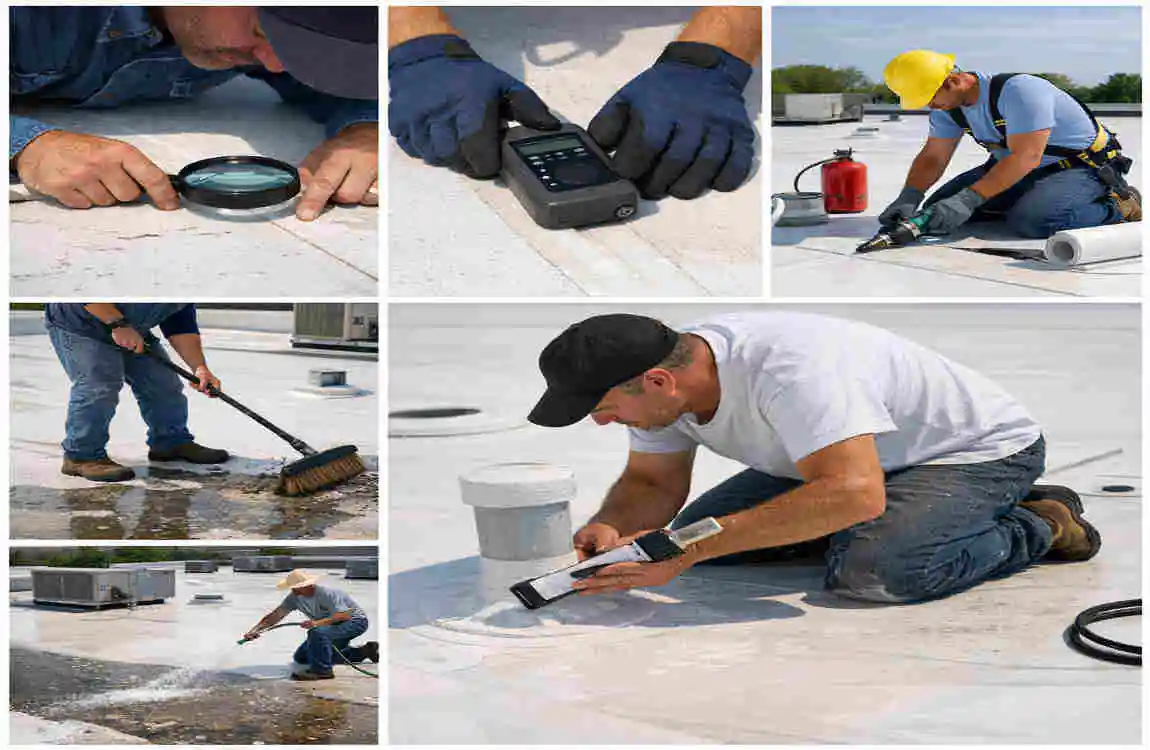
Check the Completed Installation
After the main work is done, inspect the full roof.
Look for wrinkles, punctures, loose sections, or damaged flashing. Also make sure drains and drainage paths are clear.
Clean the Work Area
Remove scraps, tools, packaging, and loose debris.
Anything left on the roof can damage the membrane later.
Understand Common Installation Problems
The most common mistakes include:
- Poor seam welding
- Incorrect fastening
- Bad adhesive use
- Weak flashing details
- Membrane punctures
- Poor drainage
- Installing over a damaged base
These issues can shorten the roof’s lifespan.
Maintain the TPO Roofing System
A TPO roof still needs regular care.
Simple maintenance includes:
- Scheduled inspections
- Cleaning drains and gutters
- Checking seams and flashing
- Repairing small punctures quickly
- Following manufacturer maintenance rules
A little attention now can prevent big repairs later.
Safety Tips and Professional Installation Considerations
Work Safely at All Times
Roofing work can be dangerous.
Use fall protection, proper footwear, gloves, and other safety gear. Be extra careful when handling hot-air welding tools.
Follow Building Codes and Product Rules
TPO systems must meet local building codes and manufacturer requirements.
Using parts from different systems without approval can cause failure. Always use manufacturer-approved components together.
Know When to Hire a Professional
If the roof is large, steep, or commercial, it is usually better to hire a qualified contractor.
TPO installation takes skill, especially around seams, flashing, and penetrations. A trained installer can help the roof perform the way it should.
FAQ About How to Install TPO Roofing
Can TPO roofing be installed over an existing roof?
Sometimes, yes. But the old roof must be evaluated first, and the new system must meet code and manufacturer requirements.
How long does TPO roofing installation take?
It depends on roof size, complexity, weather, and crew size. Simple projects take less time than large commercial roofs.
Is TPO roofing difficult to install?
The basics may look simple, but seam welding, flashing, and system details require experience and proper training.
Do TPO seams need to be heat welded?
Yes, heat welding is the primary method for creating strong, watertight seams in TPO systems.
Can TPO roofing be installed in cold weather?
It can be, but weather affects membrane handling, adhesives, and welding. Installers should follow approved temperature guidelines.
How long does a TPO roof last?
Life span depends on the membrane quality, installation quality, climate, maintenance, and roof conditions.
What is the biggest mistake when installing TPO roofing?
Common mistakes include poor seam prep, weak welding, bad flashing, and ignoring substrate problems.
Should I install TPO roofing myself?
For most people, no. The work involves safety risks, special tools, and strict installation requirements.
| Step | What to Do | Key Tip |
|---|---|---|
| Inspect the Roof | Check the deck for damage, moisture, or weak areas. | Repair damaged sections first. |
| Clean the Surface | Remove dirt, debris, old materials, and sharp objects. | A clean surface helps the membrane bond properly. |
| Install Insulation | Place suitable roof insulation over the deck. | Secure it according to the manufacturer’s instructions. |
| Position TPO Membrane | Roll out the TPO sheets and allow them to relax. | Avoid wrinkles, folds, and unnecessary tension. |
| Secure the Membrane | Fasten or adhere the membrane using the approved system. | Follow the specific TPO manufacturer’s spacing requirements. |
| Weld Seams | Use a hot-air welder to join overlapping membrane sheets. | Seams must be continuous and properly welded. |
| Detail Edges & Penetrations | Seal vents, drains, curbs, corners, and roof edges. | Pay extra attention to areas prone to leaks. |
| Inspect the Roof | Check seams, flashing, fasteners, and details for defects. | Repair weak or incomplete welds before finishing. |
