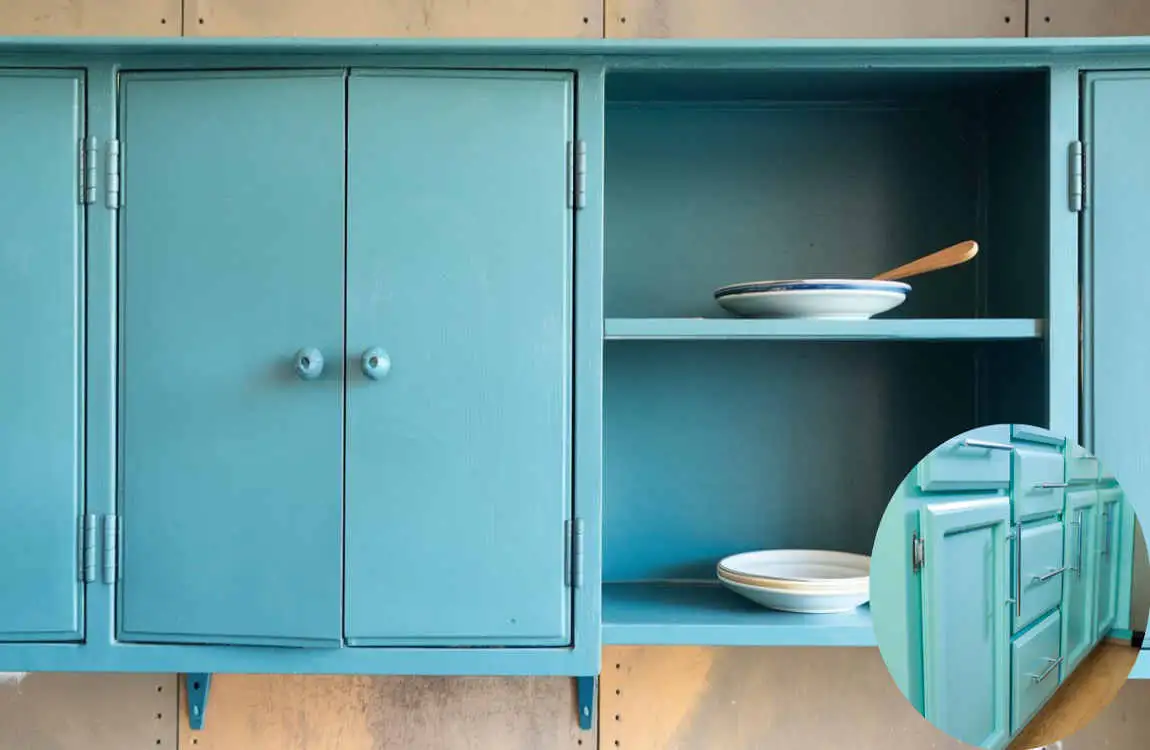
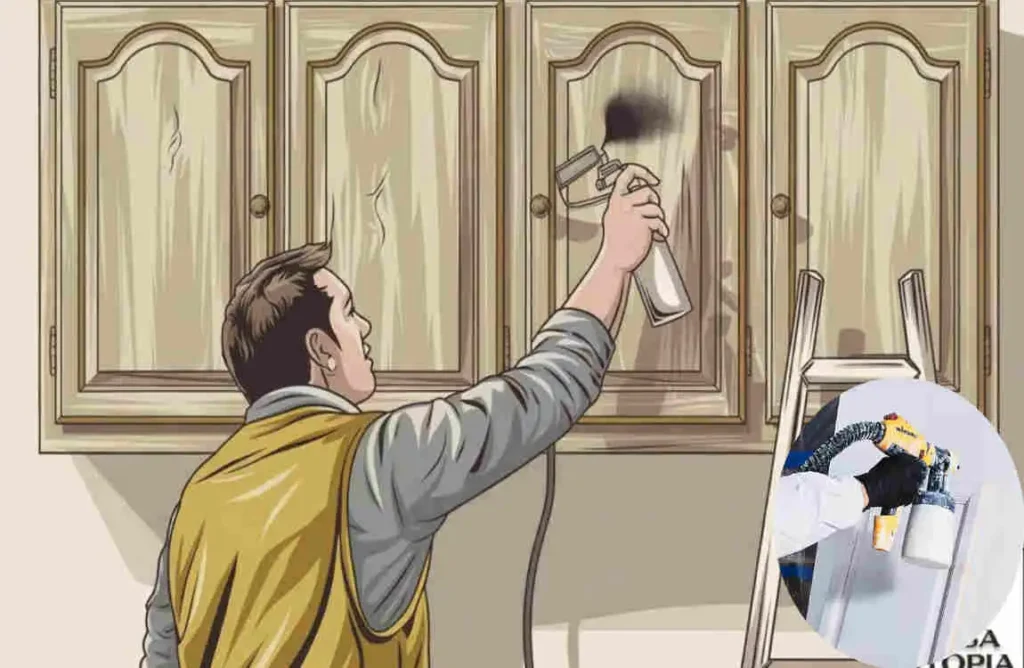
Canned spray paint can be used for kitchen cabinets at home, but it requires proper preparation and the correct type of paint to ensure a durable and attractive finish. It’s essential to clean, prime, and apply multiple thin coats, allowing each to dry thoroughly. Using a spray paint designed for home kitchen or cabinetry surfaces yields the best results in terms of durability and appearance. Additionally, allowing the paint to cure completely before using the cabinets helps maintain the finish over time.
Understanding the concept of spray painting kitchen cabinets

Spray painting kitchen cabinets involves using aerosolized paint to achieve a smooth, even finish. Unlike traditional brushes or rollers, spray paint can quickly cover large surfaces without leaving brush strokes behind. This method is particularly appealing for those seeking a professional look on a budget.
The idea is simple: the paint comes in a convenient can with an attached nozzle that disperses fine particles of color when pressed. This allows for quick application and faster drying times compared to other painting methods.
Cans of spray paint for kitchen cabinets have many benefits
Canned spray paint offers a variety of advantages when it comes to refreshing your kitchen cabinets. One significant benefit is the ease of application. The aerosol can allows for quick coverage, making it simple to reach tight corners and intricate details.
Another perk is the smooth finish that spray paint provides. Unlike traditional brushes or rollers, canned options reduce the likelihood of streaks or brush marks, resulting in a polished look.
Time efficiency is another factor worth mentioning. Canned spray paint dries quickly, allowing you to complete your project faster than with conventional painting methods.
There’s an extensive range of colors available in cans. Whether you’re after a bold statement or subtle tones, you’ll find something that suits your style perfectly.
You may also read (how to fix dropped kitchen sink in your home quickly).
Factors to consider before using canned spray paint for kitchen cabinets

Before diving into your cabinet makeover, several factors require your attention.
First, consider the type of wood or material of your cabinets. Some surfaces absorb paint differently and might require a primer for better adhesion.
Next, think about the color you want to achieve. Canned spray paint comes in various shades, but remember that lighter colors may need multiple coats for full coverage.
Ventilation is crucial during application. Ensure you’re working in a well-ventilated area to avoid inhaling fumes and ensure even drying.
Temperature plays a significant role, too. Ideally, spray painting should occur at temperatures between 50°F and 90°F for optimal results.
Assess your DIY skills and comfort level with using spray paint. Practice on scrap materials if you’re unsure before tackling those home kitchen cabinets.
Step-by-step guide on how to use canned spray paint for kitchen cabinets
Start by preparing your workspace. Remove all cabinet doors and hardware, ensuring a clean area to work on.
Next, thoroughly clean the surfaces. Use a degreaser to eliminate any grime or grease buildup. This step is crucial for proper adhesion.
Once dry, lightly sand the cabinets with fine-grit sandpaper. This creates texture for better paint adherence.
Shake the spray can well before use. Hold it about 10-12 inches from the surface while spraying. Apply thin coats rather than one thick layer; this helps avoid drips and runs.
Allow each coat to dry completely before adding another layer—typically, around 30 minutes between coats works well.
After achieving your desired finish, reattach the cabinet doors and hardware once fully cured, which may take up to several days depending on humidity levels.
You may also read (how high should a kitchen sink drain be from the floor in your home).
