Painting plumbing pipes might not be the first thing on your home improvement checklist, but it’s a simple and effective way to enhance your space. Painting can be a worthwhile investment if you want to protect pipes from rust, improve their appearance, or identify them for safety purposes.
Why Paint Home Plumbing Pipes?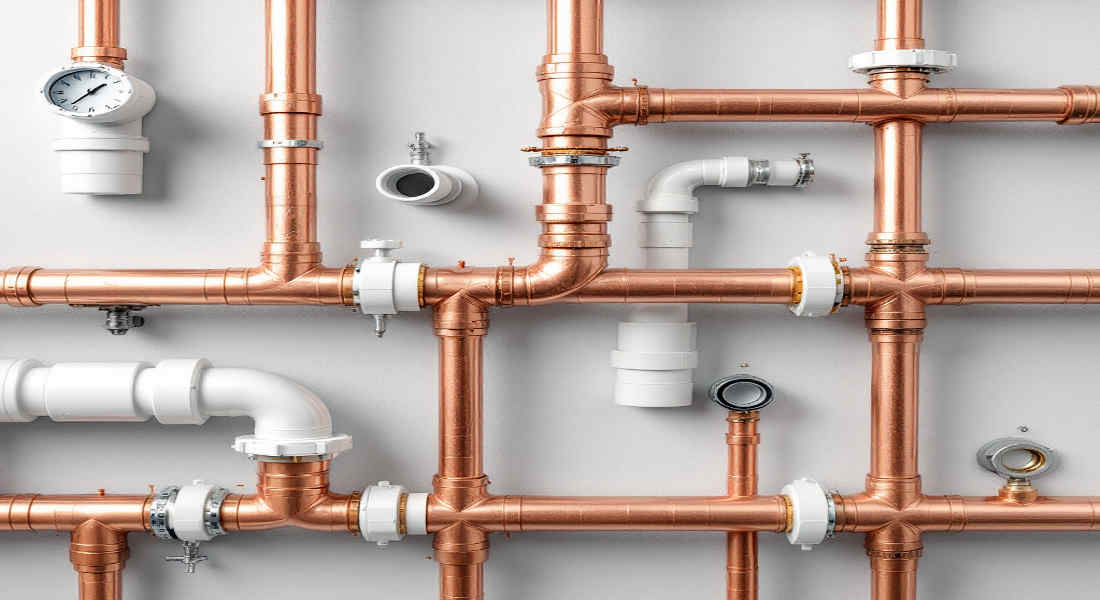
Painting your plumbing pipes serves more than just an aesthetic purpose. Here are the key reasons why painting them is a practical and beneficial home improvement project:
Protection from Corrosion and Rust
Metal pipes, especially those made of steel, iron, or copper, are prone to rust and corrosion over time. Painting them provides a protective barrier that prevents moisture exposure, extending the lifespan of the pipes.
Improving Aesthetics
Exposed pipes can be an eyesore, particularly in living spaces like kitchens, bathrooms, or basements. Painting allows you to match the pipes to your decor or make them a design feature by painting them in bold, contrasting colors.
Safety and Color-Coding
Color-coding your pipes can help identify their contents, such as hot water, cold water, or gas. This is especially useful during maintenance or repairs, making it easier for you (or a professional) to work efficiently and safely.
Increased Property Value
Well-maintained and visually appealing home features contribute to property value. Painted pipes protect your plumbing and improve the overall impression of your home’s upkeep and aesthetics.
Understanding Different Types of Plumbing Pipes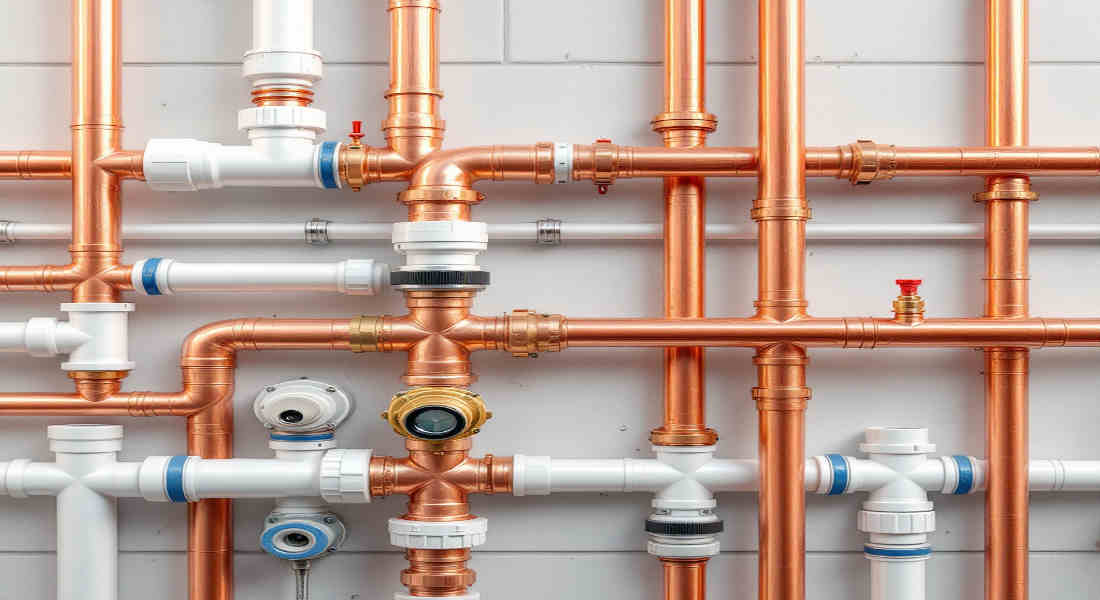
Before you start painting, it’s crucial to understand the materials you’re working with. Different pipe types require specific paints and preparation techniques to ensure the paint adheres properly and lasts.
You may also read (clean plumbing pipes at home).
Metal Pipes
- Iron and Steel Pipes: These are common in older homes and are prone to rust. They require durable paints like oil-based enamels or epoxy paints for protection.
- Copper Pipes: Typically used for water supply lines, copper pipes develop a natural patina over time. Painting them can prevent discoloration and corrosion.
PVC Pipes
PVC (polyvinyl chloride) pipes are often used in drainage and water supply plumbing systems. These pipes have a smooth, non-porous surface, which makes them tricky to paint. Specialty PVC paints or plastic-rated spray paints are essential for proper adhesion.
Galvanized Pipes
Galvanized pipes are steel pipes coated with zinc to prevent rust. However, the zinc layer can make Painting challenging, requiring specific primers like epoxy or acrylic latex to ensure the paint bonds effectively.
Choosing the Right Paint for Your Pipes
Selecting the right paint is a critical step in the process. The type of paint you use depends on the material of your pipes.
For Metal Pipes
- Oil-Based Enamel Paints: These are highly durable and provide excellent rust protection. They’re ideal for both indoor and outdoor pipes.
- Epoxy Paints: Known for their superior corrosion resistance, epoxy paints are perfect for pipes exposed to moisture or harsh weather.
- Water-Based Acrylic Enamel Paints: These are low-VOC (volatile organic compounds), making them safer for indoor use. They’re also easier to clean up compared to oil-based options.
For PVC Pipes
- Specialty PVC Paints: These paints are designed to adhere to plastic surfaces. They bond well and resist peeling or cracking.
- Plastic-Rated Spray Paints: These are a quick and efficient option for painting PVC pipes. They provide even coverage and a smooth finish.
For Galvanized Pipes
- Acrylic Latex Paints: These paints are water-based and work well on galvanized surfaces when paired with an appropriate primer.
- Epoxy Primers and Paints: Epoxy-based products are the best choice for extra durability. They form a strong bond with the galvanized surface.
Preparing Pipes for Painting
Proper preparation is the foundation of a successful paint job. Skipping this step can lead to peeling, uneven coverage, or a short-lived finish.
Clean the Pipes
Use soapy water and a sponge to remove dirt, grease, and grime. For tougher stains or grease, consider using a degreaser.
Remove Rust or Old Paint
If your metal pipes are rusty or have old paint, use a wire brush or sandpaper to remove these layers. This ensures the new paint adheres properly.
Sand the Surface
Lightly sand the pipe surface to create a slightly rough texture. This step is crucial for smooth surfaces like PVC and galvanized pipes.
Dry the Pipes Completely
Make sure the pipes are completely dry before applying primer or paint. Moisture can prevent the paint from bonding and lead to peeling.
You may also read (household plumbing systems).
Effective Techniques to Paint Home Plumbing Pipes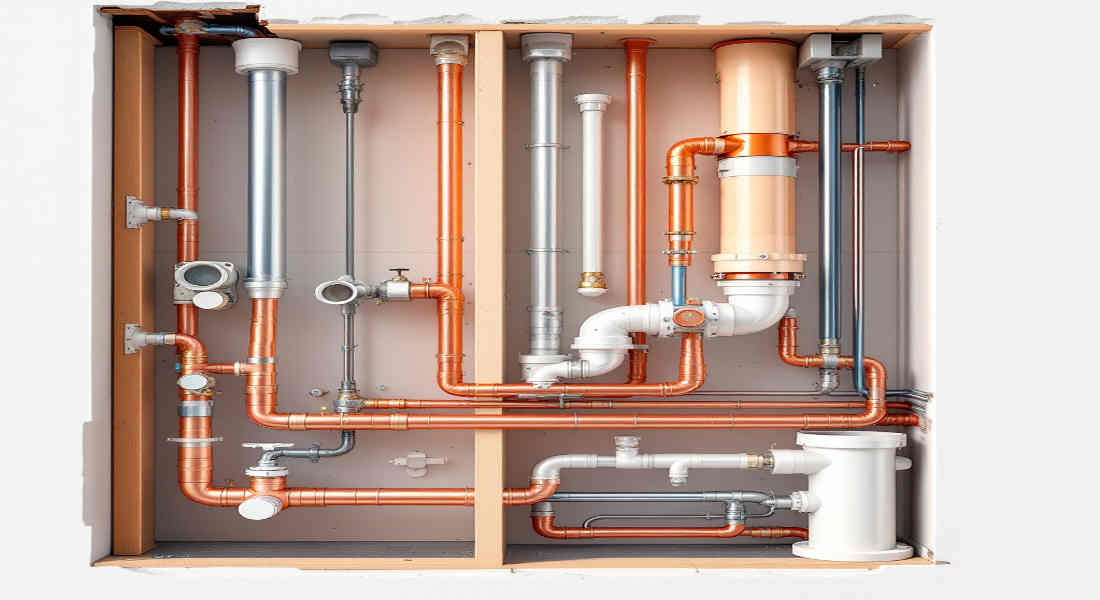
There are several methods to paint home plumbing pipes. Each technique has its own advantages and is suited to specific scenarios.
Spray Painting
Spray painting is ideal for pipes with intricate details or hard-to-reach areas.
Benefits:
- Provides even coverage
- Quick application
- Works well for curved or complex pipe shapes
Tips for Spray Painting:
- Use thin, even coats to avoid drips.
- Maintain a consistent distance (about 8-10 inches) from the pipe while spraying.
- Allow each coat to dry before applying the next.
2. Brush Painting
Brush painting is best for smaller pipes or detailed areas requiring precision.
Benefits:
- Offers control for detailed work
- Less messy compared to spray painting
Tips for Brush Painting:
- Use high-quality brushes that match your paint type.
- Apply multiple thin coats for a smooth finish.
- Avoid overloading the brush with paint to prevent drips.
Roller Painting
Roller painting works well for long, straight sections of pipes.
Benefits:
- Efficient for larger areas
- Provides a smooth finish with minimal effort
Tips for Roller Painting:
- Use foam rollers for a seamless finish.
- Work in sections, applying thin coats and allowing them to dry before the next.
Color Coding Your Pipes for Safety and Convenience
Color coding your pipes can add functionality to your painting project. This is especially useful for identifying pipe contents during maintenance or emergencies.
Pipe Content Recommended Color
Potable Water Blue
Non-Potable Water Green
Hot Water Red
Gas Lines Yellow
Fire Protection Systems Orange
By following these standards, you can ensure safety and convenience in your home plumbing system.
Common Mistakes to Avoid When Painting Plumbing Pipes
Even with the best intentions, mistakes can happen. Avoid these common pitfalls to ensure a professional-looking finish:
- Using the wrong type of paint for the pipe material
- Skipping surface preparation (cleaning, sanding, or priming)
- Applying thick coats, which can lead to drips and uneven surfaces
- Painting pipes that are still wet or greasy
- Ignoring drying and curing times
Maintenance Tips for Painted Pipes
To keep your painted pipes looking fresh and functional, follow these maintenance tips:
- Inspect Regularly: Check for peeling or chipping paint and address these issues promptly.
- Touch-Up Paint: Keep a small amount of leftover paint for touch-ups as needed.
- Clean Gently: Use a soft cloth and mild soap to clean painted pipes without damaging the paint layer.
You may also read (diagram for home plumbing).