
Turning 18 is a massive deal. It is that magical bridge between being a teenager and stepping into adulthood. You want to celebrate it in a way that feels special, but let’s be honest: renting out a massive venue and hiring professional decorators can cost a small fortune. Why spend your entire savings on a hall when you can create an epic party paradise right in your living room?
When you opt for DIY 18th birthday decorations at home, you aren’t just saving money; you are adding a personal touch that no professional service can replicate. Imagine walking into a room filled with home decorations that you and your best friends put together. It feels more intimate, more “you,” and—let’s face it—it makes for much better stories.
Why Choose DIY 18th Birthday Decorations at Home
You might be wondering, “Is the effort really worth it?” The answer is a resounding yes. First and foremost, the cost savings are astronomical. A professional balloon arch can cost upwards of $200, but if you do it yourself, you can achieve the same look for about $20. That extra money can go toward better food, a bigger cake, or even a gift for yourself!
Beyond the budget, personalisation is the biggest win. Store-bought decorations are often generic. When you DIY, you can choose the exact shades of “sage green” or “rose gold” that you love. You can incorporate photos of your childhood, your favourite quotes, and themes that actually mean something to you.
Finally, DIY is much more eco-friendly. You can repurpose items you already have at home—like glass jars, cardboard boxes, and old string lights. It’s a great way to reduce waste while creating something beautiful. Plus, the process of decorating with your family or friends becomes a pre-party event in itself. It’s about building memories before the first guest even knocks on the door.
Essential Supplies for All DIY 18th Birthday Decorations at Home
Before we dive into the specific ideas, you need to stock up on some “hero” supplies. These are the items that will appear in almost every project. Having these on hand will save you from making ten different trips to the store.
The DIY Party Toolkit:
- Balloons: Get a variety of sizes (standard, mini, and giant).
- Adhesives: Glue dots, double-sided tape, and a reliable hot glue gun.
- String & Line: Fishing line is perfect for “invisible” hanging, while colourful twine adds a rustic touch.
- Lighting: Fairy lights, LED strips, and battery-operated tea lights.
- Paper Goods: Cardstock, crepe paper, and rolls of wrapping paper.
- Tools: Sharp scissors, a balloon pump (your lungs will thank you!), and a ruler.
Budget Breakdown: DIY vs. Store-Bought
To give you an idea of how much you can save, take a look at this comparison table for everyday party items.
ItemDIY Estimated CostStore-Bought/Pro CostWhere to Get Materials
Giant Balloon Arch $15 – $25 $150 – $300 Amazon / Dollar Store
Photo Backdrop $10 – $15 $50 – $100 Craft Store / Home Depot
Custom Centrepieces $5 per table $30 per table Thrift Stores / Backyard
Personalised Signage $2 – $5 $25 – $40 Cardboard / Printables
Party Lighting $10 – $20 $60+ (Rental) Hardware Store
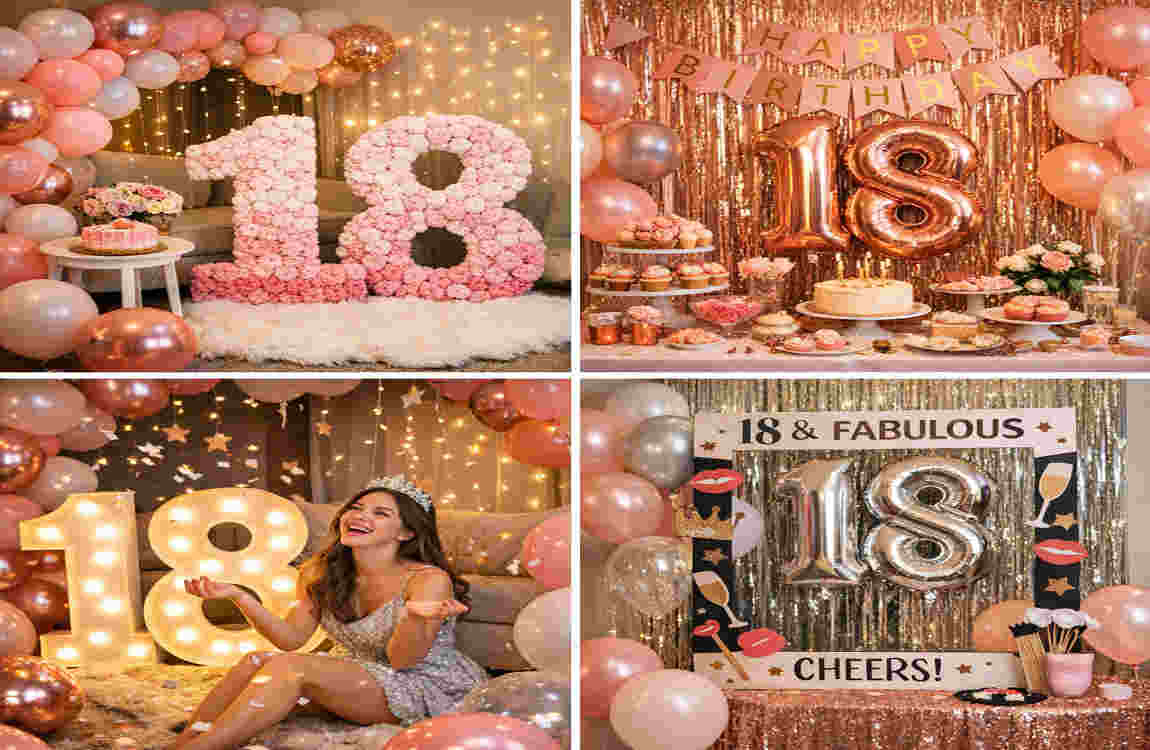
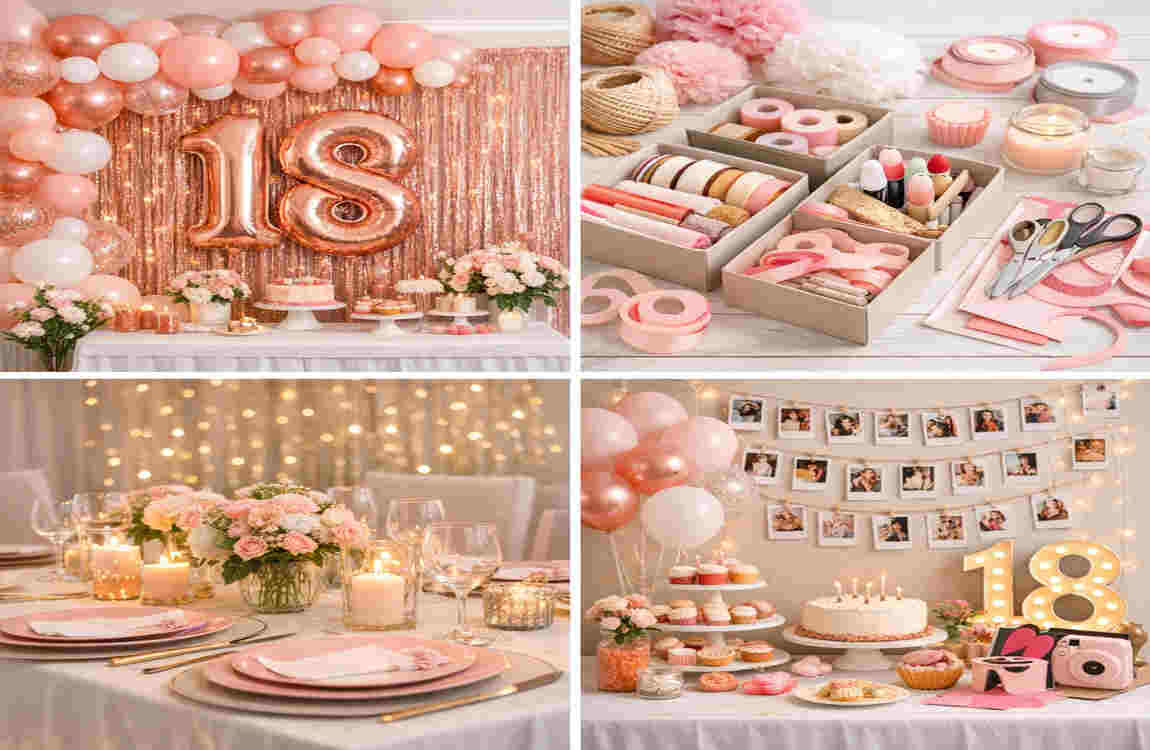
Balloons and Backdrops
Balloons are the undisputed kings of DIY 18th birthday decorations at home. They fill up space quickly and provide a huge visual “pop” for very little money.
Giant Balloon Arch
A balloon arch at the entrance says, “The party is here!” You don’t need a fancy metal frame. Inflate about 50-100 balloons in your chosen colours. Tie them together in pairs, then twist those pairs into clusters of four. Thread a long piece of fishing line through the middle of the clusters. Once you have a long “snake” of balloons, use removable wall hooks to arch it over your front door or a central wall.
Photo Booth Backdrop
In the age of Instagram and TikTok, a photo booth is mandatory. You can create a stunning backdrop by taping long strips of metallic wrapping paper or fringe curtains to a flat wall. Surround the edges with balloon clusters to hide the tape. For an 18th birthday, adding a large “18” foil balloon in the centre makes it clear what the celebration is all about.
Balloon Garland Wall
If an arch feels too structured, try an organic garland. Use balloons in different sizes—from tiny 5-inch ones to massive 24-inch ones. Stick them directly to the wall using glue dots. The goal is to make it look like the balloons are “growing” up the wall or cascading down from a corner. It’s modern, chic, and very easy to assemble.
Confetti Balloon Drop
Want a “wow” moment? Fill clear balloons with metallic confetti before inflating them. Hang them from the ceiling using a thin thread. At the height of the party—perhaps when the cake comes out—you can pop them for a spectacular confetti shower. Just be prepared for a bit of cleanup afterwards!
Ombre Balloon Ceiling
This is a fantastic way to handle a high-ceilinged room. Buy balloons in four shades of the same colour (e.g., dark blue to light blue). Inflate them with helium and let them float to the ceiling. Arrange them so the colours transition from one side of the room to the other. It creates a “dreamy” atmosphere that guests will love.
Lighting and Glow Effects
The proper lighting can transform a boring living room into a high-end lounge. These at-home party setups focus on creating a mood that shifts from “daytime chill” to “nighttime party.”
Fairy Light Curtain
This is one of the simplest DIY decorations for an 18th birthday house party setup. Buy several strands of LED fairy lights. Hang them vertically against a sheer curtain or a plain wall. It creates a soft, twinkling glow that looks amazing in photos. You can even use a PVC pipe at the top to keep the strands perfectly spaced.
DIY Neon Sign
Real neon signs cost hundreds of dollars, but you can fake the look with LED neon rope lights. Sketch out the word “Eighteen” or your name on a piece of cardboard or plywood. Use a hot glue gun to follow the lines with the LED rope. Once you turn it on, it looks just like a custom-made neon sign for a fraction of the price.
Glow-in-the-Dark Jar Lanterns
Grab some old pasta or mason jars and clean them thoroughly. Use glow-in-the-dark paint to create dots or patterns on the inside of the glass. During the day, they look like regular jars, but once the lights go down, they transform into magical, glowing lanterns. Place them on windowsills or outdoor paths.
String Light Photo Display
This idea doubles as decoration and a trip down memory lane. Hang a few rows of string lights across a wall. Use mini wooden clothespins to clip photos of the birthday person from age 1 to 18. It’s a great conversation starter and adds a very personal, sentimental touch to the room.
LED Balloon Lights
Did you know you can put small LED “button” lights inside balloons before you blow them up? It makes the entire balloon glow from the inside. Scatter these across the floor or float them in a pool if you have one. It creates a futuristic, “vibe-heavy” environment that is perfect for dancing.
Tabletop and Centrepieces
The food table is usually the heart of the party. You want it to look organised, appetising, and stylish.
Personalised Cake Topper
Don’t settle for a generic “Happy Birthday” plastic topper. Use some stiff cardstock, glitter, and two bamboo skewers. Cut out a large “18” or the birthday person’s initials. Cover them in glitter and glue them to the skewers. It’s a budget-friendly DIY birthday craft that makes the cake look like a custom bakery order.
Tiered Dessert Stand
If you have different-sized cardboard boxes lying around, you have a dessert stand! Wrap three boxes of decreasing size in high-quality wrapping paper or fabric. Stack them on top of each other. This adds height to your food table, making the spread look much more professional and “bountiful.”
Marble Drink Stirrers
You can make these using oven-bake clay (like Sculpey). Mix two colours of clay to get a “marbled” effect, roll them into small balls, and press them onto the ends of wooden stir sticks. Bake them according to the package directions. It’s a small detail, but it shows your guests that you’ve thought of everything.
Themed Napkin Rings
Stop using plain stacks of napkins! Take empty toilet paper rolls, cut them into 1-inch rings, and wrap them in ribbon or twine. You can even glue a small silk flower or an “18” cutout on top. It keeps the table looking tidy and adds another layer of colour to your theme.
Candy Bar Labels
If you are doing a “sweet treats” station, labels are key. Print out small cards with fun names for the candy (e.g., “Adulting Fuel” for coffee beans or “Childhood Classics” for gummy bears). Place them in small frames or use wire card holders. It’s an easy way to tie the food into the overall theme.
Walls, Doors, and Signs
Don’t leave your walls bare! Large-scale wall home decor helps define the party space and covers up any everyday clutter you can’t hide.
Streamers and Tassel Garland
Crepe paper streamers are incredibly cheap. Instead of just hanging them flat, try twisting them as you tape them to the ceiling. You can also make “tassels” by fringing sheets of tissue paper and stringing them together. It adds movement and texture to the room, especially when there is a slight breeze.
DIY Welcome Sign
Set the tone before guests even enter. Find a piece of scrap plywood or even a large, sturdy piece of cardboard. Paint it in a solid colour and use a stencil (or a steady hand) to write “Welcome to [Name]’s 18th Birthday Party Paradise.” Lean it against a chair or an easel by the front door.
Pom-Pom Door Curtain
This is a fun, retro-style idea. Use colourful yarn to make dozens of fluffy pom-poms. Tie them at intervals along long strands of yarn and hang the strands from a doorway. Guests will love walking through the “fuzzy” entrance. It’s a tactile and playful addition to any at-home party setup.
Chalkboard Guest Book
Instead of a traditional book that gets tucked away in a drawer, use a large chalkboard (or a piece of plywood painted with chalkboard paint). Set out some chalk markers and ask guests to write their “advice for an 18-year-old.” It serves as a party decoration and a wonderful keepsake afterwards.
Foil Curtain Divider
If you need to block off a messy kitchen or a hallway, use a foil fringe curtain. They are shiny, cheap, and very effective at creating a “VIP” feel. You can double them up for extra thickness. They catch the light beautifully and add that much-needed “glam” factor to the house.
Fun Extras and Games
A party isn’t just about looking good; it’s about having fun. These DIY ideas incorporate activities into your decorations.
Pinata from Cardboard
Who says piñatas are just for kids? Build a giant “18” out of old shipping boxes and packing tape. Cover it in layers of fringed crepe paper. Fill it with things 18-year-olds actually want—like gift cards, high-end chocolates, or even lottery tickets (where legal!). It’s a great way to release some energy.
DIY Party Hats
Forget the cheap, uncomfortable hats from the store. Use high-quality cardstock to roll your own cones. Decorate them with feathers, sequins, or pom-poms. You can even personalise each hat with a guest’s name. It makes for a great “squad” photo later in the evening.
Memory Jar Station
Set up a small table with a beautifully decorated glass jar and some slips of paper. Ask guests to write down their favourite memory with the birthday person. By the end of the night, the jar will be full of “decorations” made of love and history. It’s a beautiful, low-cost way to involve everyone.
Balloon Dart Game
This is a classic carnival game that doubles as wall art. Blow up small balloons and pin them to a large corkboard or wooden pallet in a grid pattern. Inside some of the balloons, place small slips of paper with prizes written on them. Guests get to throw a dart to “pop” their way to a win.
Confetti Poppers
You can make these using toilet paper rolls, balloons, and confetti. Cut the end off a balloon and stretch it over one end of the tube. Fill the tube with confetti. When you pull the balloon tail and let go, it launches the confetti into the air. Hand these out right before the “Happy Birthday” song!
Tips for Executing Your DIY 18th Birthday Decorations at Home
Now that you have 25 ideas, how do you actually make it happen without losing your mind? Here are a few “pro tips” for a smooth setup.
Start Early (But Not Too Early): Most paper and cardboard decorations can be made weeks in advance. However, balloons lose their shine and air over time. Plan to inflate your balloons and set up the “perishable” items no more than 24 hours before the party starts.
Use Removable Hooks: The last thing you want is to peel the paint off your walls. Invest in Command hooks or high-quality painter’s tape. They are designed to hold weight but come off cleanly once the party is over.
Stick to a Colour Palette: DIY can sometimes look “cluttered” if there are too many colours. Pick 2-3 primary colours (like Navy, Gold, and White) and stick to them strictly. This will make your home look like a professionally decorated home.
Enlist a “Hype Crew”: Don’t do this alone! Turn the decorating process into a mini-party. Order some pizza, put on a playlist, and get your friends or siblings to help with the balloon blowing and streamer hanging.
FAQs about DIY 18th Birthday Decorations
What are the cheapest DIY 18th birthday decorations at home
The most budget-friendly options are balloons and crepe paper streamers. You can decorate an entire large room for under $30 if you stick to these materials. Using recycled items like glass jars and cardboard boxes also keeps costs near zero.
How long does it take to set up these decorations?
Most of the individual ideas listed here take between 30 minutes and an hour. However, for a full-house transformation, you should set aside a whole afternoon (about 4-5 hours) with a couple of helpers to get everything perfect.
Can I do these DIYs if I’m not “crafty”
Absolutely! Most of these ideas—like the fairy light curtain or the balloon ceiling—require no special skills beyond using tape or tying a knot. We’ve prioritised “low-skill, high-impact” projects for this list.
What is the best theme for an 18th birthday
Popular themes right now include “Boho Chic” (lots of greenery and fairy lights), “Neon Night” (glow sticks and LED signs), and “Vintage Glam” (gold, black, and silver). Choose a theme that matches your personality!
How do I make my DIY decorations look professional
The secret is consistency. Use the same shades of colours throughout the house and make sure your lines are straight. Also, grouping items (like a balloon cluster) always looks better than scattering single items randomly.