
Have you ever opened your monthly electricity bill and felt genuine dread? You aren’t alone. In 2025 and 2026, energy costs have continued to climb, leaving many homeowners searching for a way out of the cycle of rising rates. The good news is that the solution is literally shining down on your house every single day. By learning how to install solar panels on roof structures yourself, you can take control of your utility costs and potentially slash your bills by 50% to 90%.
This isn’t just a dream for tech wizards or engineers. With the right tools, a bit of patience, and a solid plan, the average DIY enthusiast can set up a solar array that lasts for decades.
Top Reasons to Learn How to install Solar Panels on the Roof
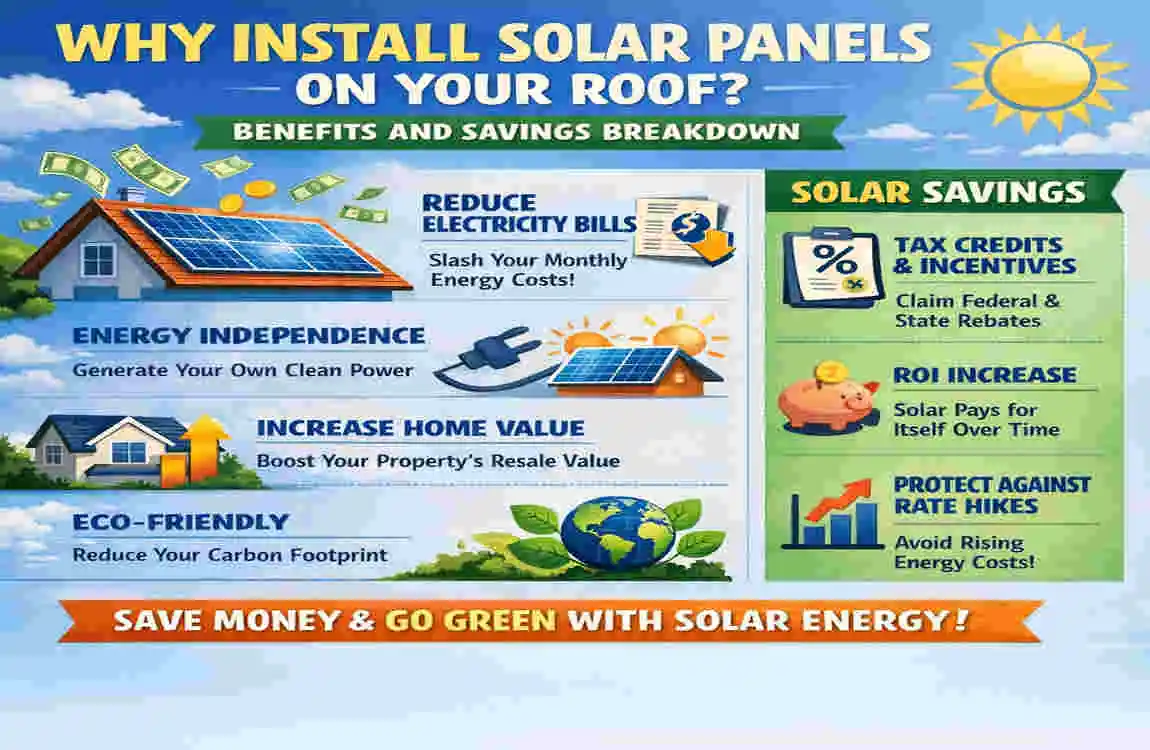
Why should you take on such a big project? The most obvious answer is the money. When you hire a professional company, a large chunk of your “solar investment” goes toward their marketing, sales commissions, and labor. By doing it yourself, you keep that money in your pocket.
Beyond the initial savings, the steps involved in installing the solar panels on a roof lead to long-term freedom. Once the system is paid off—which usually takes about 5 to 7 years for a DIYer—your electricity is essentially free for the remainder of the panels’ 25-year lifespan. Imagine 20 years without a power bill!
Achieving Energy Independence
When you produce your own power, you are less affected by grid failures or price hikes from the utility company. If you add a battery backup to your system later, you can even keep your lights on when the rest of the neighborhood goes dark. It’s a powerful feeling to know that your home is its own little power plant.
Environmental Impact and Property Value
We all want to do our part for the planet. Solar energy is one of the cleanest ways to power a modern lifestyle. Additionally, homes with solar installations often see an increase in property value. Buyers love the idea of low overhead costs, and a well-installed DIY system can be a central selling point if you ever decide to move.
DIY vs. Professional: When to Go Solo
Deciding whether to do this yourself or hire a pro is a big choice. It’s essential to be honest about your skills. If you are comfortable walking on your roof, using a power drill, and following basic electrical diagrams, you can likely handle a DIY solar panel installation.
However, if your roof is extremely steep (like a church steeple) or your home’s main electrical panel is ancient and crumbling, you might want to consult a professional for those specific parts of the job. Many DIYers choose a “hybrid” approach: they mount the panels themselves but hire a licensed electrician to do the final hookup to the grid.
Feature DIY Solar Installation Professional Installation
Initial Cost Much lower ($5,000 – $10,000 saving) Higher (includes labor and markup)
Time Investment : 3 to 5 weekends , 1 to 2 days
Warranty Equipment only Equipment + Workmanship
Complexity: You handle permits and design. They handle everything
Safety, you are responsible for the gear. Pros have specialized training
As you can see, installing solar panels on the roof is a major undertaking if you take the DIY route. You are essentially paying yourself a very high hourly wage to do the work.
Assess Your Roof for Solar Panel Installation
Before you buy a single panel, make sure your roof is a good candidate for it. Not every roof is “solar-ready,” and catching issues now will save you thousands of dollars later.
Roof Compatibility Check: Is Yours Ready?
The first thing to look at is the material. Asphalt shingles are the easiest to work with because the mounting hardware is designed specifically for them. Metal roofs are also excellent because you can often use clamps that don’t even require drilling holes. Tile roofs are more difficult; they require removing tiles and installing special hooks, which is a bit more advanced.
Next, look at the orientation. In the northern hemisphere, your panels should ideally face South. This allows them to catch the maximum amount of sunlight throughout the day. If your roof faces East or West, you can still install solar, but you might need a few extra panels to make up for the lower efficiency.
Energy Needs Audit
How much power do you actually need? Grab your electricity bills from the last 12 months. Look for the “kWh” (kilowatt-hour) usage. Add them up to get your annual total.
To find your system size, use this simple logic: System Size (kW) = Annual Usage / (Sun Hours x 0.8)—the “0.8” accounts for natural losses in the system, such as heat and wiring resistance. Most average homes need a system between 5kW and 10kW to offset their entire bill.
Shading Analysis
This is the “silent killer” of solar efficiency. Even a small shadow from a chimney or a nearby tree can significantly drop the output of an entire string of panels. Use a free tool like Google Project Sunroof or a smartphone app to see how shadows move across your roof throughout the day. If you have a lot of shade, you should consider microinverters, which let each panel operate independently.
Gather Tools, Materials, and Permits
Once you know what size system you need, it’s time to go shopping. Don’t skimp on quality here. You want these components to sit on your roof for 25 years through rain, wind, and snow.
Essential Tools and Kit for DIY Solar Panels Roof Installation
You will need a mix of standard construction tools and some specialized solar gear. Here is a basic list to get you started:
- Safety Harness and Rope: Non-negotiable. Never step on a roof without being tied off.
- Impact Driver and Drill: For securing the mounts into your rafters.
- Chalk Line: To ensure your rows of panels are perfectly straight.
- Tape Measure and Level: Precision is key for a professional look.
- Torque Wrench: To tighten bolts to the manufacturer’s exact specifications.
- Wire Strippers and Crimpers: For making the electrical connections.
- Multimeter: To test the voltage of your panels before you plug them in.
For materials, you’ll need the solar panels (usually 400W+ monocrystalline panels are the best value), a racking system (the rails that hold the panels), and an inverter (the box that turns DC sun power into AC home power).
Legal Permits and Safety First
You cannot just slap panels on your roof and call it a day. You usually need two things: a building permit and an interconnection agreement with your utility company.
Check with your local building department. They will want to see a “line diagram” (a drawing of how the wires connect) and a “site plan” (a drawing of where the panels sit on the roof). It might seem intimidating, but many online solar retailers will provide these plans for a small fee when you buy their kit.
Safety Warning: Electricity can be dangerous. Always treat wires as if they are live. If you are uncomfortable working inside your main electrical panel, this is the point where you should call a licensed electrician.
Detailed DIY Installation Process
Now we get to the heart of the guide. This is where the magic happens. We’ve broken down how to install solar panels on a roof, step by step, so that you can tackle it one piece at a time.
Mount the Flashing and Racking System
The racking is the skeleton of your solar array. First, you need to find the rafters (the wooden beams) under your roof. You can do this from the attic or by using a stud finder and “tapping” on the roof.
Once you find a rafter, you will drill a pilot hole and install a “flashing” plate. This is a piece of metal that slides under your shingles to prevent water from leaking into the hole you just drilled. You then bolt a “L-foot” or mount onto that plate.
Attach the Rails
Once your mounts are in place, you will bolt the long aluminum rails to them. Use your chalk line to make sure they are perfectly parallel. If the rails are crooked, your panels will look “wavy” on the roof, which is a classic sign of a messy DIY job. Take your time to get this level.
install the Inverters
If you are using microinverters, you will bolt one small box to the rail under each panel. If you are using a string inverter, skip this step and install a single large box on the side of your house near your electric meter later. Microinverters are generally easier for DIYers because they handle the complex electrical work at the panel level.
Lay the Panels
This is the most exciting part! You’ll need a friend for this. One person hands the panel up, and the other secures it to the rails using mid-clamps and end-clamps.
As you lay each panel, you will hear a “click” as you plug the wires (MC4 connectors) together. It’s like plugging in a heavy-duty extension cord. Make sure the wires are tucked up and tied to the rails using zip ties so they don’t rub against the roof and wear down over time.
Wiring the Array
Once all the panels are on the roof, you will run the main “trunk cable” down to your house. This usually involves running a conduit (a metal pipe) down the side of your home. Inside that pipe are the wires that carry the power.
Connect to the Home Grid
This is the final “boss level” of the project. You will install a solar disconnect switch (so the fire department can turn off the power in an emergency) and then wire the system into your main breaker panel.
Most DIY kits use a “backfeed breaker.” You plug a new breaker into your panel, and the solar power flows in. Important: Always turn off the main power to your house before opening the electrical panel!
Testing, Monitoring, and Maintenance
Congratulations! The hard work is over. Now you need to make sure everything is working correctly.
Power On: Testing Your New Solar Setup
Before you flip the final switch, use your multimeter to check the voltage at the disconnect switch. It should match what the manual says. If everything looks good, flip the switch!
Most modern systems come with a smartphone app. Within a few minutes, you should see a little green light on your inverter, and your app will show “Power Produced: 1.2 kW” (or whatever the sun is providing). It’s a great feeling to see that number climb!
Long-Term Roof Solar Panel Maintenance
Solar panels are surprisingly low-maintenance because they have no moving parts. However, you should do a few things to keep them at peak performance:
- Cleaning: If you live in a dusty area or get a lot of bird droppings, spray the panels with a garden hose a few times a year. Don’t use harsh chemicals or abrasive brushes.
- Inspection: Once a year, get on a ladder and check the wires. Make sure no squirrels have been chewing on them.
- Monitoring: Check your app once a week. If one panel is producing significantly less than the others, you might have a shading issue or a loose connection.
Common Mistakes and Troubleshooting
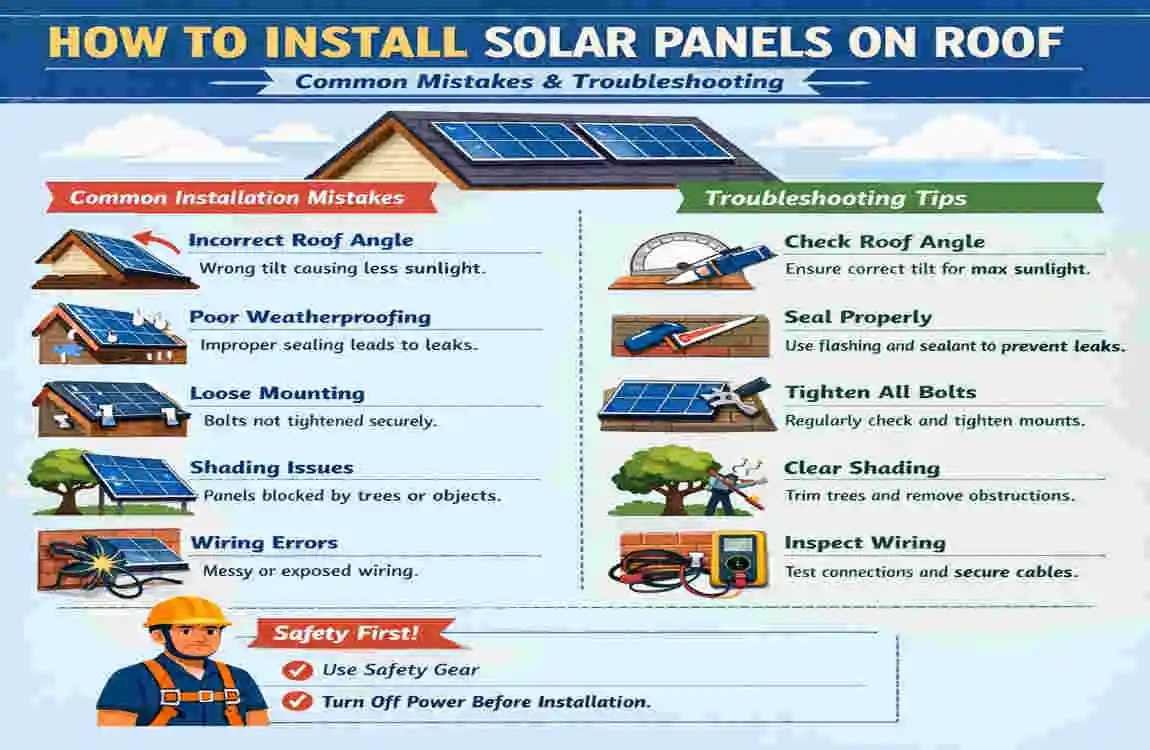
Even the best DIYers can run into trouble. Here are the most common pitfalls to avoid:
- Missing the Rafters: If you bolt your mounts into just the thin roof decking instead of the solid wooden rafters, the wind could literally rip your panels off. Always double-check your “hits.”
- Poor Wire Management: If wires hang down and touch the roof, they will eventually fray. Use plenty of UV-rated zip ties to keep everything tightly secured to the rails.
- Ignoring Local Codes: Every city has different rules about how much space you need to leave around the edges of your roof for “fire pathways.” Make sure you know these rules before you start mounting.
- Undersizing the System: It’s much cheaper to add two extra panels now than it is to come back and add them two years later. Always build slightly more capacity than you think you need.
Calculate Your Payback: Slash Bills with Solar ROI
Let’s talk about the “Payback Period.” This is the amount of time it takes for the energy savings to equal the cost of the system.
The Formula: (Total Cost of System – Tax Credits) / Annual Energy Savings = Payback in Years.
For example, if your DIY system costs $8,000 and you get a 30% tax credit (like the Federal ITC in the U.S.), your net cost is $5,600. If the system saves you $1,200 a year on electricity, your payback period is only 4.6 years.
After that 4.6-year mark, every penny the system generates is pure profit. Over 25 years, a small DIY system can easily save you $30,000 to $50,000. That is a better return on investment than almost any stock market fund!
Frequently Asked Questions (FAQs)
How long does it take to install solar panels on a roof?
For a first-time DIYer, expect the process to take about 3 to 5 full days of work. This includes the time to layout the racking, mount the panels, and run the wiring. If you have help, you can often finish a standard 6kW system in a single weekend.
Is DIY solar panel installation legal?
Yes, in most places it is perfectly legal. However, you must still follow building codes and get the proper permits. Your utility company also needs to “permission you to operate” (PTO) before you can officially send power back to the grid.
Will installing solar panels cause my roof to leak?
Not if you do it correctly! By using proper flashing and high-quality silicone sealant, your mounting points will be just as waterproof as the rest of your roof. In fact, panels can actually protect your shingles from UV damage and hail.
Can I install solar panels on a flat roof?
Yes, but you will need a different type of racking system. Instead of bolting into rafters, flat roof systems often use “ballasted” mounts, which are heavy blocks that hold the panels down using gravity.
What happens to solar panels when it’s cloudy or snowing?
Panels still produce power on cloudy days, though at a lower rate (about 10-25% of their capacity). Snow will block production, but because panels are dark and tilted, the snow usually slides off much faster than it does on the rest of your roof.
Do I need a battery for my solar system?
No, you don’t need one. Most homeowners use “Net Metering,” where the grid acts like a giant battery. You send extra power to the grid during the day and “pull it back” at night for free or at a reduced cost. Batteries are only necessary if you want backup power during a blackout.